Advanced Printing Head PRO
Introduction
The Printing Head PRO is a Head with 1:10 reduction and hi-speed capabilities.
It is important to understand that the main advantage of operating the Printing Head PRO is in its ability to produce more reliable results regardless of the shape of the 3D file being printed, the material and the way the files are arranged on the Hybrid Bed.
In other words with less configuration it is possibile to obtain good results.
Let’s see how to get the best out of the Printing Head PRO by following a few advices.
Filament Management and spool loading/unloading
Depending on the model of the FABtotum (Core, Pro editions) the filament is loaded and unloaded in a different manner.
It’s important to notice that since the Printing Head PRO does not require the feeder mechanism to work, the filament will not be inserted in the feeding mechanism but in a different loading hole.With the Printing Head PRO you can automatically unload or load a spool: from the Maintenance menu, go to Spool.
Such option is also available during a print if the print is paused.
You can also load and unload manually the filament by using the filament release lever on the back of the Printing Head PRO if the nozzle temperature is over 170°C and the unit is not performing any task.
As usual, make sure the filament entering the Head is straight and pointy (cut the tip with scissors at an angle).
FABtotum Core
The Core edition of the FABtotum Personal fabricator have a secondary hole in the spool compartment where to insert the filament if the Printing Head PRO is installed. It is marked by a label in the upper rear corner of the spool compartment.
Use this hole to insert the filament up to the Head.
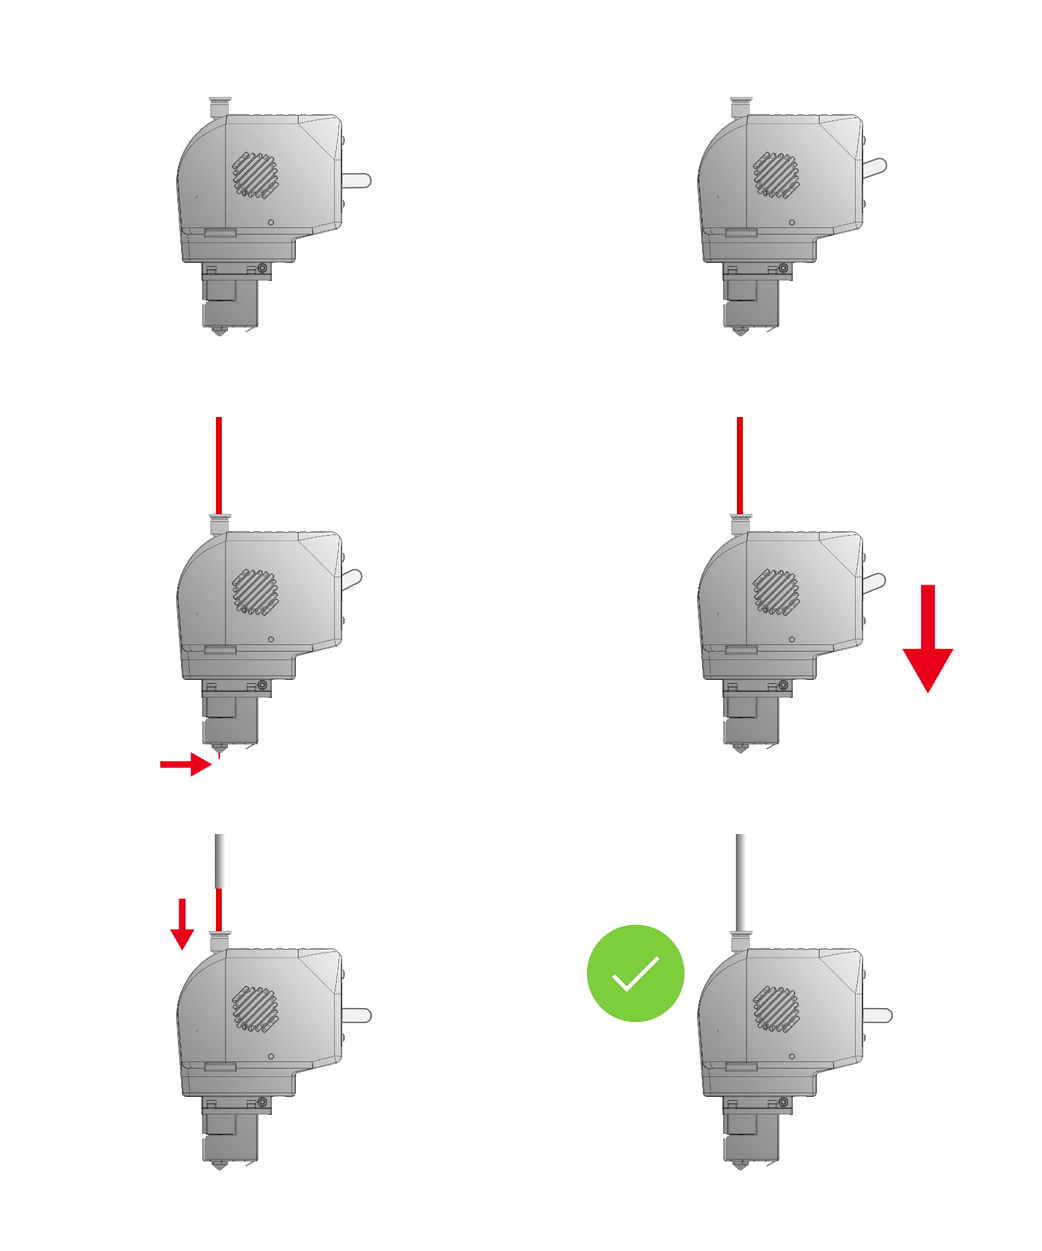
Install the PTFE tube on the Printing Head PRO (1,2) and the back of the FABtotum CORE.
Do not use the onboard feeder mechanism to feed the Printing Head PRO.
Push the filament up until the Printing Head PRO feeding gear, then pull the lever in the back of the Printing Head PRO to complete insertion by pushing the filament further (3).
FABtotum Core PRO
The Core PRO edition of the FABtotum Personal Fabricator have a secondary hole in the spool compartment where to insert the filament if the print head pro is installed. It is marked by a label in the upper rear corner of the spool compartment.
Here a filament sensor will sense if the filament is present. Use this hole to insert the filament up to the Head.
Install the PTFE tube on the Printing Head PRO (1,2) and the back of the FABtotum Core.
Push the filament up until the Printing Head PRO feeding gear, then pull the lever in the back pof the Printing Head PRO to complete insertion by pushing the filament further (3).
Core Edition (up until May 2017) & Older Models.
Older units can operate the Printing Head PRO just like any other version above. However no hole in the back panel was present to push the filament, a feature needed unless the spool is kept outside of the unit during print.
Refer to the replicable parts archive to obtain thePrinting Head PRO hole mask to assist you in making a hole in the back of the unit for upgrade.
Notice: if your model does not feature a spool filament control (that pause the print in case of spool depletion) make sure to check that the remaining filament is enought for the print you are about to start or that you pause the print with enought filament remaining to allow a confortable extraction of the filament.
Once you are sure your unit is properly configured and upgraded, follow the instructions to insert and remove the filament from the Core Paragraph.
Filament Extraction/ Spool unloading
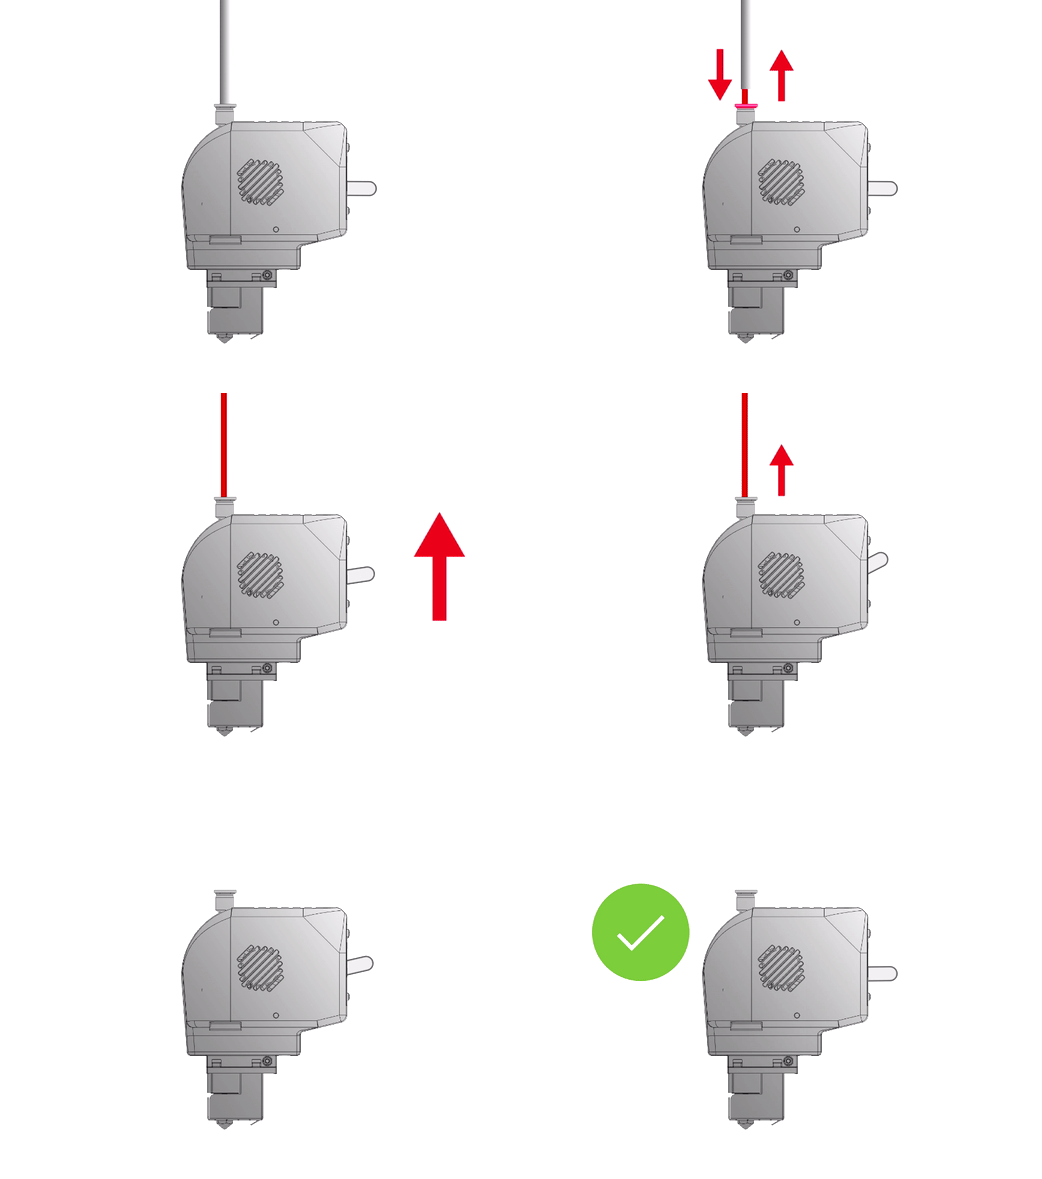
Filament extraction on the Printing Head PRO can be done manually or assisted via the spool load/unload procedure available in the Maintenance menu or during a Pause in the print. You can also trigger a pre-programmed pause by introducing a “M0” in the Gode at the desired line.
Once the procedure is completed you can remove the PTFE tube (1) by pushing the push-fit (2). Then pull the filament out of the chamber by pulling up the release lever with the nozzle still hot (3).
Slicing Tips & Tricks for the Printing Head PRO
Nest parts, Avoid Batch Printing
The Printing Head PRO can work on objects with intensive retractions requirements.
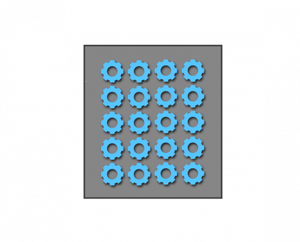
It does that with extreme speed and power. Take full advantage of this feature by packing more objects on the Hybrid Bed, the heated bed of any FABtotum, and have them be as close as reasonably possibile and by not using the batch printing feature of your slicing software.
Doing so you will be printing layer by layer all the objects without the need of wasting space.
This is useful for production or pre-production batches of parts that need to produce many pieces without the intervention of the user.
Speed Can be Beneficial, especially at lower temperatures.
With the built-in bowden tube it’s common to reduce speed to improve filament grip and surface details.
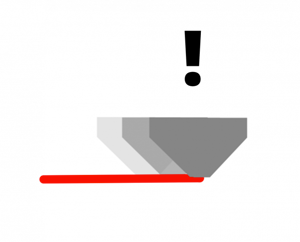
Instead, with the Printing Head PRO, speed can produce beneficial effects on the print by reducing the time the nozzle is in contact with a particular surface, reducing heat exchanged with the part.
Since the Printing Head PRO can reach higher extrusion volumes, it also means it can print faster even at lower temperatures.
PLA, for instance, can be printed at 5°C less than usual (or even more) without impacting extrusion.
With lower temperatures small details can be obtained more easily.
Customize Slicing Profiles
The Printing Head Pro main advantage is that it can print every 3D object at the first try regardless of the shape.
This does not mean that best result can be obtained from the standard profiles, but that the standard profiles usually are the best in most situations.
Temperature and speed can be tuned, while retracts might depend on the stiffness of the material, in order to reduce artifacts (e.g. on flexible materials).
This way the standard profiles can be tuned for speed or for quality.
All slicing profiles and onboard samples have been tested with FABtotum Official Filaments but may be as well adapted with ease for the respective third party materials.

