Calibrating the Laser Head PRO focus distance

Getting Started
This guide will teach you how to obtain a sharp focusing point with the Laser Head PRO.
Factory Calibration
Note: The Laser head pro comes pre-calibrated. A factory value is printed on a sticker on the plastic bag.
If you just received a laser head PRO you can quickly set the correct calibration distance by entering this value in the Z Focusing Distance Field under Head Proprieties (Select the “gear icon” under Laser Head PRO under Maintenance>head).
No further steps are required in this case.
Safety First: PUT ON THE PROVIDED SAFETY GOGGLES
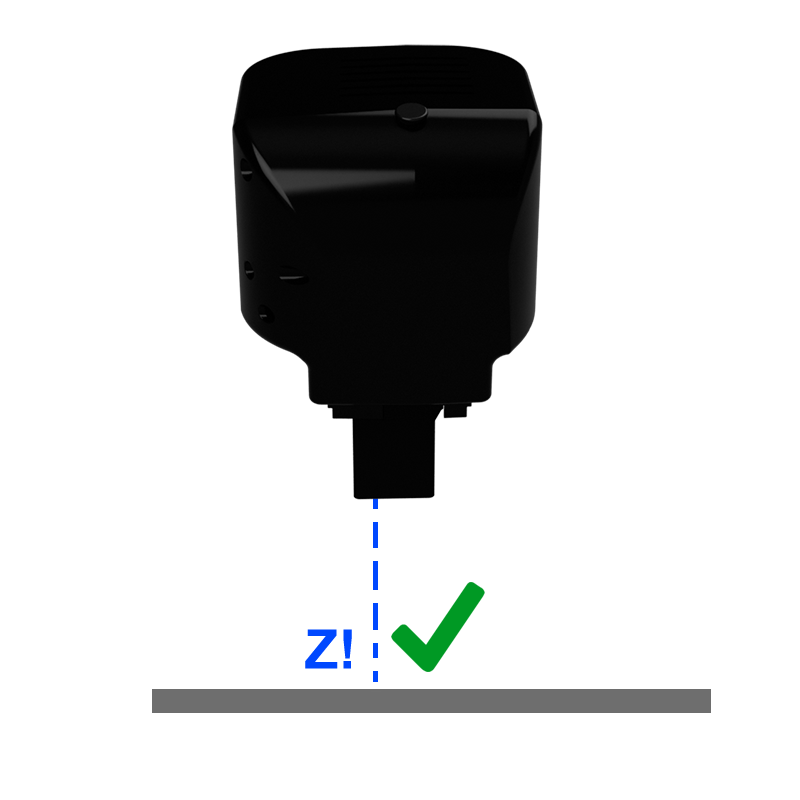
For the purpose of engraving and limiting health hazards the laser beam on the laser head PRO has been focused at a fixed range, close to the lower tip of the Laser Head PRO.
Therefore, being the focusing point now fixed, the distance of the Laser Head from the object to engrave or cut must be changed to match the focusing distance.The laser head pro can automatically go to the focusing point after the correct distance is found and saved on the system.
As a rule of thumb, the focusing point can be found 4 to 8 mm below the tip of the laser head PRO.this distance may vary depending on hardware revisions and assembly.
First of all, let’s download the calibration sample Gcode at http://download.fabtotum.com/gcodes/Laser_pro_calibration.gcode and upload it on your FABUI using the Object Manager as usual.
This is an iterative process. The head will try to engrave different patterns at different distances that will tell you how much the focuding point is closer or further.
Load the provided GCODE gcode file from the Make>Laser menu.
Proceed to put on your safety goggles and take note of the safety warnings and hazards that are listed before starting.
Calibrate the Z using automatic focusing. Automatic focusing is the only procedure that will take advantage of this calibration process.
Now get yourself a normal 80 gr piece of white printer paper, and place it on the build area (Milling side up!).
The laser head should be positioned over the paper sheet.
Save the starting position (with the center button) and proceed.
The engraving will start and end within a minute.
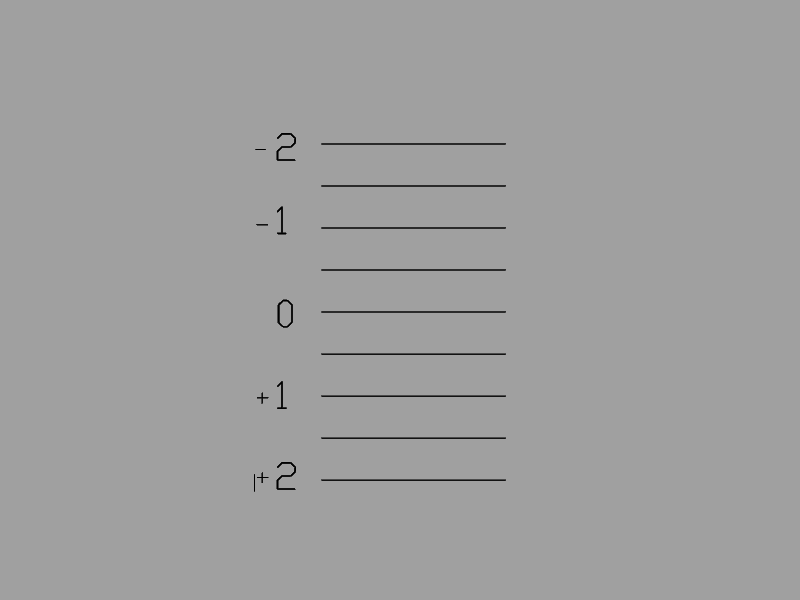
Once the process has completed a series of patterns like these should be engraved on the piece of paper.

Find and save the position
What will happen:
- A series of numbers from -2 to +2 will be engraved (with the last valid calibration settings).
- The distance from the piece of paper is automatically increased by 2 mm (the bed is lowered 2mm).
- Every line from +2 to -2 is engraved 0.5mm closer to the piece of paper.
- the laser will turn off and the task end, allowing to retrieve the piece of paper.
Observing this series of lines you will have to find the most well engraved line.
Looking the piece of paper against a source of light will greatly help.
Once you identify the best line, see the corresponding value (“-1”, “+1” etc).
Add 0.5 for lines in the middle.
Go to Maintenance>Head on the FABUI. Click on the Gear icon under the Laser Head Pro.
In the “Z focusing Distance” add or subtract the value you just found to the value stored.
For example if you found the best line was at +1.5mm and the stored value was 3.5, then the new value to be saved is 1.5mm+3.5mm=5mm;
Hit save and install.
From now on the automatic calibration will return to the position saved.


