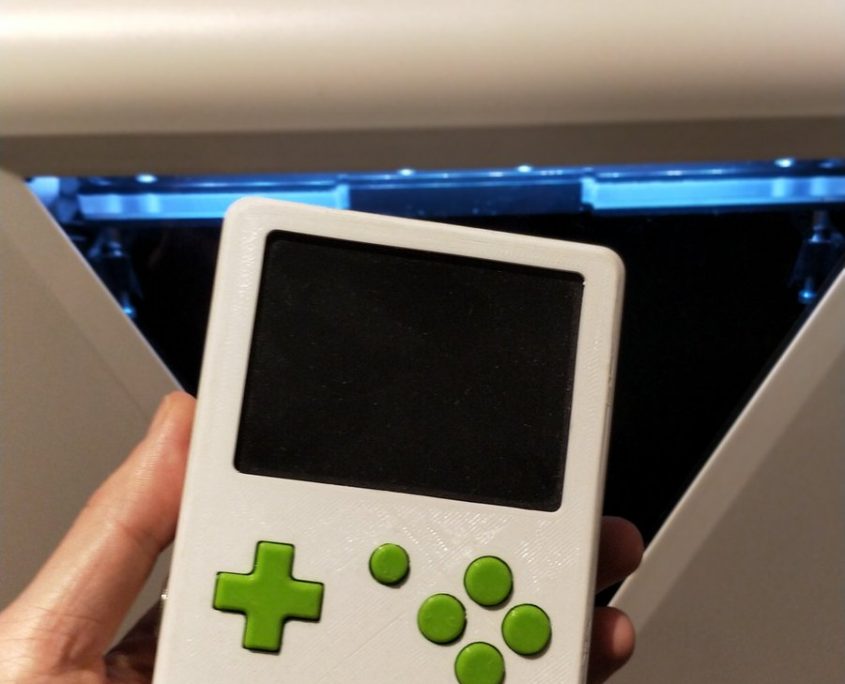
3D printing for retrogaming
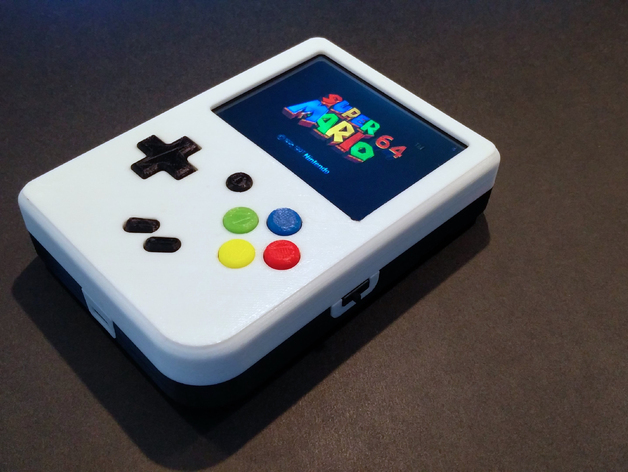
Rasmushauschild’ Super Pi Boy – Raspberry Pi 3 Game Boy is a favourite among retrogaming enthusiasts.
The super Pi Boy is a 3D printed Gameboy that packs a punch: a Raspberry Pi3 as a computer module , a Linux based OS and a full color TFT display.
Powered by a lithium battery it runs Retropie, a custom raspbian distribution optimized and outfitted for the sole purpose of retrogaming.
Rasmushauschild describes it as:
It’s built around the Raspberry Pi 3 single board computer, making it a seriously powerful device!
It runs Retropie which provides a wide variety of emulators, all the way from the first Atari console to the Game Boy Advance, Nintendo 64, Dreamcast and everything in between!
Since at FABtotum we all love the Raspberry Pi (The FABtotum personal fabricator /core uses one to run the FABUI!) and retrogaming, once we saw we could 3D print most of the components it was only logical that we started this DIY project in the spare time.
3D printing the shell
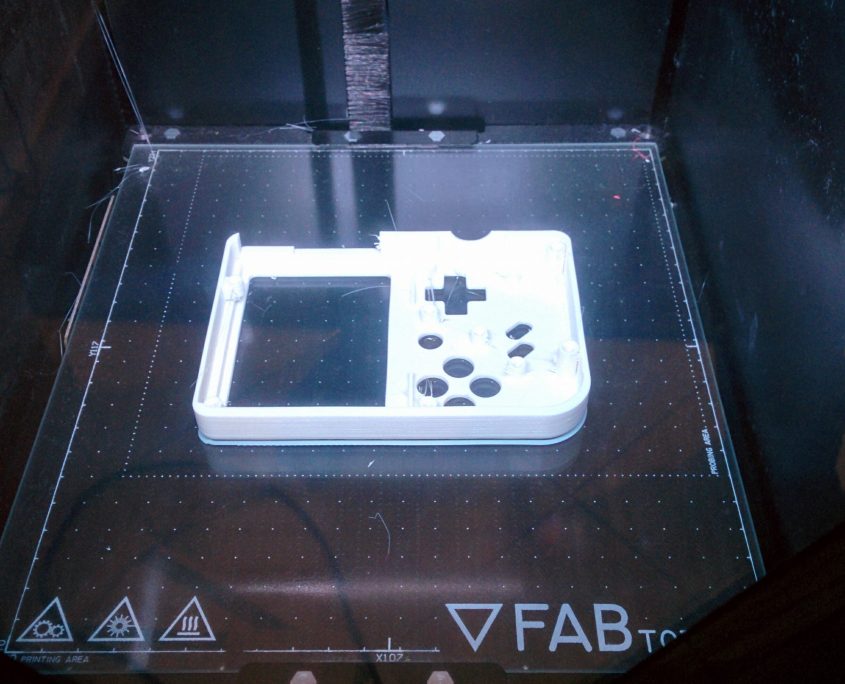
The super raspi boy is made out of two separate shells, that were 3d printed using FABtotum PLA and the Print head PRO using the FABtotum Core Multipurpose 3D printer.
The shell , resembling a 1989 Nintendo Gameboy, has been modified to add a few buttons not present in the original version, useful for navigating the emulator menus, pausing ,etc.
These bottons, also 3D printed, sits upon digital switches directly placed under the front shell.
Printing all these components is pretty straightforward, provided buttons are sliced with a skirt to increase adhesion.
Assembly
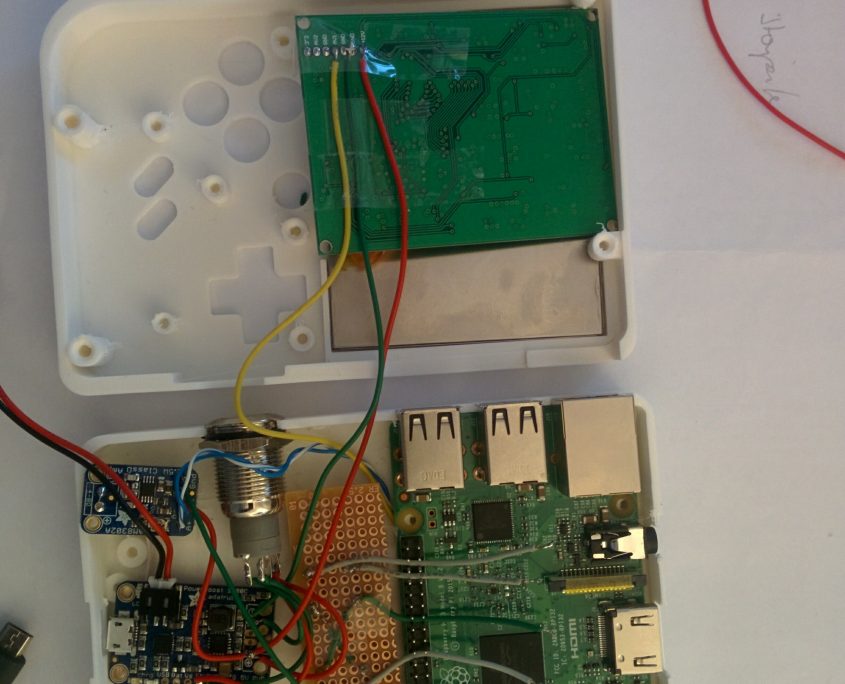
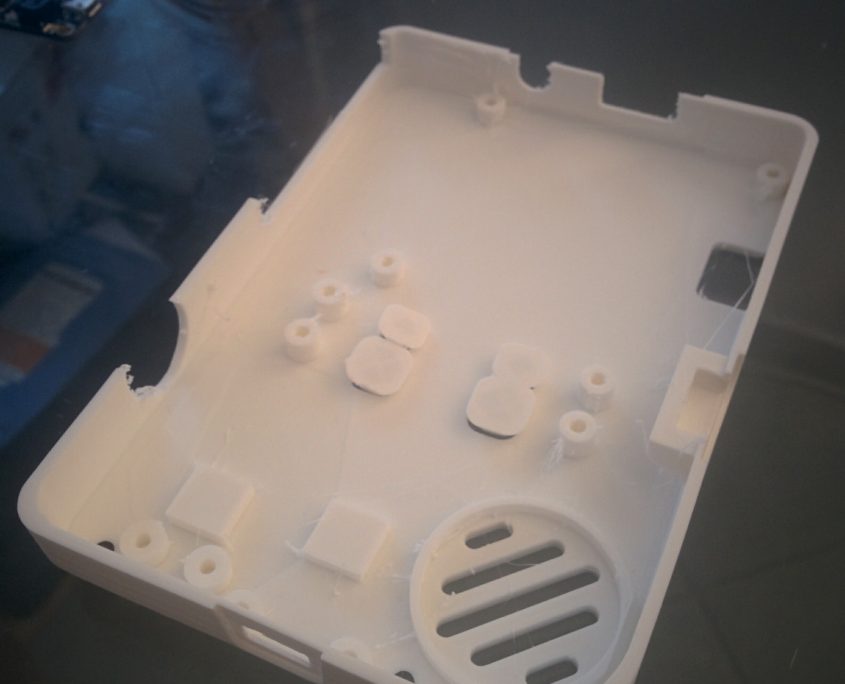
Once the shells are printed each component is placed inside and soldered together following the schematics.
The biggest part of soldering was connecting all the digital switches to the GPIO ports. Not a complex task but delicate and trivial, especially when the space for cable management was restricted.
The GPIO pins are connected to each and every switch in order to read the digital inputs.
Soldering everything with the 2 3D printed case halves side by side is the best option, as the folded cables add up fast and the shortest they are the better.
The screen required a small modification in order to be powered correctly and the battery was a little bit too big for the enclosure (an extra 2mm needed to be squeezed in) but everything worked out fine.
After a couple of hours, once assembly was complete ,we tested the whole assembly first by checking the power was charging the battery and then firing up Retropie from the SD card.
After a successfull login (A monitor and a keyboard or a SSH terminal is a must) we set up the GPIO ports using the Adafruit retrogame script (you can find it here).
After every button was working along with the battery and audio it was time to put everything together with screws.
Conclusions
The final result is a dream come true for every kid from the 80’s: a portable emulation platform that condenses around 20 years of gaming from the first ZX spectrums to the N64.
The sheer amount of fun (and nostalgia) potentially condensed in this kind of projects is mind boggling!
If you have the time to print out the parts and willing to buy the components needed this is definitely one of the coolest DIY projects in gaming.
A shout out to Rasmushauschild for making this available to everyone (you can reach him via email here).
A thanks also to TimoG that shareds his own Super Pi boy made with his FABtotum 3D printer (on the left).
Resources:
3D printed parts: https://www.thingiverse.com/thing:1779343

