From Old FABUI to FABUI Colibri: the complete guide
In this short guide you will find all the steps to correctly install FABUI Colibri, the first OS for 3D printing developed by FABtotum Team.
Not only: at the end of the installation we will also describe the steps to install the Printing Head PRO, for which Colibri is fundamental.

SAVE YOUR PERSONAL SETTINGS
Before you start with the installation, we advise you to make a backup, both of your saved printing projects and your custom settings.
As for the projects, it is enough to dowload them from Object manager. For the settings, here’s how to do it:
- Simply login into FABUI and enter in the Jog page;
- Write command “M503” in the blank space at the bottom left of the page and press “run”;
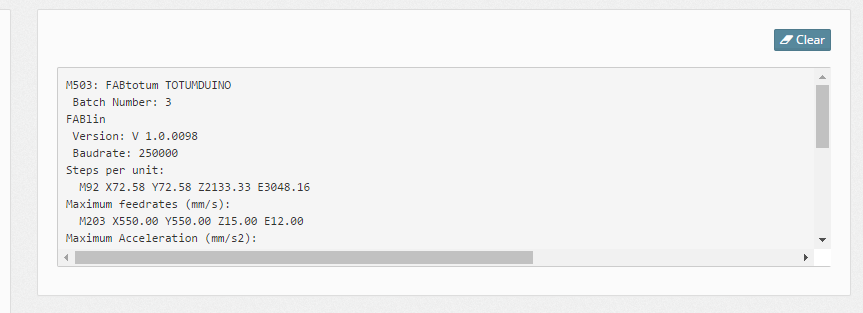
- Copy to an external file and save the results that you will find on the right. It should be something similar to the following:
CORRECTLY FORMATTING AN SD (on Windows)
Procure an SD or microSD* that has at least 4GB of capacity, with only one partition and formatted in FAT32. Usually the one provided is suitable 8and you can find it in the left panel). Connect it to your PC.
If your PC has a slot you will simply have to insert it. Otherwise:
- If you have a MicroSD, you should use an adapter, then you can insert it in the PC;
- If you don’t have a slot you should use an external SD reader and connect via USB to your computer.
*For all units delivered with a RaspberryPi 1B (until 25/10/2016) it’s a SD standard, while for the next machines or the ones that have made an Upgrade Core, so with a Raspberry3, it’s a microSD.
SD can be found in the left panel of the FABtotum: to reach it you’ll need to unscrew the four corners if your unit has been delivered after february 2017. If earlier, you will need to uscrew the bottom-right screw while other corners have magnets.
Pick a formatting tool among the ones available online like MiniTool Partition Wizard Free Edition or EaseUS Partition Master Free. The first option remain the easiest to find and use. We advise not to use the ones pre-installed on your PC, as they might not format the SD in the right way for the use with the RaspberryPi. For the guide we will use MiniTool Partition.
Here are the steps to follow:
- With the SD inserted, start the Tool. Choose the SD between the available devices (be careful: by choosing the wrong one you could cancel/overwrite important information). Use the right mouse button to make the drop down menu appear.
- Choose the option “Delete all partitions” and confirm it choosing “Yes”.
- Wait for the end of the task: now you should see the SD as “Unallocated”.
- Again from drop down menu choose “Create”.
- A new window will pop up. Here you can configurate the FAT32 partition:
i. select FAT32 as “File System”;
ii. set “BOOT” as label of the partition: it’s really important to write it in capital letters.
iii. press OK. - As last step, click on “Apply” at the top left.
- Wait for the end of the process.
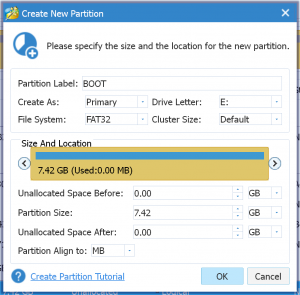
Here is how the screens will look like:
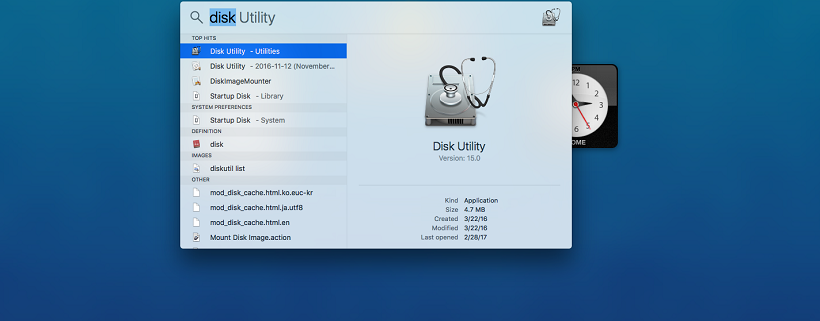
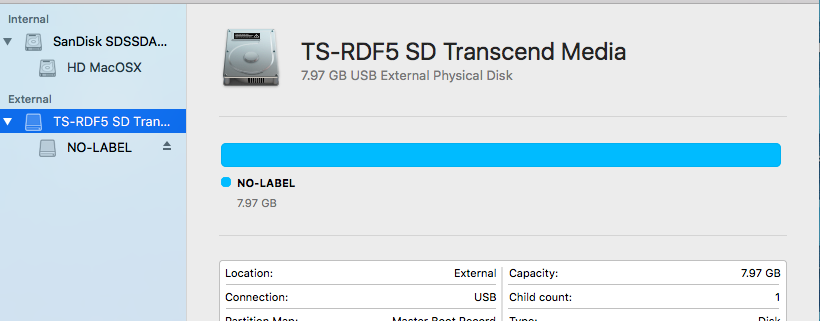
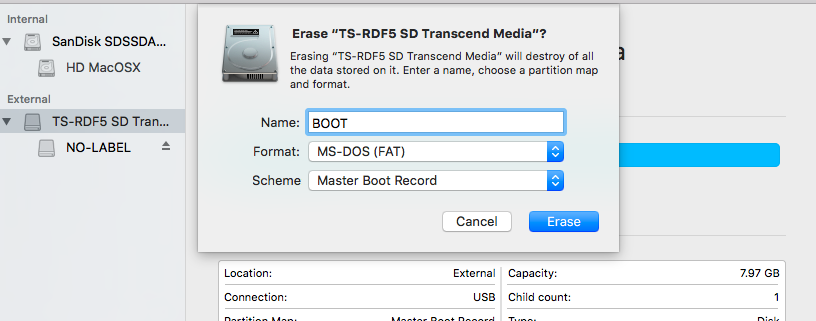
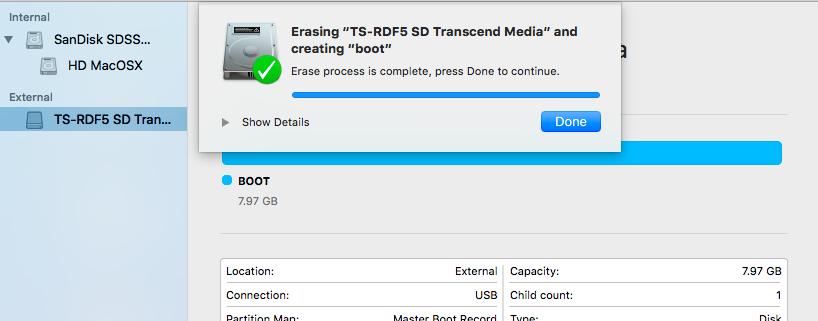
If you use a Mac, follow the steps shown in the below images:
INSTALL FABUI Colibri ON AN SD
Download the latest available update
Extract files from the zipped archive: as destination folder, directly select the SD, which should still be in the Computer.
IMPORTANT: extract files directly, DO NOT extract the folder.
INSTALL FABUI Colibri ON THE FABTOTUM
RESTART THE FABTOTUM: THE BLUE LIGHTS THAT TELL YOU THAT IS ALL GOOD
- Replace the SD in the FABtotum’s slot and re-close the side panel.
- Connect to the FABtotum using a Ethernet cable.
- Turn on the FABtotum.
- Wait for the lights to become fixed/solid blue.
- Open a web browser (we advise Google Chrome or Mozilla Firefox), write the ip 169.254.1.2
FIRST BOOT
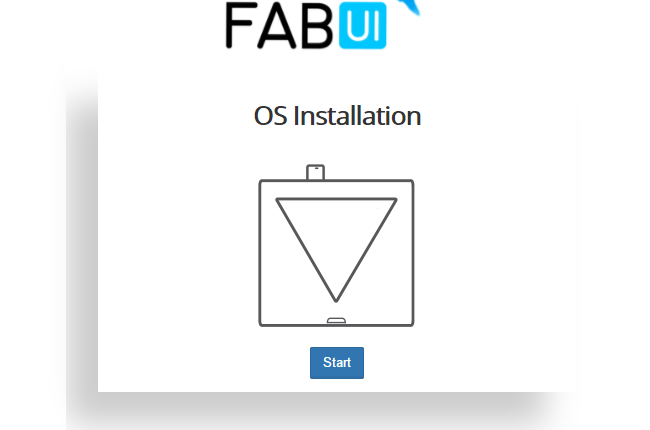
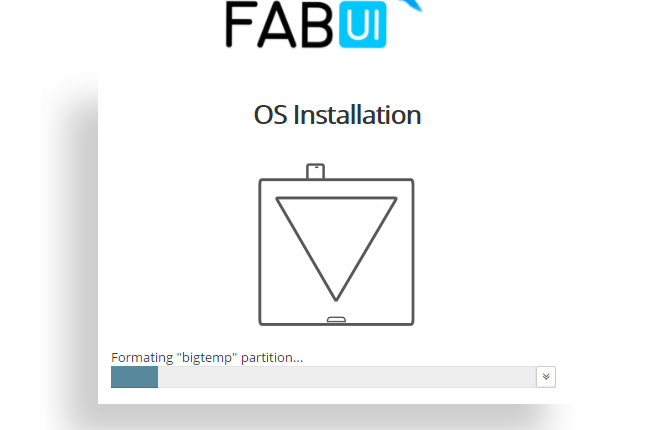
First installation will take some minutes: you should only have to wait and follow the instructions on the screen.
FABUI INSTALLATION AND FIRMWARE UPDATE
Once you have finished the first boot you should set – always by following the screen instructions – your preferences.
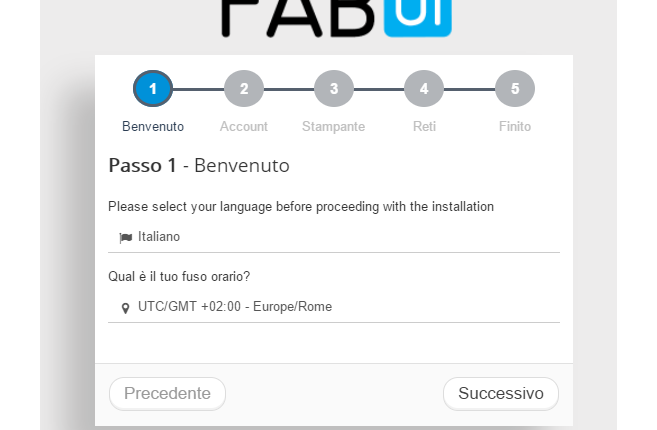
Among the news introduced with FABUI Colibri, there is also the possibility to choose different languages: English, Italian and German are the available ones at the moment.
Keep following the screens until the end: you will then arrive to the Dashboard of the FABUI: the style has remained alike in order to keep the environment as much familiar as possible.
The latest fundamental step is to upgrade FABlin, the firmware:
- Ignore – only for this first migration from FABUI to FABUI Colibri – the first setup: the one with a blue box that will appear on top left, like the one you can see here next, by clicking on “Don’t ask me anymore”.
- Go to the “Updates” section and update the firmware:the minimum required is the 1.1 version. Please make sure that the operation is successful from System Info page.
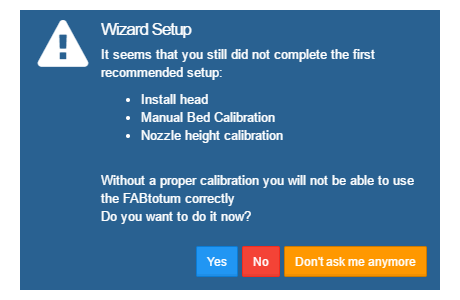
FABUI Colibri: FIRST SETUPS
Probe:
0. Open the file in which you have previously saved your settings (M503).
1. Go to Maintenance > Probe Calibration > Angle Calibration.
2. In the field “Set the Extended Angle (open position)” insert the value “E” that you can find in the line “Servo Endstop settings” from M503 and press the “Open Probe” button.
3. In the field “Set the Retracted Angle (closed position)” insert the value “R” that you can find in the line “Servo Endstop settings” from M503 e press the “Close Probe” button.
In the below screenshot you can find an example of what it looks like: the inserted values are the ones to set, they can slightly change from the ones in the image.
4. Go to Jog and in the blank space on the left insert the command M710 S: (you will find the value at the line “Z Probe Length” from M503); save all the settings by writing the command M500.
Example:
If in the M503 we have: Z Probe Length: -38.00
We will have to insert command:
M710 S38
M500 and push the “Send” button. Don’t include signs or symbols besides the two numbers, as advised.

FIRST INSTALLATION OF A PRINTING HEAD ON FABUI Colibri
Printing Head Lite / V2
Here are the steps to follow for the first installation of a Printing Head “Lite” . Next times data will be imported automatically.
1. Go to Feeder > Profiles and select “Built-in feeder”;
2. Press the button with the pencil, it will open a form: in the field “Steps per unit” insert the “E” value that you have in the line “Steps per unit” of your saved M503.
3. Click on the “Save” button (page will be reloaded).
4. Select again “Built-in feeder” e press the “Configure” button.
!Important: Printing Head Lite replaces the Printing Head V2!
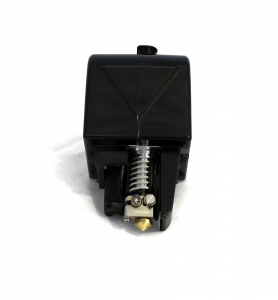
Printing Head PRO
If you bought a Printing Head PRO to be installed on a FABtotum preceeding the new FABtotum Core PRO, on the first time you should follow the steps below to correctly install it:
1. Go to Maintenance > Head;
2. Select “Printing Head Pro”;
3. Press the pencil button: in the form that will pop up you should change the value of the field “Step per unit” with the one reported on the sheet you have received together with the head;
4. Press “Save” (page will be reloaded);
5. Select again the “Printing Head Pro” and press on “Install”.
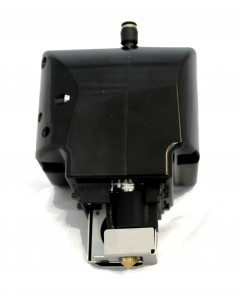
This is everything you need to know to start using FABUI Colibri and 3D print with your FABtotum.
If you have any doubt or issue don’t hesitate to contact Support Team


