FABtotum releases the Laser Head
We have come to a final version of the much-awaited Laser Head, the addon which will make the world’s first Personal Fabricator even more multifunctional. The new module will add laser engraving and laser cutting on top of the 3D printing, 3D scanning and 3D milling functions.
Easy, fast, useful
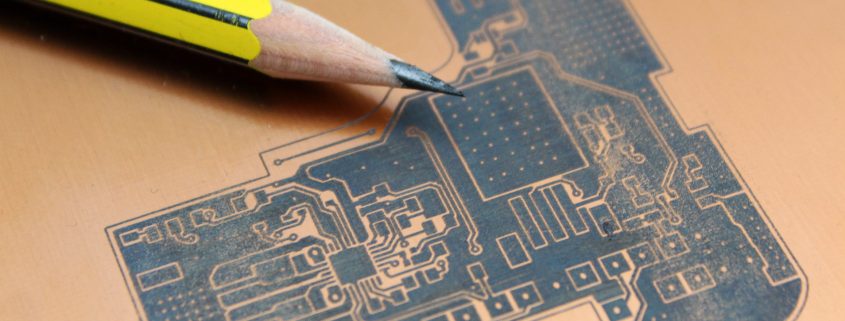
The FABtotum Laser Head just needs to be plugged onto the 3D printer’s carriage: that’s how anyone will get a laser engraver and cutter on his/her desktop. With a power of (almost) 500mW, it can engrave many materials such cardboard, wood, balsa and many more. It can even cut thin layers, mainly paper. And it can make PCBs. Oh yes.
The Laser Head will be available for purchase from today directly on FABtotum’s store and it will work on every unit ever delivered. As always, the aim is to have a machine which can constantly be updated, enlarging its potential and/or making the main hardware performing better than ever.
The software included will just make things easier: having a draw transported on the choosen material will be possible in a few clicks.
Precision is the word
A laser beam can draw with incredibly high precision. The cartesian axis of the FABtotum Personal Fabricator are perfect to drive the Head on the surface: the FABtotum’s software will automatically move the tool on the X and Y. This new technology will exponentially open up to different works ideas and projects. Even a simple jpeg photo can become real and reproduced on a real surface. The result will just surprise.
What will be the main uses of the new FABtotum addon?
The Laser Head in conjunction with the Milling Head will expand the possibilities as they’re meant to cooperate: their potentials are completely different. While the second can cut off and carve deeply any material, included woods and thin metals, the Laser Head will work better for different tasks. Here are a few examples:
1. Wood/balsa engraving: the 500mW beam is enough to mark those surfaces and with the possibilities to choose between none and 255 (but, honestly 10 are more than enough!) shades of greys it will be possible to reproduce with precision all the pictures and photos. Also, it’ll be possible to choose from different profiles to decide which final look is preferred. Of course, FABtotum’s Software will be needed in this case.
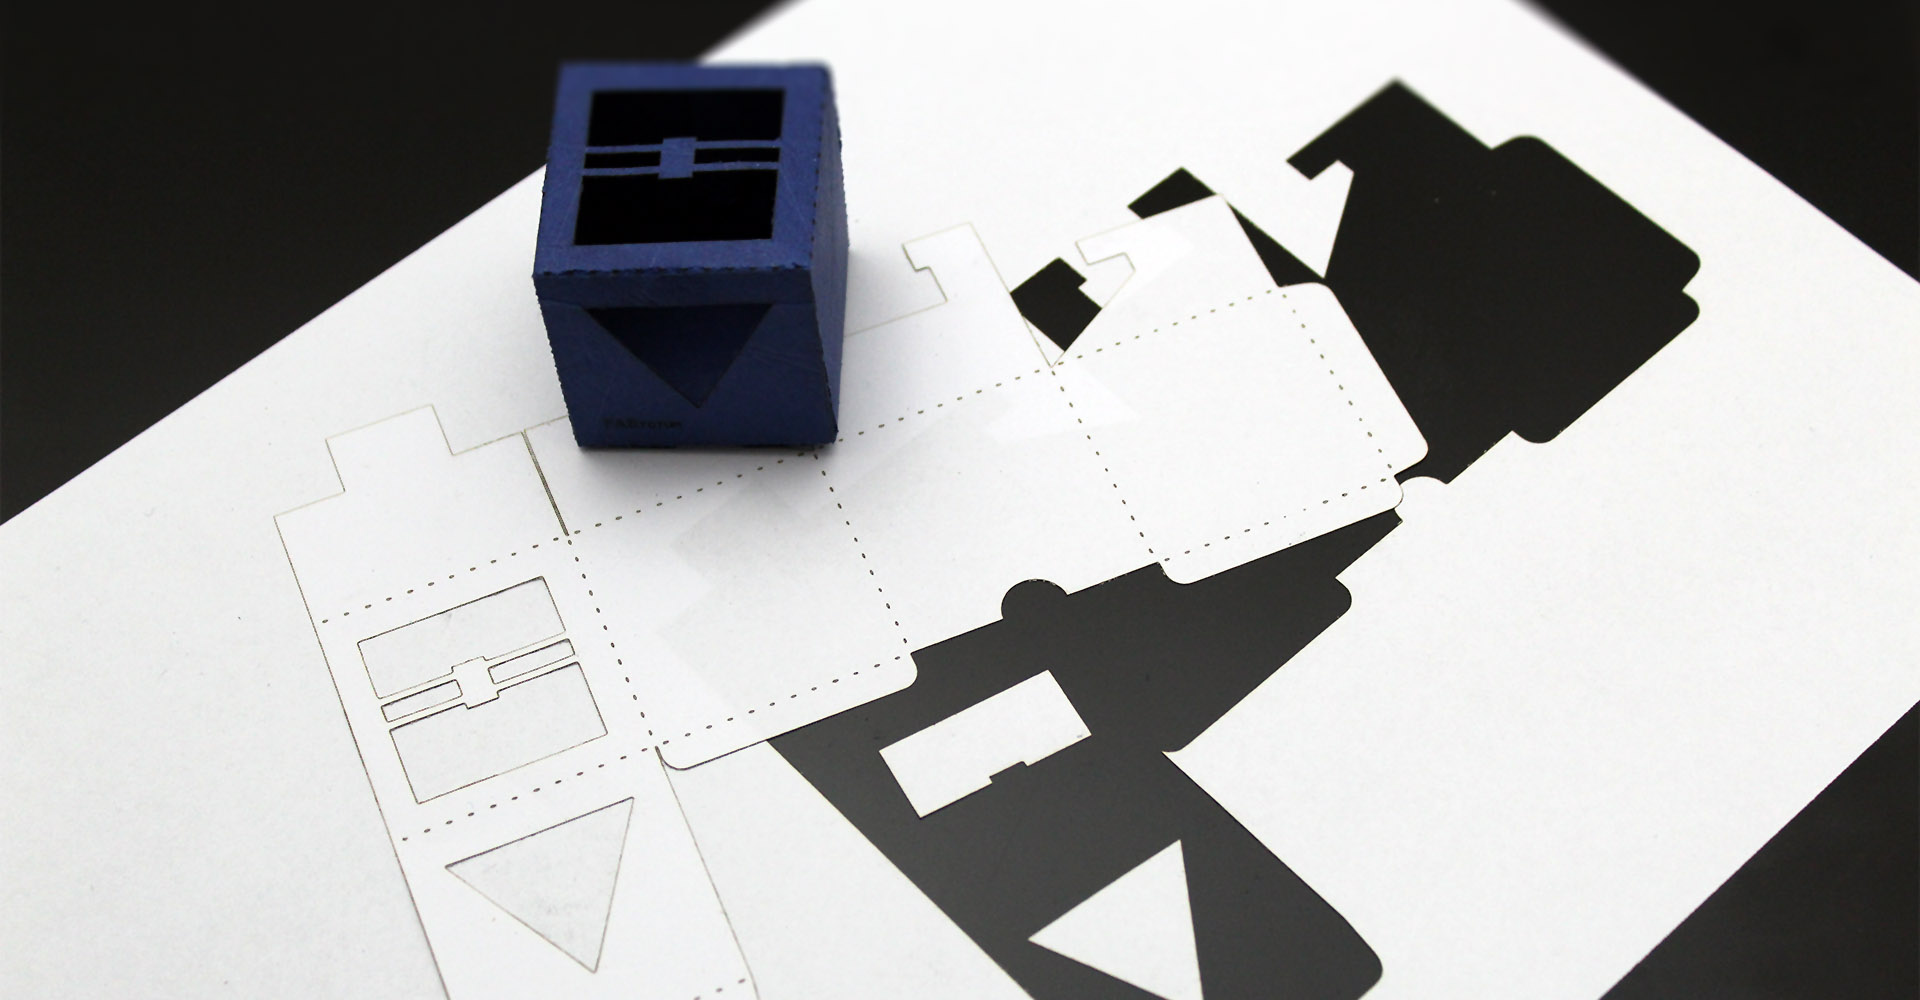
2. Paper/cardboard cutting: with the FABtotum Personal Fabricator and the Laser Head addon is easy to create many artcrafts such as foldable or pop-ups models, origamis and so on. The light beam is strong enough to both make the surface easier to be bent or to cut it in one step. With the help of FABtotum’s dedicated sofware, also, everything will be even easier thanks to the preset profiles.
3. PCBs: that’s the big deal. While the Milling Head could be used as well, there’s nothing as precise as a laser. The strong brushless motor, anyway, will still be a valid alternative and will also help to cut out the board in the desidered dimension. The Laser Head will work for both positive and negative photosensitive PCBs. In the positive ones the beam will polimerize the layer that should not be eroded by the acid. When a negative board is chosen, the beam wil then be directed on the parts taht should be eroded by acid.
This method of creating PCBs is costs and time saving. Easy, cheap and fast, is the best solution for both makers and any business that needs many prototypes.
A dedicated software
The Laser Head will benefit of a user friendly software* completely developed by the FABteam: the pre-set profiles, the ease to upload a picture and get a GCODE done will make the user able to create in a few minutes. Whether the project is a PCB or a kirigami, the FABtotum’s software will set everything up. Of course, skilled makers will still have the chance of changing some settings or even use a different method to generate the GCODE.
The Laser Head is the perfect tool for anyone: from makers to artists, from small business to schools and education centres. The classB laser has enough power to make a lot but it can still be considered safe when properly used. Available as an addon to be purchased alone and/or bundled with the FABtotum CORE.
The FABtotum CORE
FABTOTUM srl has been funded by Marco Rizzuto and Giovanni Grieco in late 2012 in Milan, Italy, where it is still based today. A year later the first model of the FABtotum Personal Fabricator has been described like the most innovative machine on the market; at the same time it become the most successfull crowdfunded product of all Europe.
The first FABtotum has been delivered in 65 countries and it counts more than a thousand units delivered.
The FABtotum has been the first to offer a multipurpose machine and to understand the important of having a device that could update itself endless times and get a mini laboratory on a desktop.
In the 2016’s Q4 the FABtotum CORE edition was officially presented during the company’s first Milestone. Between the advantages of this new model, there are a renewed Printing Head and Milling Head, a Hybrid Bed V2 and a complete new set of electronic boards. While the outside might look similar, the inside is completely revisited.
What else apart from Heads and Bed? We now have a Totumduino V2, a Raspi3 set and a Flex V2.
Want to upgrade? Contact us.
Once again, we’re happy to share with you what we’ve done so far, surely you’ll love it!
*The software will be free until June 2017.

