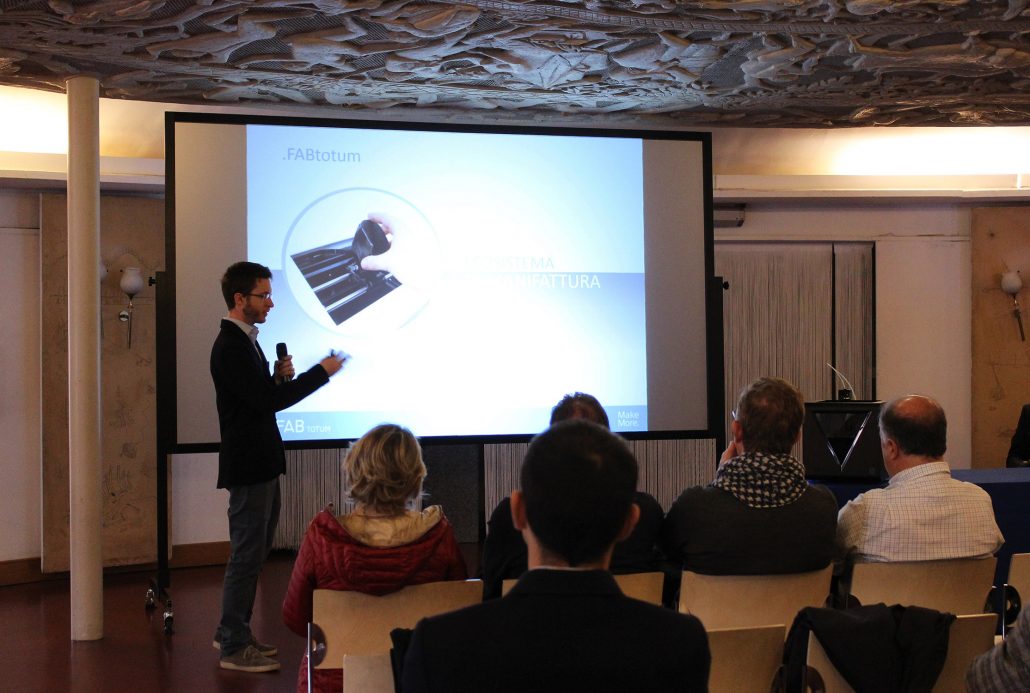
FABtotum’s community highlights: CNC milling a wood plate
Hi all,
here we are again!
Time for a second Community Highlight has come.
As said in the previous post, we are willing to let everyone see what a FABtotum lover can do!
Today we would like to introduce you our friend Alessio Cavalieri: he is well known on the forums already, and he likes to get his name clearly written where and when he makes something new. This is why his nickname is simply alessio.cavalieri, easy right?
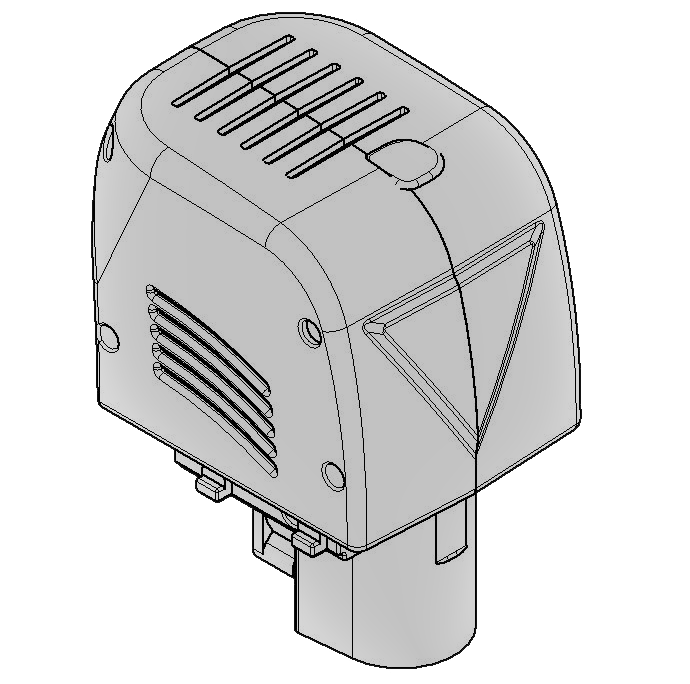
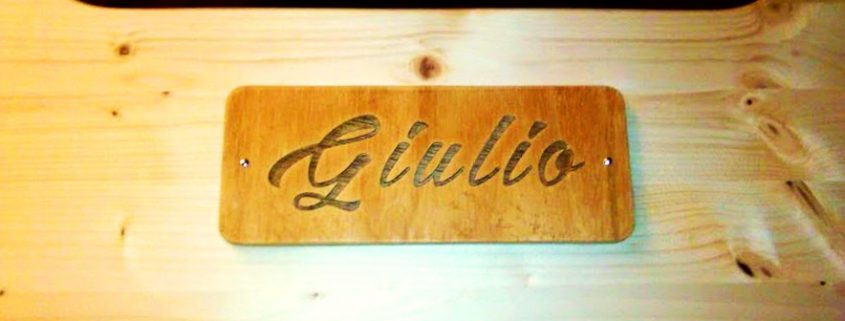
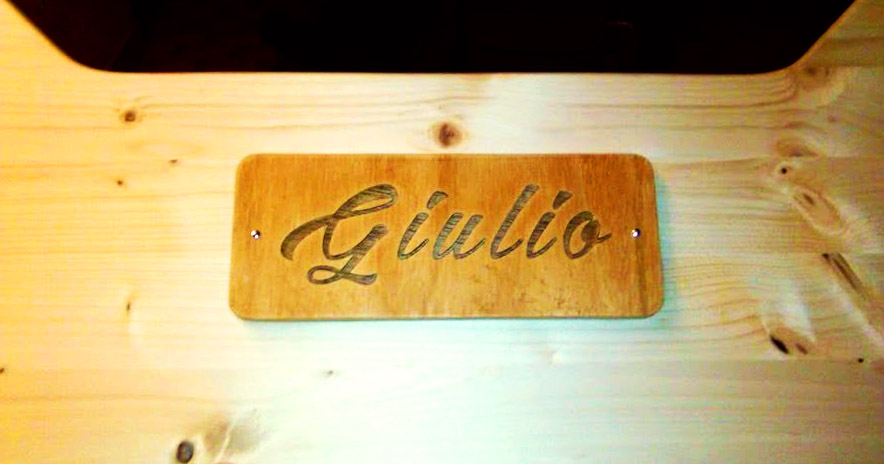
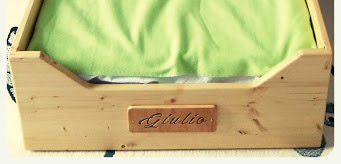
He did many things along the time he has been a FABtotum owner. Today we’ll see how he created an Engraved Name Plate using the Milling Head (actually he used an old Hybrid one).
How is it possible? Here is what he did, briefly.
The plate he used perfectly fitted in the FABtotum working area: a woodplate 200mm x 80mm. He started with some tests and tries on the designing side and finally got to the perfect version, which was then finally used as a gift. What a nice idea!
Good tip: he used a plywood that gets a nice finishing thanks to the natural texture of the different layers. Wood’s grain of the various layers will contrast between them, with a nice optical effect. Compared to a standard wood block, you’ll get a better look with no additional stress.
How to get a proper file? Inkscape example
Well, there are many software you can use to create a project for your FABtotum. Alessio decided for Inkscape, a free one that can be used with any OS. Just use it to write or draw.
Step by step, to get a doable object and a working file, he proceeded with writing the name, placed it on the surface and created the path. Here is how:
1. Designed the plate and placed near the origins (lower left corner): this is important if the final part is not as big as the block you start from.
2. Selected the text of the inscription and from menu: Path → Object to Path. The “Path” is what the CAM software will use as directions to move around and create.
3. Saved the design using: Save as → Plain SVG
How to create a GCODE with Makercam?
Alessio opted for Makercam, a free online tool (http://www.makercam.com/).
Before you upload your svg file, check these settings:
1. Set centimeters instead inches as default unit (if you’re fine with inches make sure to convert all the suggested values);
2. Select Edit → Edit preferences Set → DPI to 90 (suggested to import a drawing from Inkscape, set 75 for Illustrator)
Now upload your SVG and turn into a GCODE:
1. Open the plain SVG saved with Inkscape, make sure to delete any unwanted object;
2. Select the inscription/draw you want to be engrave, it must be red;
3. Select CAM → pocket operation, and add some settings:
name: writehereyourfilename
tool (mm): write here the diameter of your bit (Alessio set 1mm)
target depth (mm): set how deep you want to mill (Alessio set 2 mm)
safety height (mm): write here how much the Head should rise before spinning (Alessio set 10)
step down (mm): how deep the mill should go at each pass (Alessio set 0.25)
feedrate (mm/minute): movements speed (Alessio set 400)
plunge rate (mm/minute): (Alessio set 100).
You’ll need to set the above settings for each part of the design: to do so, simply select the part (n°2) and start again with n°3. In Alessio’s one, for example, he then needed to set screw holes and outside shape. Read the whole article he published on his blog or contact him if you want to know more!
Last part: get the GCODE saved properly:
1. Select CAM → calculate all
2. Select CAM → export gcode
3. Select all calculated toolpaths, export and save the GCODE file on PC.
As a safer procedure, check if the FABtotum will be able to get your project done. Check the outer path: is it going to fit? If yes, go for it!
Post processing the GCODE
Ok, one last step: as you will use the FABtotum, you’ll need the GCODE that Alessio set up for us (thanks!). It’s called MakerCAM2FABtotum, it’s on GitHub. It is essential to make sure that your 3D printer knows you’re going to get her something different to bite than some good PLA. It’s a Linux bash script but you can run it also in Windows. Ask him if needed!
Here is an example of what you can do:

This will set the FABtotum’s Milling Head to spin at 12000RPM.
Ok you’re done! Now get on the FABUI, open the Object manager and proceed just as you are used to.
Final tip: add an extra layer underneath your starting block if you have cutout parts so that neither the Hybrid Bed neither your milling bit will get damaged.
So, it looks like a long process and it might not be as easy as a sandcastle, but it looks great, right? Will you try yours? Do you have tips to get things done faster? We’d love to hear from you!
That’s all for this Community Highlight: thanks to Alessio.cavalieri once again, keep up the good job!
Keep following us,
FABteam