,

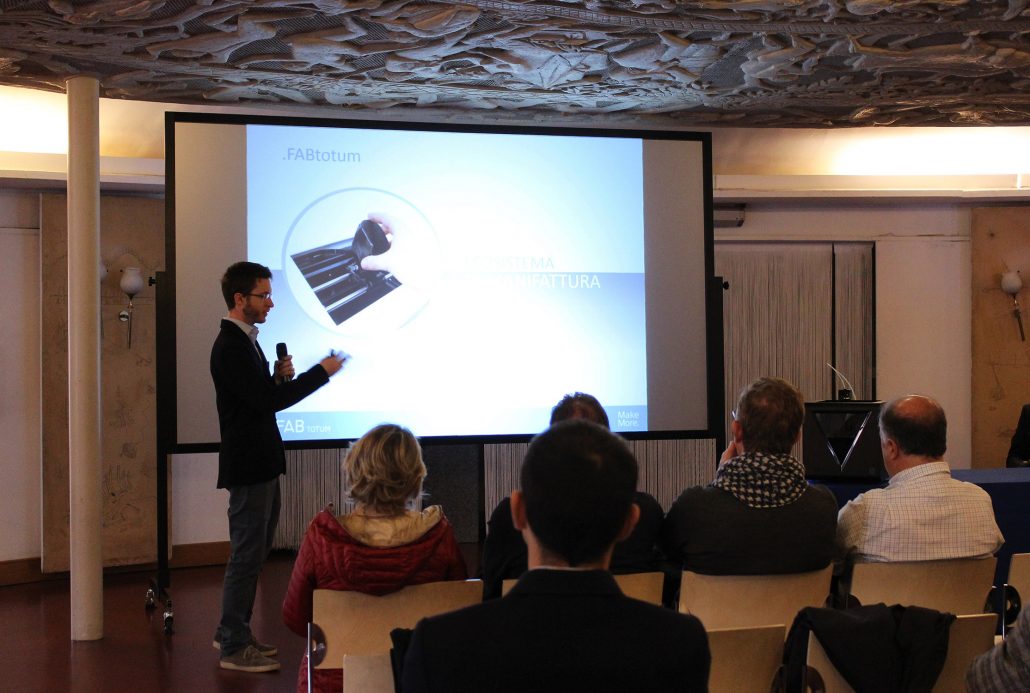
Milestone 2016 Recap

Milestone 2016: official presentation of FABtotum Core

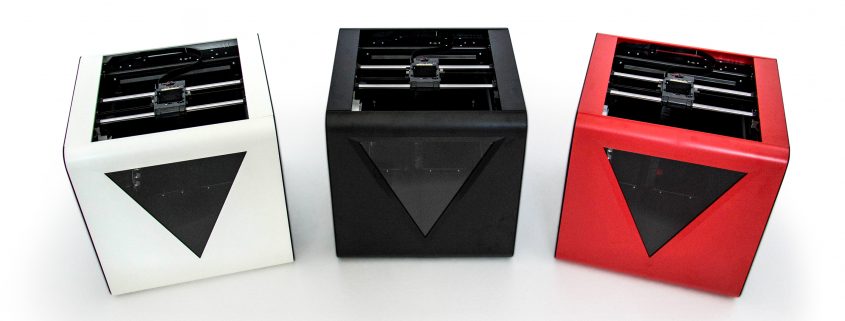
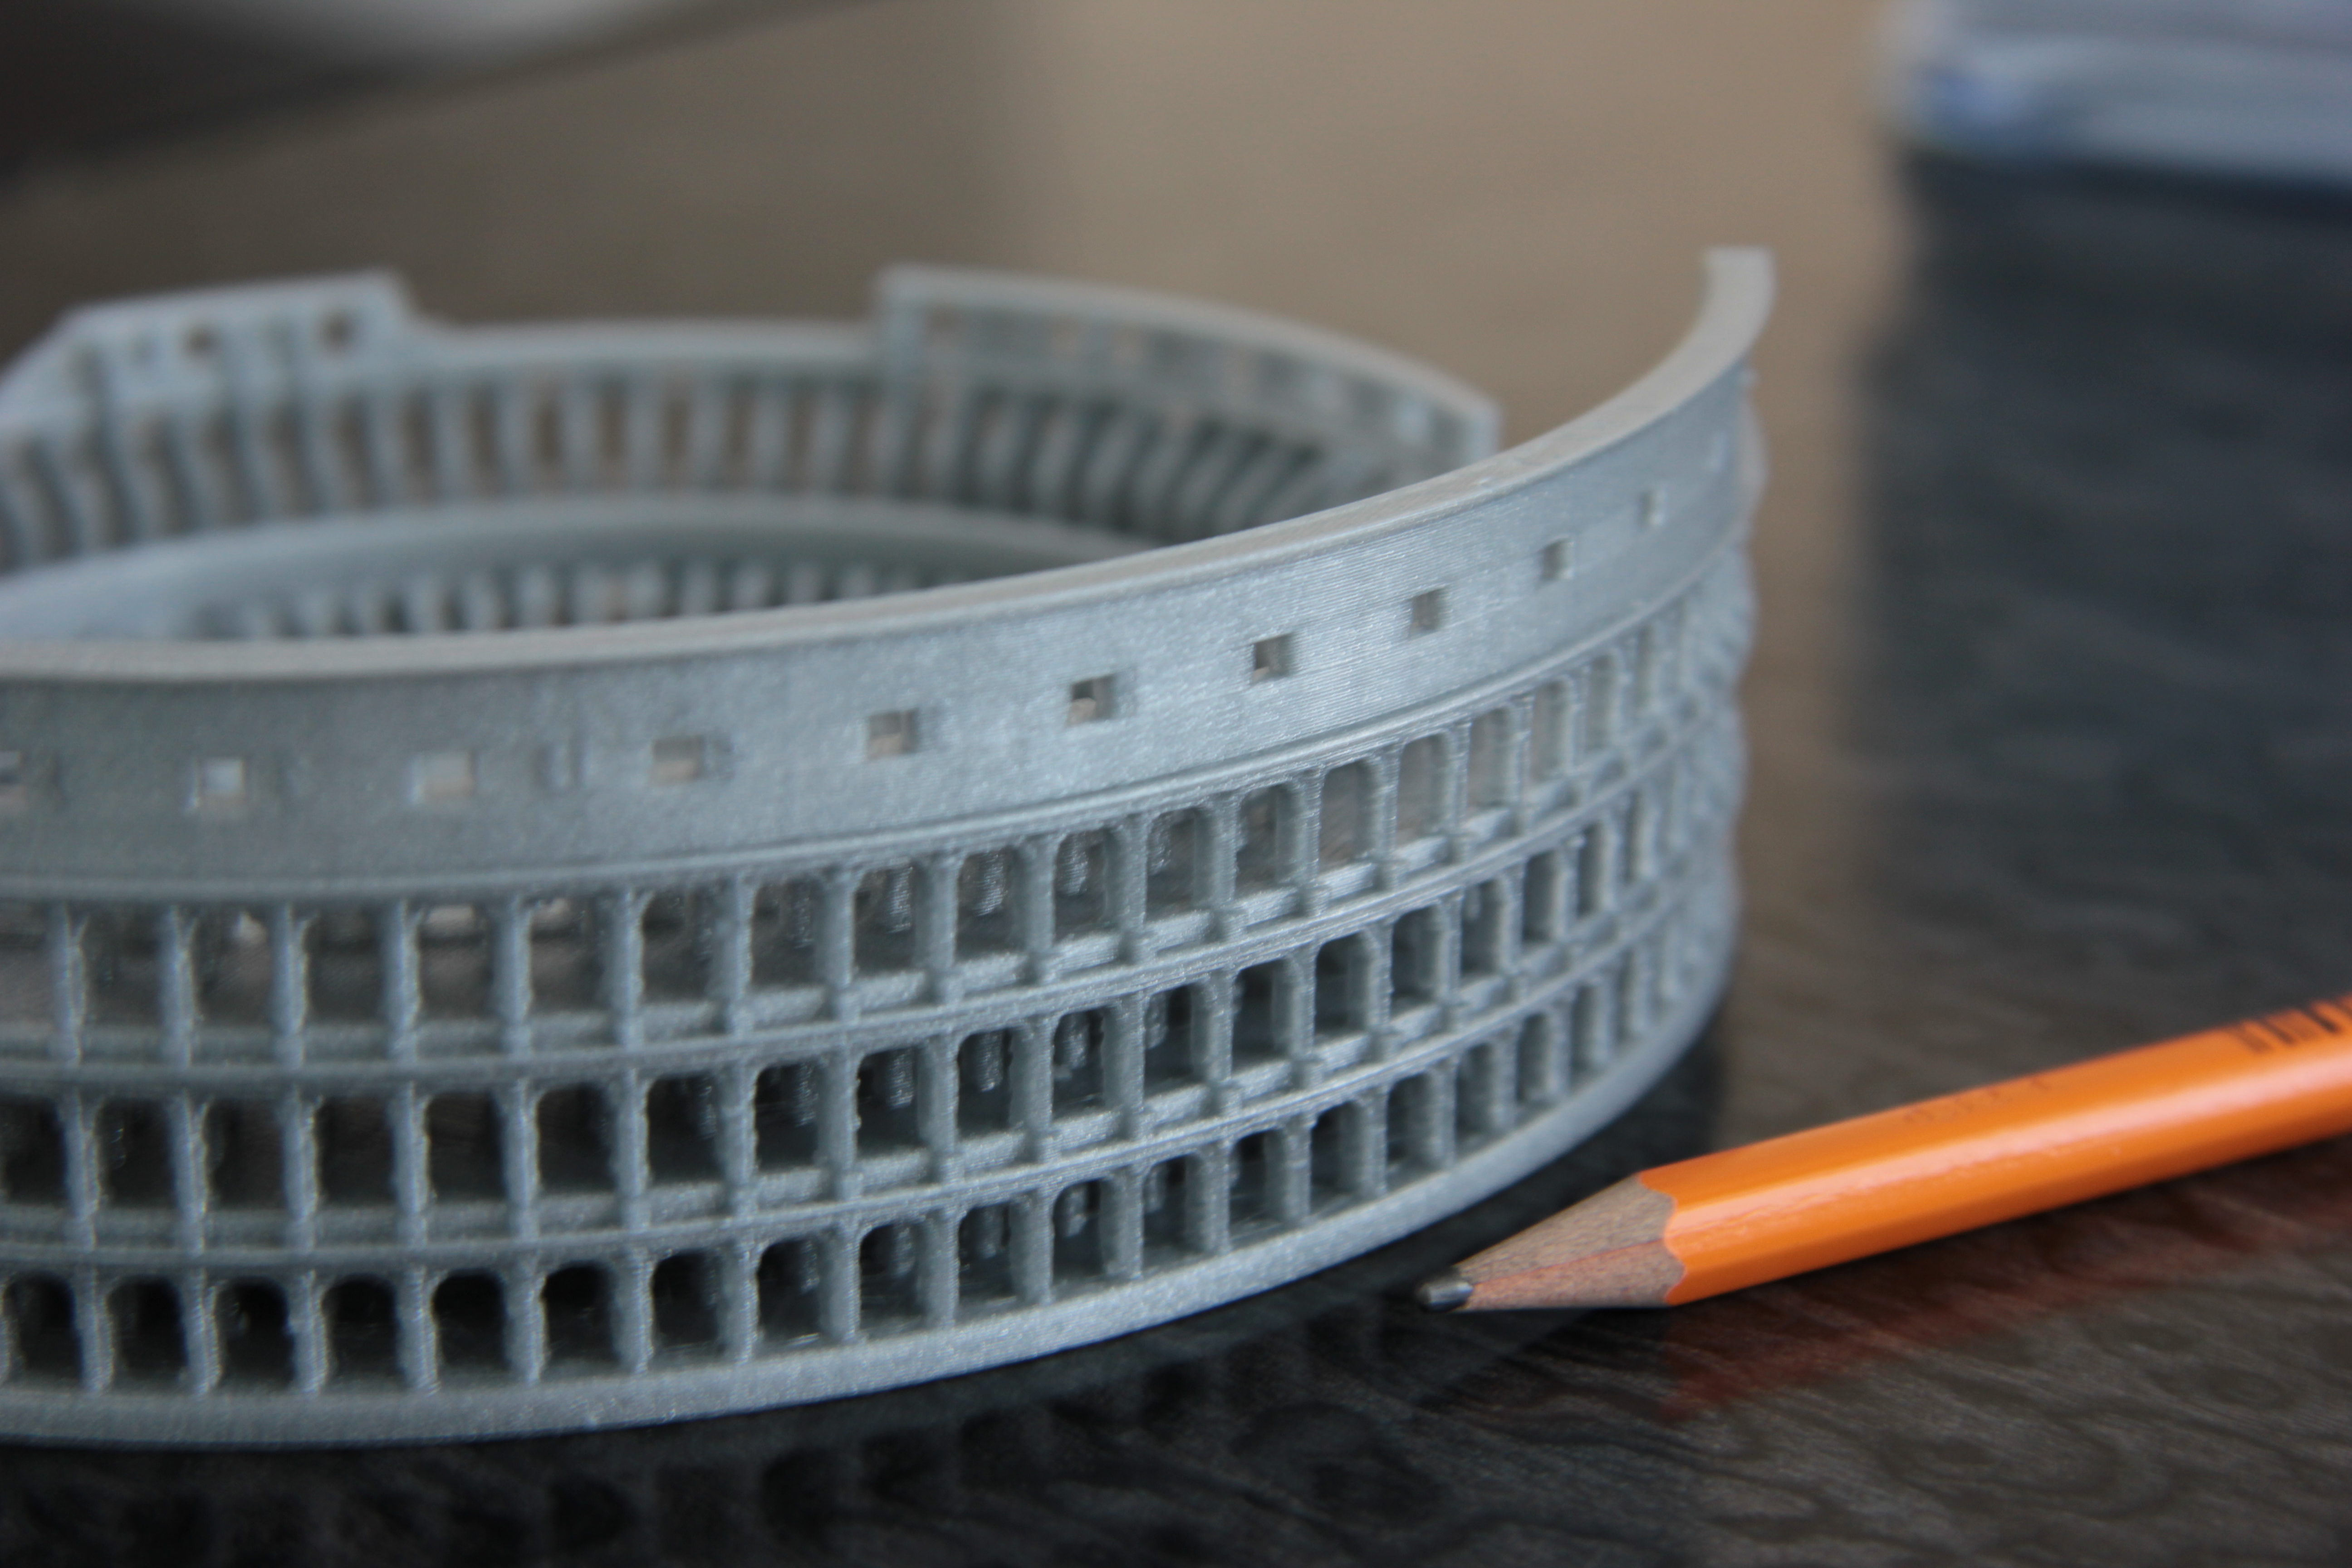
Last Saturday at the National museum of Science and Technology Leonardo Da Vinci in the heart of Milan, FABtotum has officially presented the new FABtotum CORE: the all-in-one 3D printer, can incorporate 3D Printing, CNC Milling, Scanning and now Laser engraving.

“The FABtotum personal Fabricator CORE is the result of more than 2 years of development and improvements of the first product. It’s a milestone for us and source of pride” said Marco.
“With CORE we are refining the user experience and giving customers the best possible tool for multipurpose rapid prototyping and manufacturing” continues.
The FABtotum CORE is available for purchase on the FABtotum store: each customer can pick the add-ons to include and customize the platform to suit his/her needs.

fabtotums-milestone-2016-rizzuto_rid


Present vs Past: functionalities and modularity
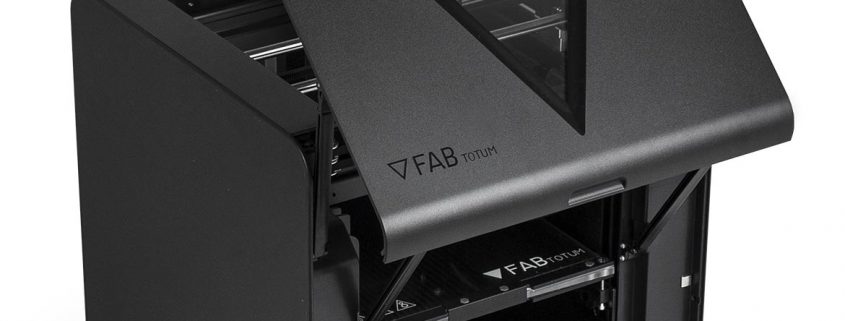
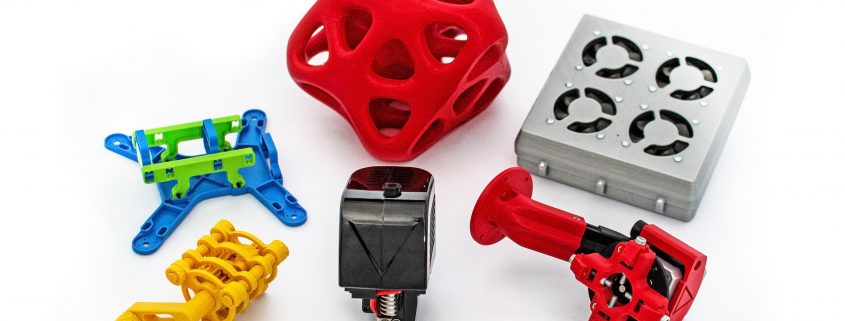
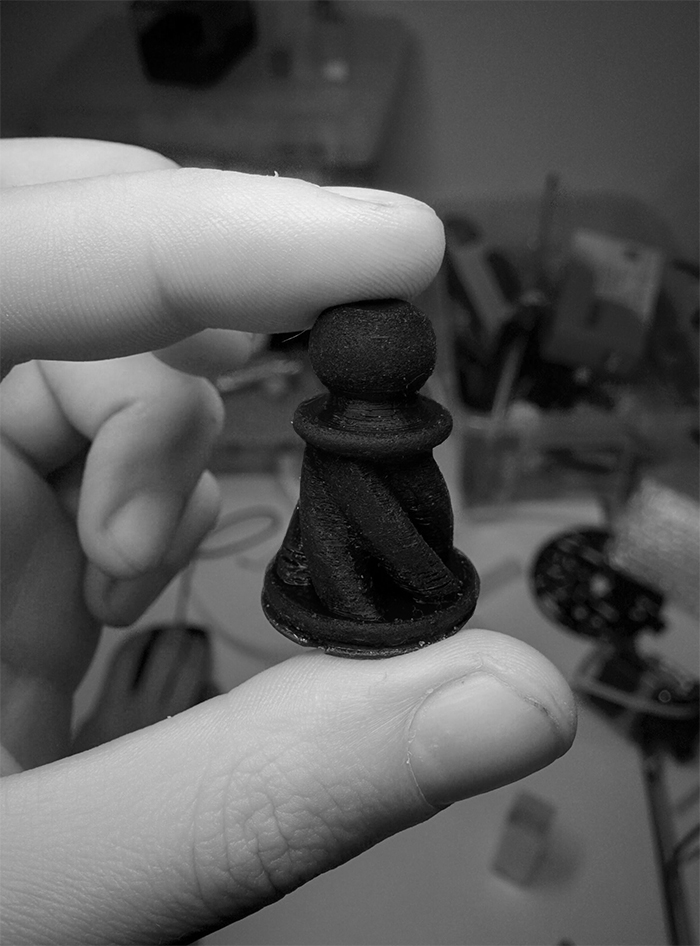
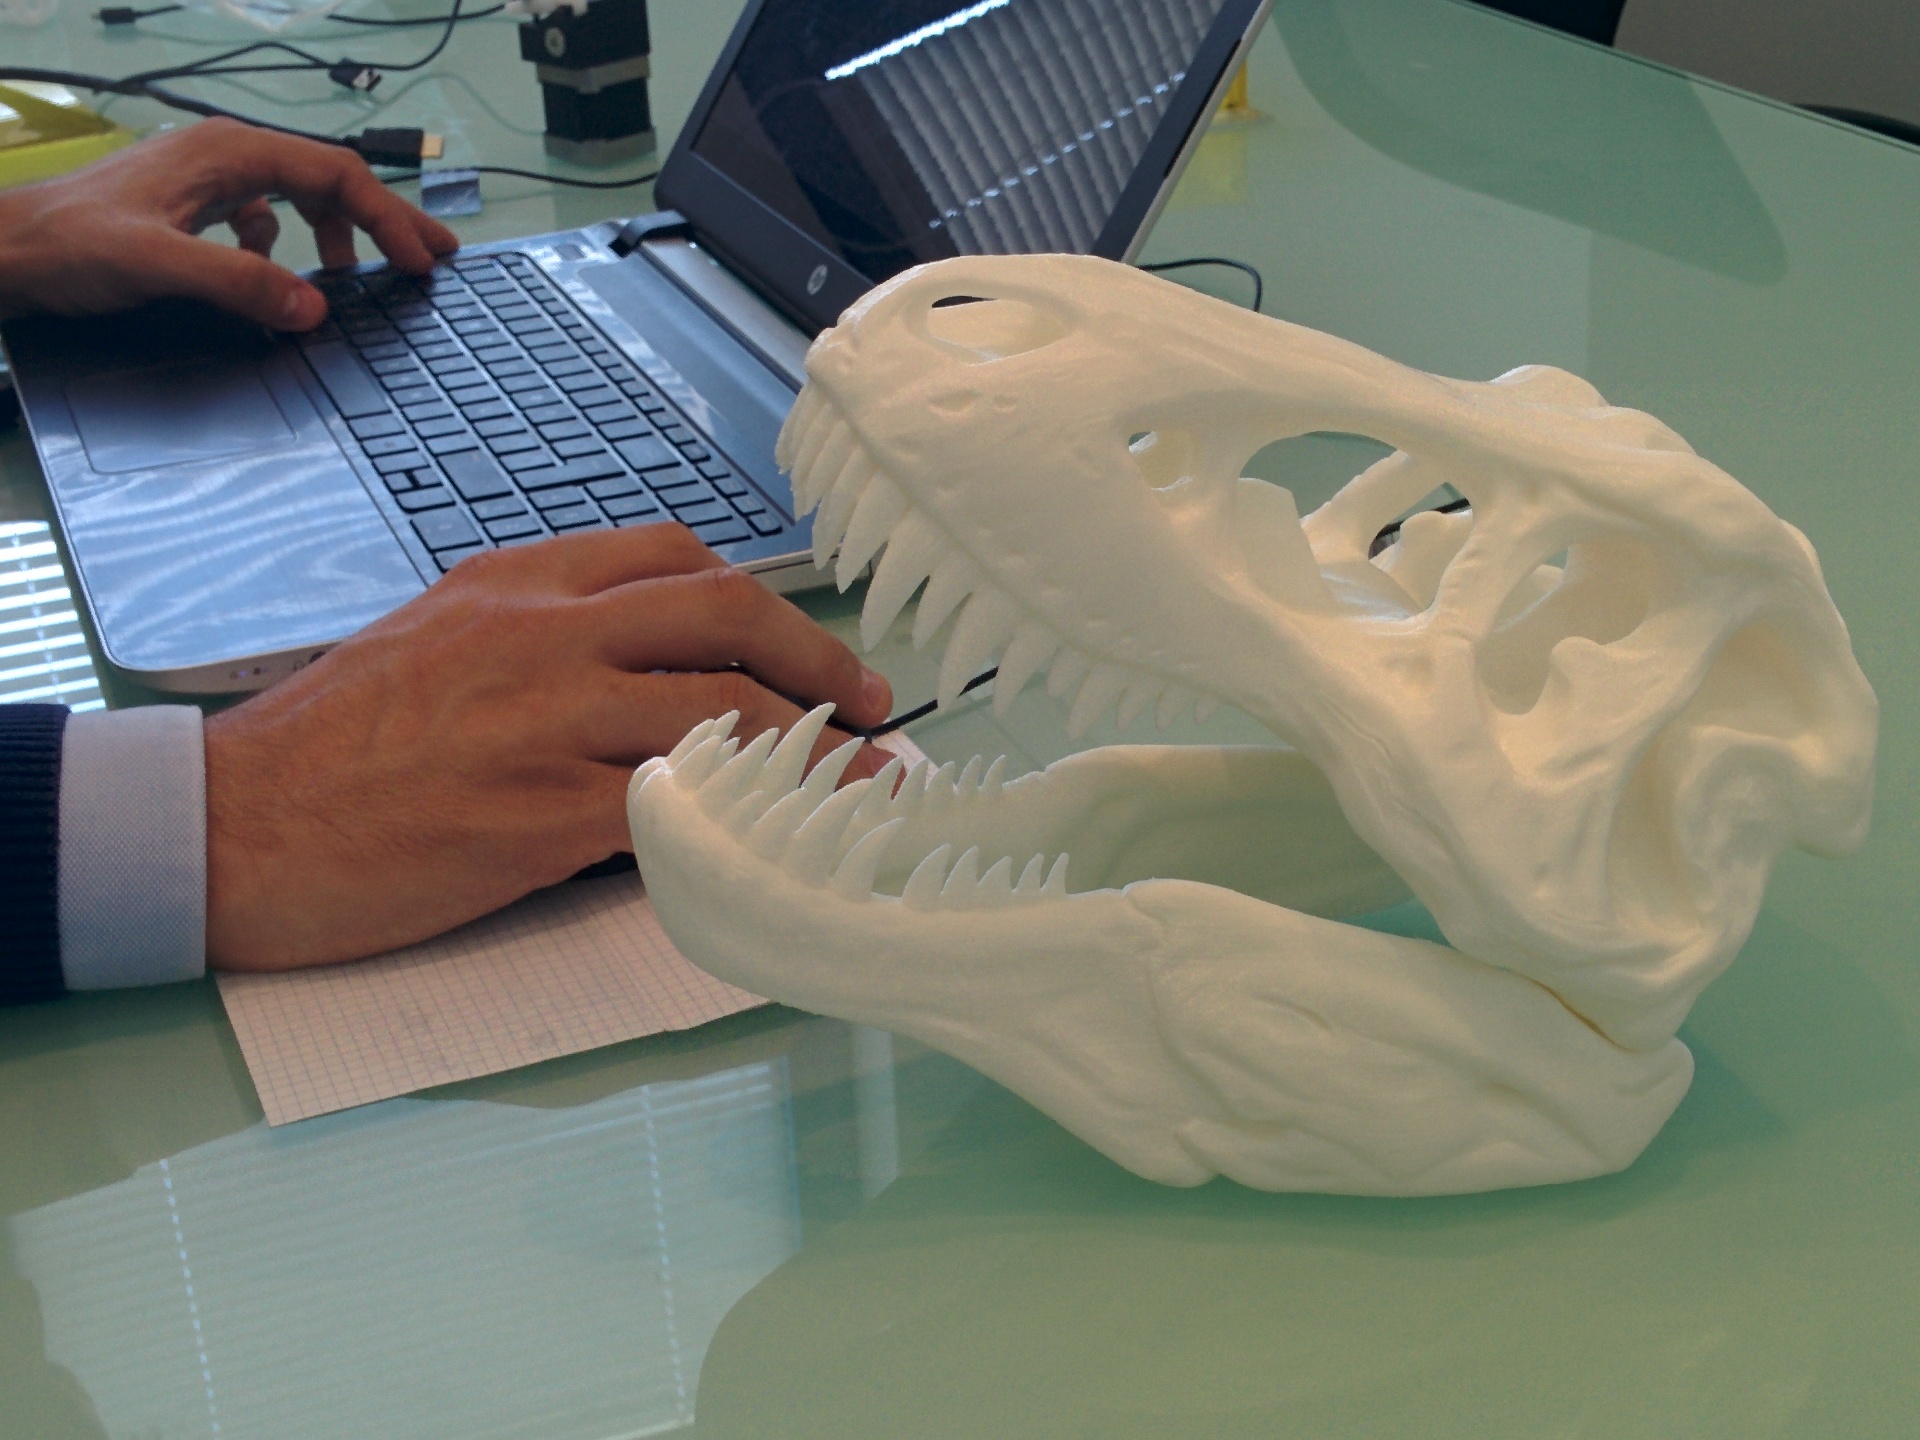
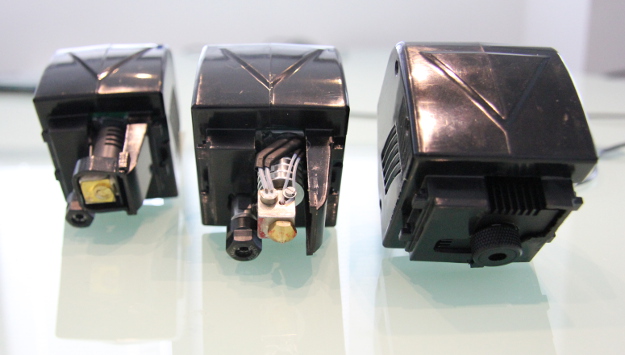
The FABtotum CORE keeps the basic functionalities (3D printing, Milling, Scanning) and the modular concept of the previous model, which is made possible by swapping the addon heads. It as well retains backward compatibility with all units. If an upgrade is needed/wanted, the Team will assist all requests.
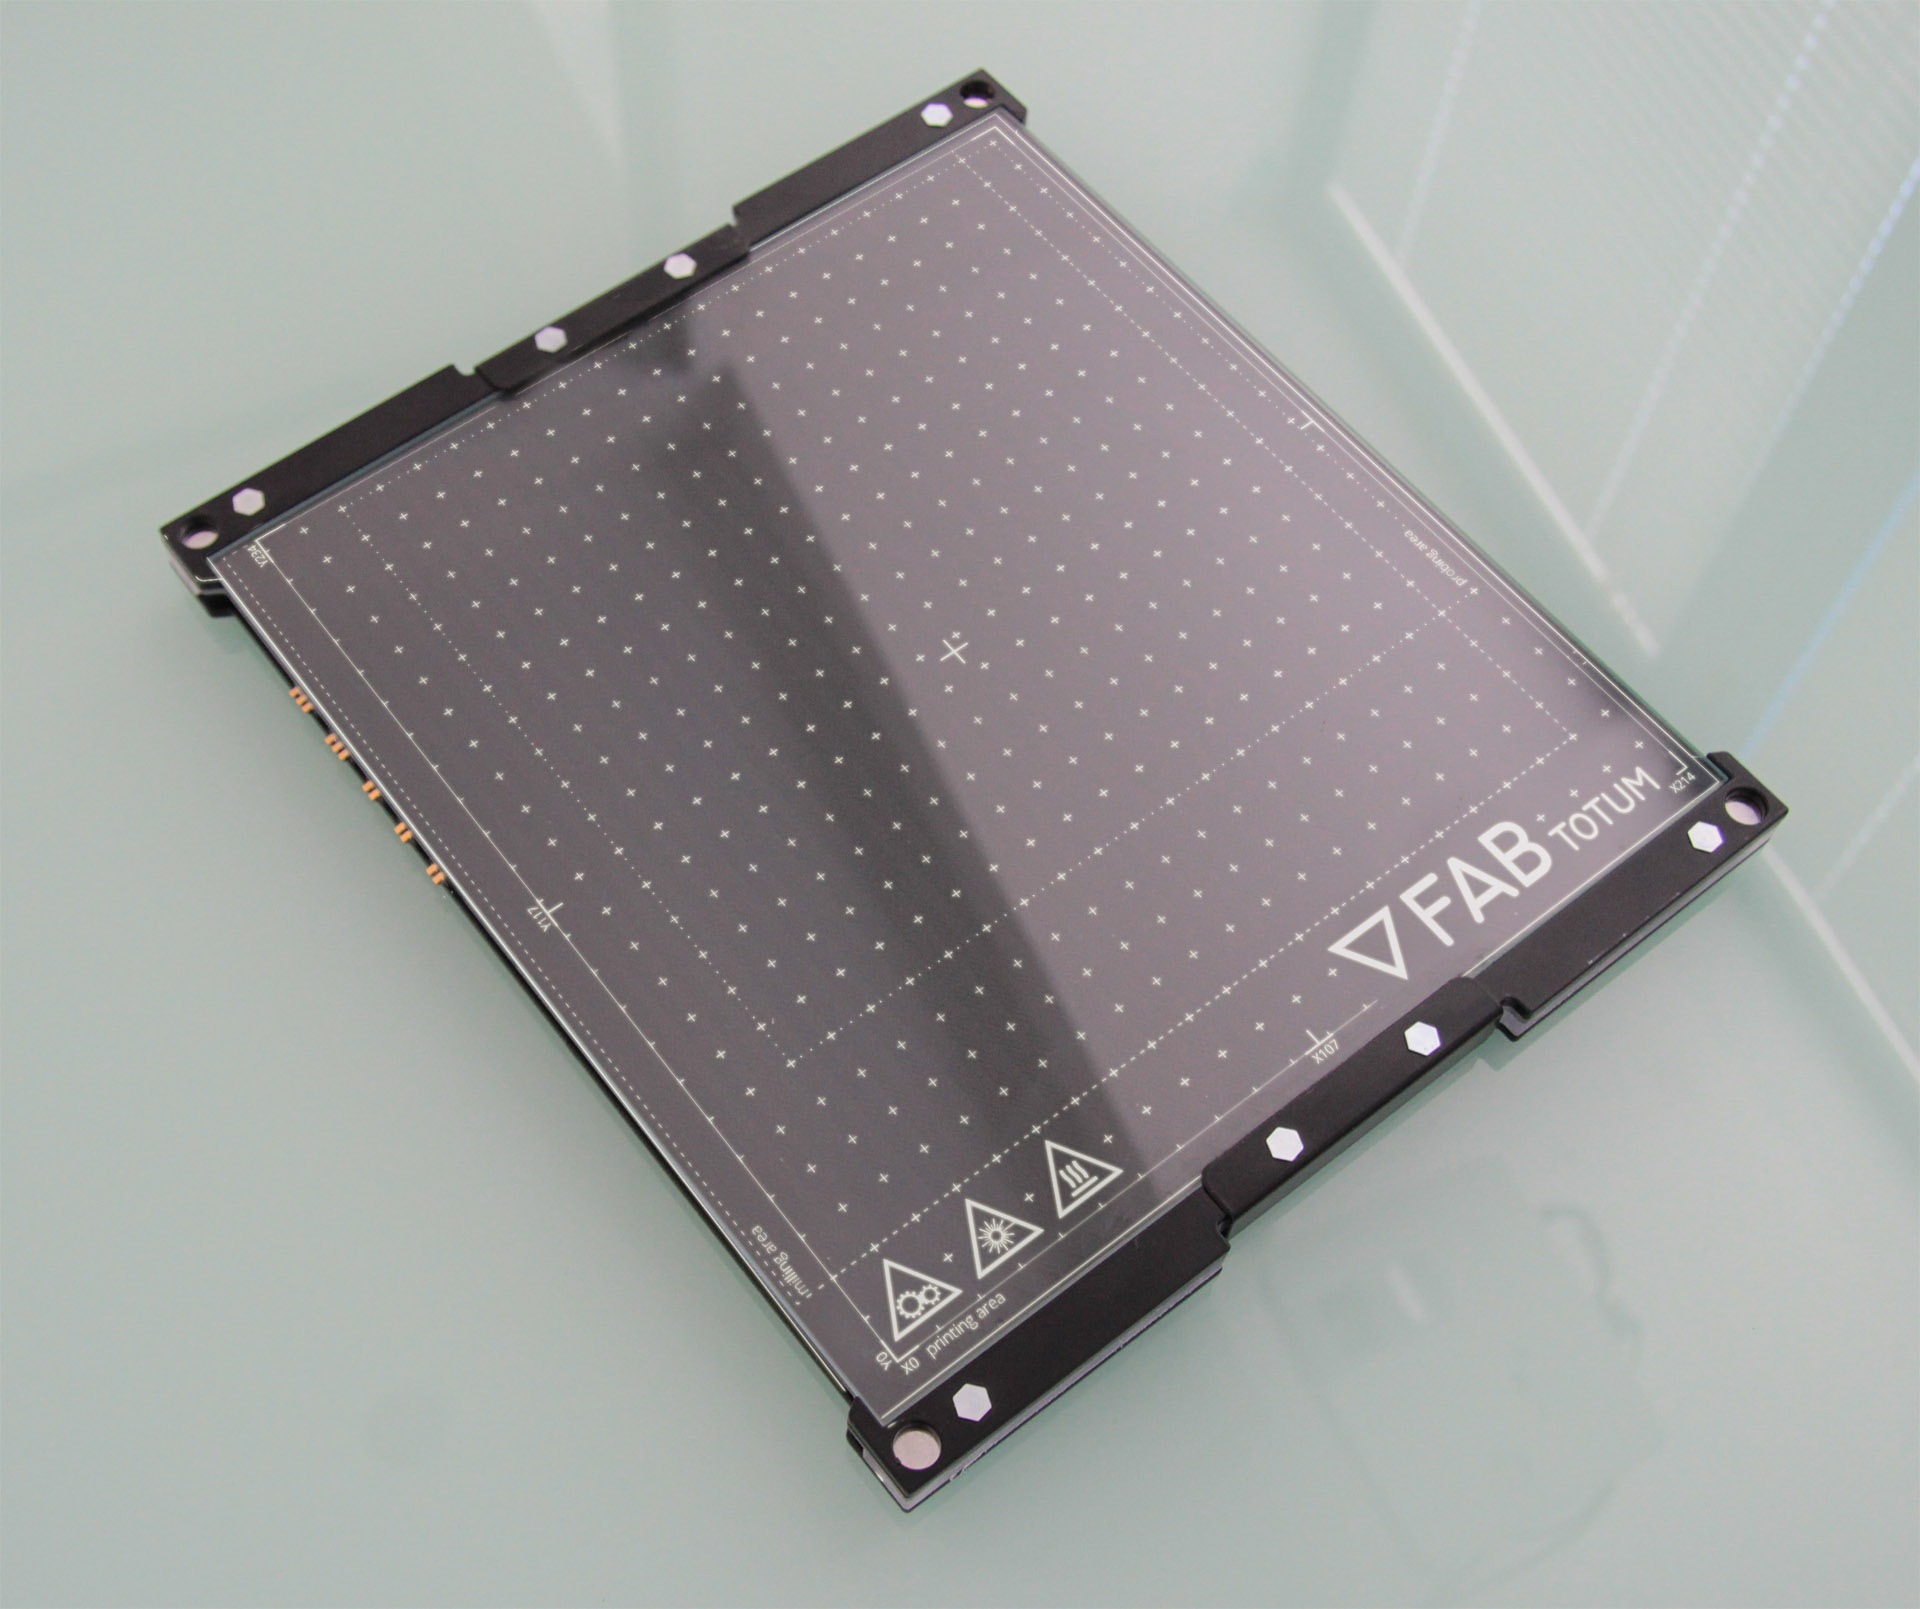
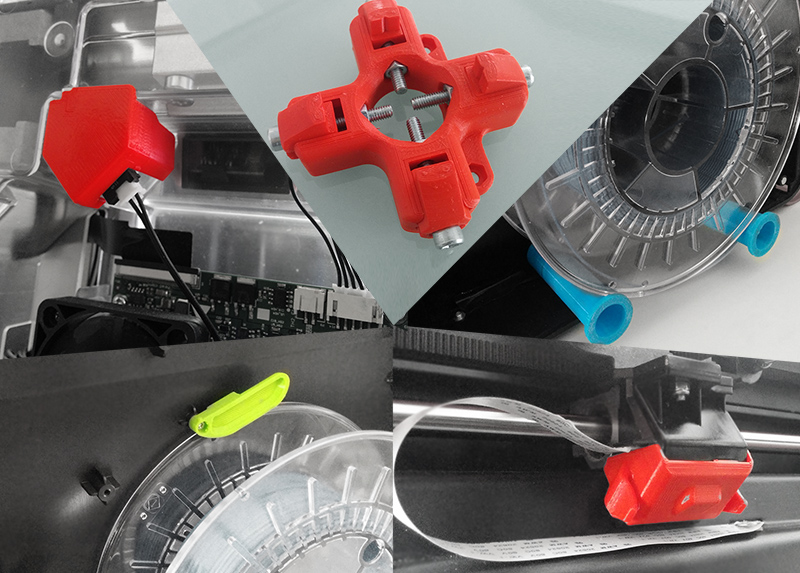
It improves efficiency and speed by all-new electronics, newer printing heads and build surfaces, as well as new built-in software.

Higher performance, higher speeds
The FABtotum CORE is several times faster than the precedessor owing to the introduction of the onboard Quad Core RPI computer board, namely the RaspberryPi3.
Printing times and speeds have also been increased thanks to newer electronics: our Totumduino is now at its V2.

Colibri: more than just a new Software, it’s an OS
The FABUI, the web based interface, can be accessed via LAN, Wifi and remotely on a browser. But the big news is that every FABtotum (not only COREs, just every unit) will soon also be equipped with the new FABUI Colibri, the brand new Operating System internally developed as the first operating system built from the ground up for 3D printing.
FABUI Colibri will dramatically improve the speed of the system even further and add full filestystem recovery and networking improvements.


laser-head-wireframe


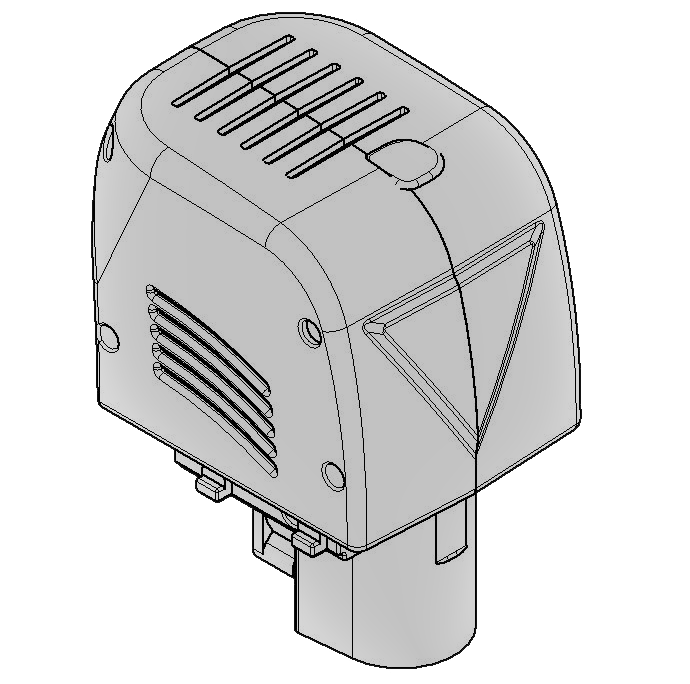
Laser Head, PRISM & More: other products announcements
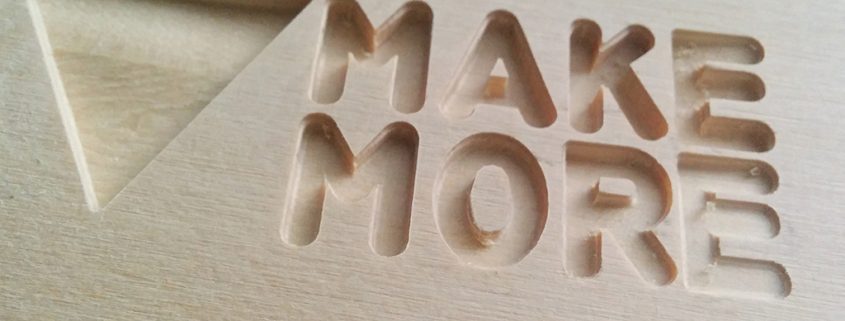
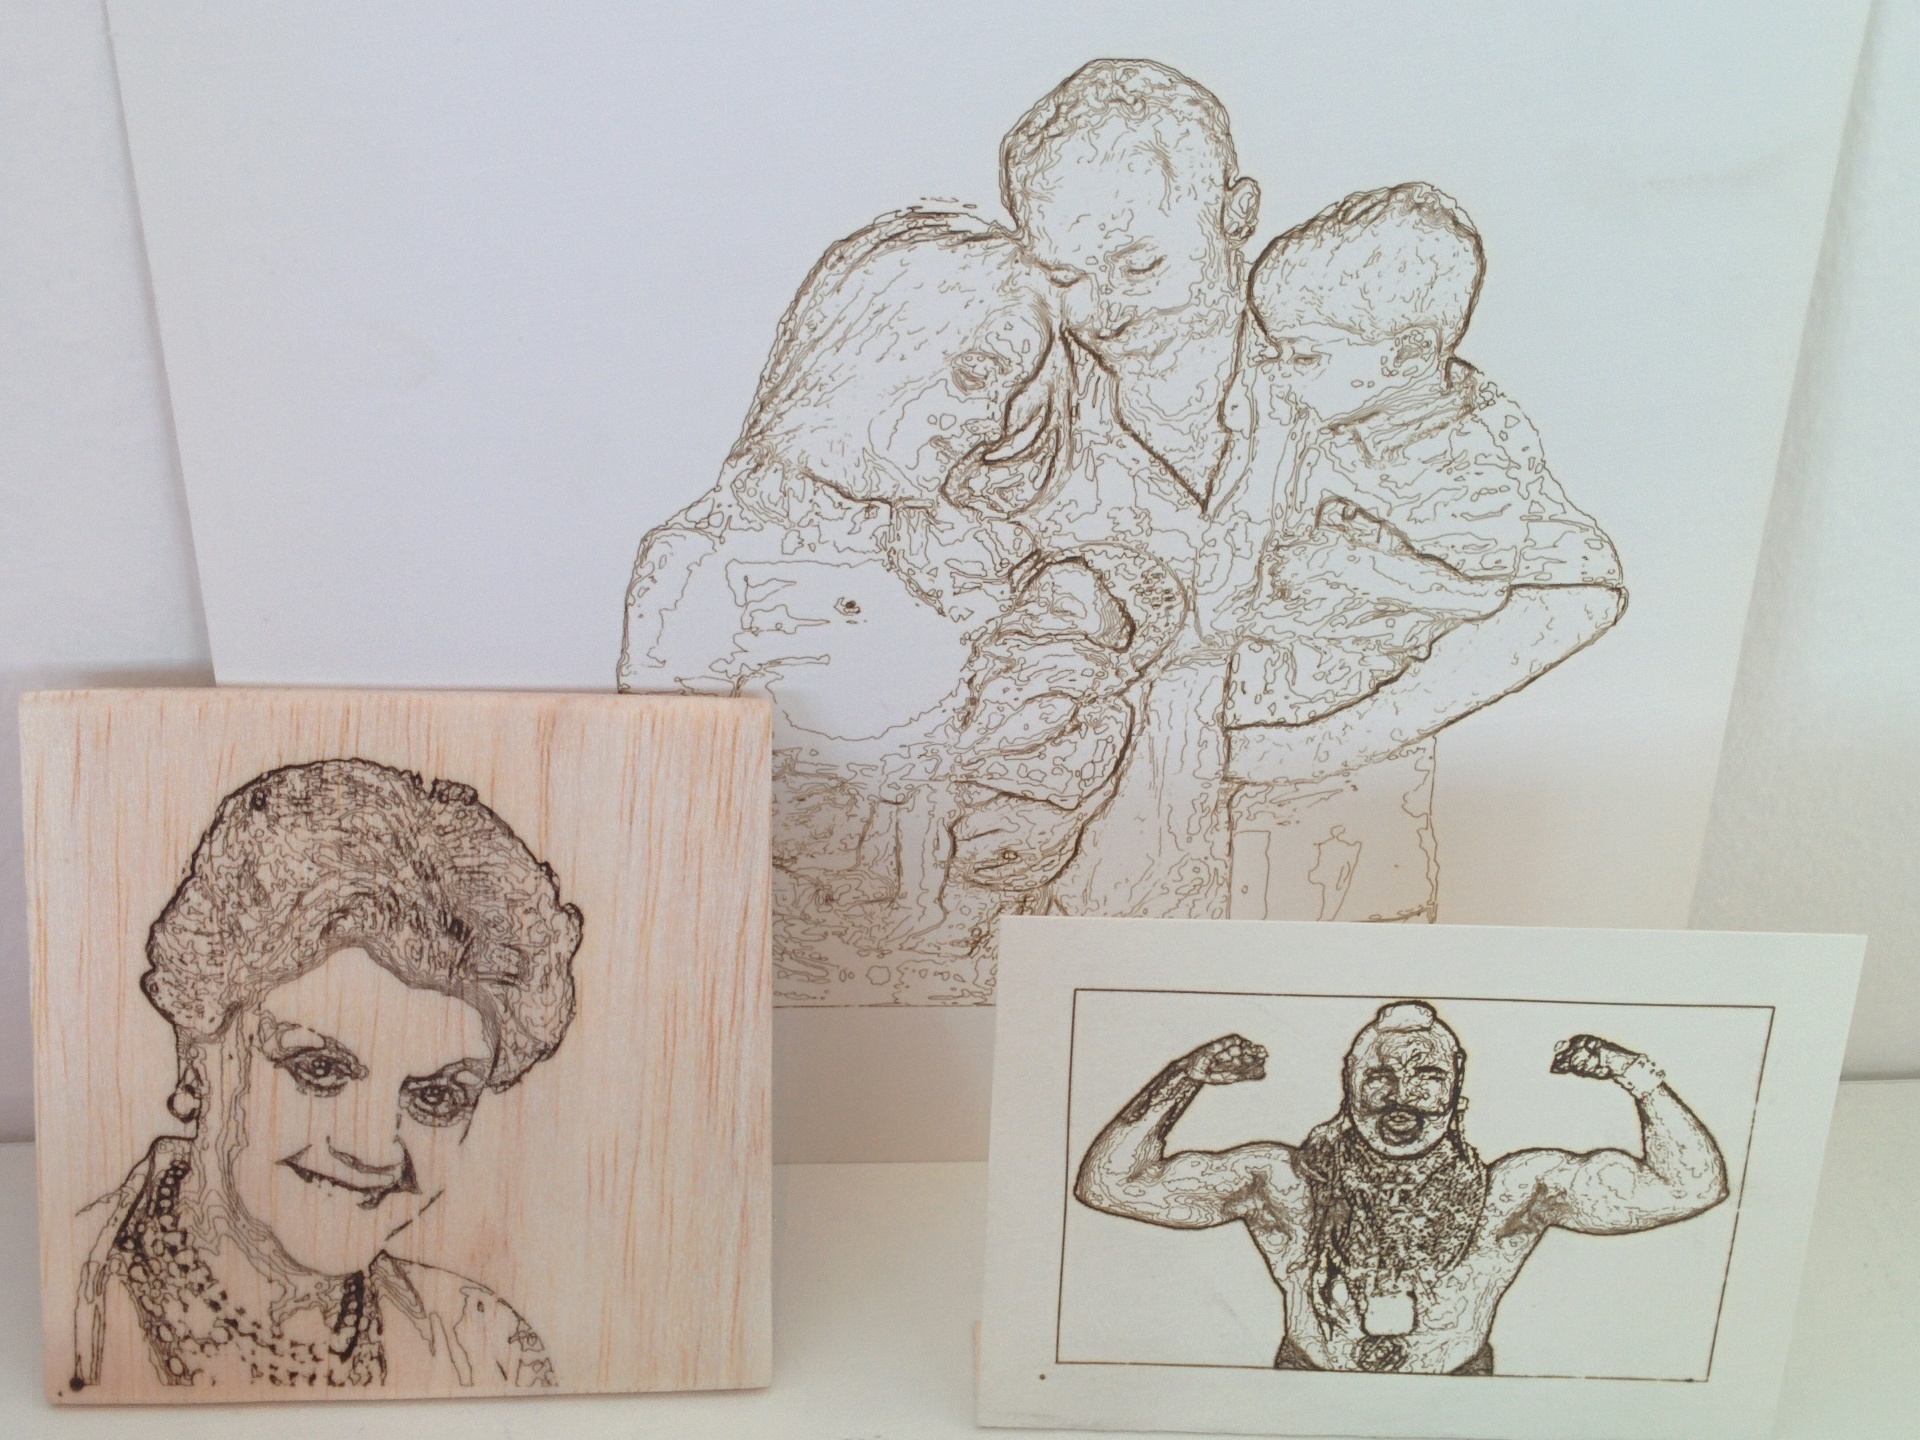
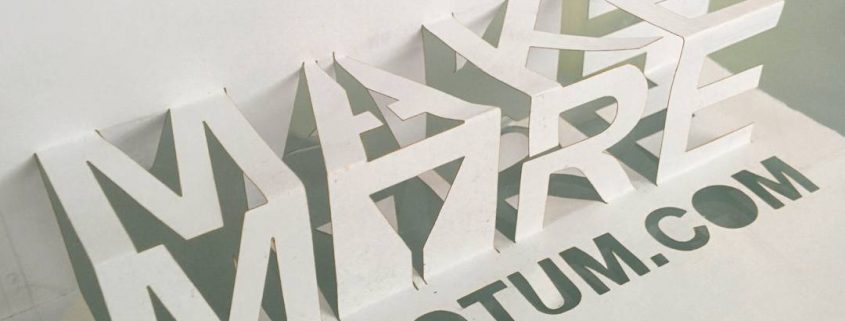
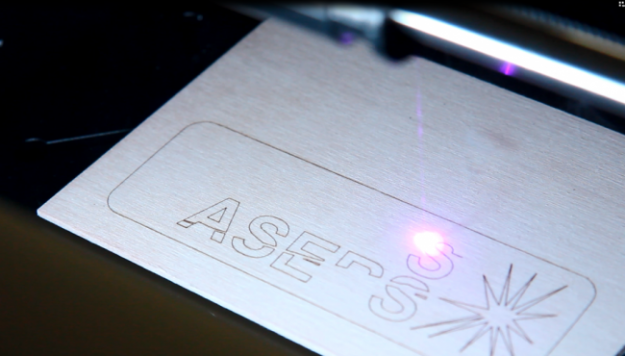
FABtotum has also presented the Laser Head Module, available from early 2017: the new add on is capable of precise PCB engraving, paper and stencils cutting as well as engraving images on wood or some alloys. The Laser Head will be available in January 2017 on the Fabtotum online Store.
A separate blog update will be dedicated to this module soon.

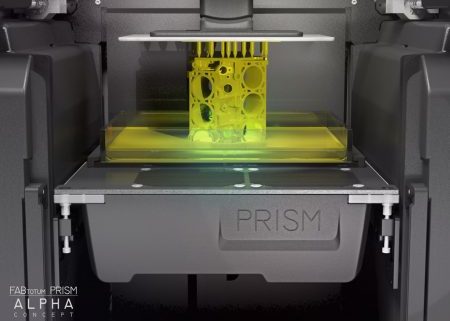
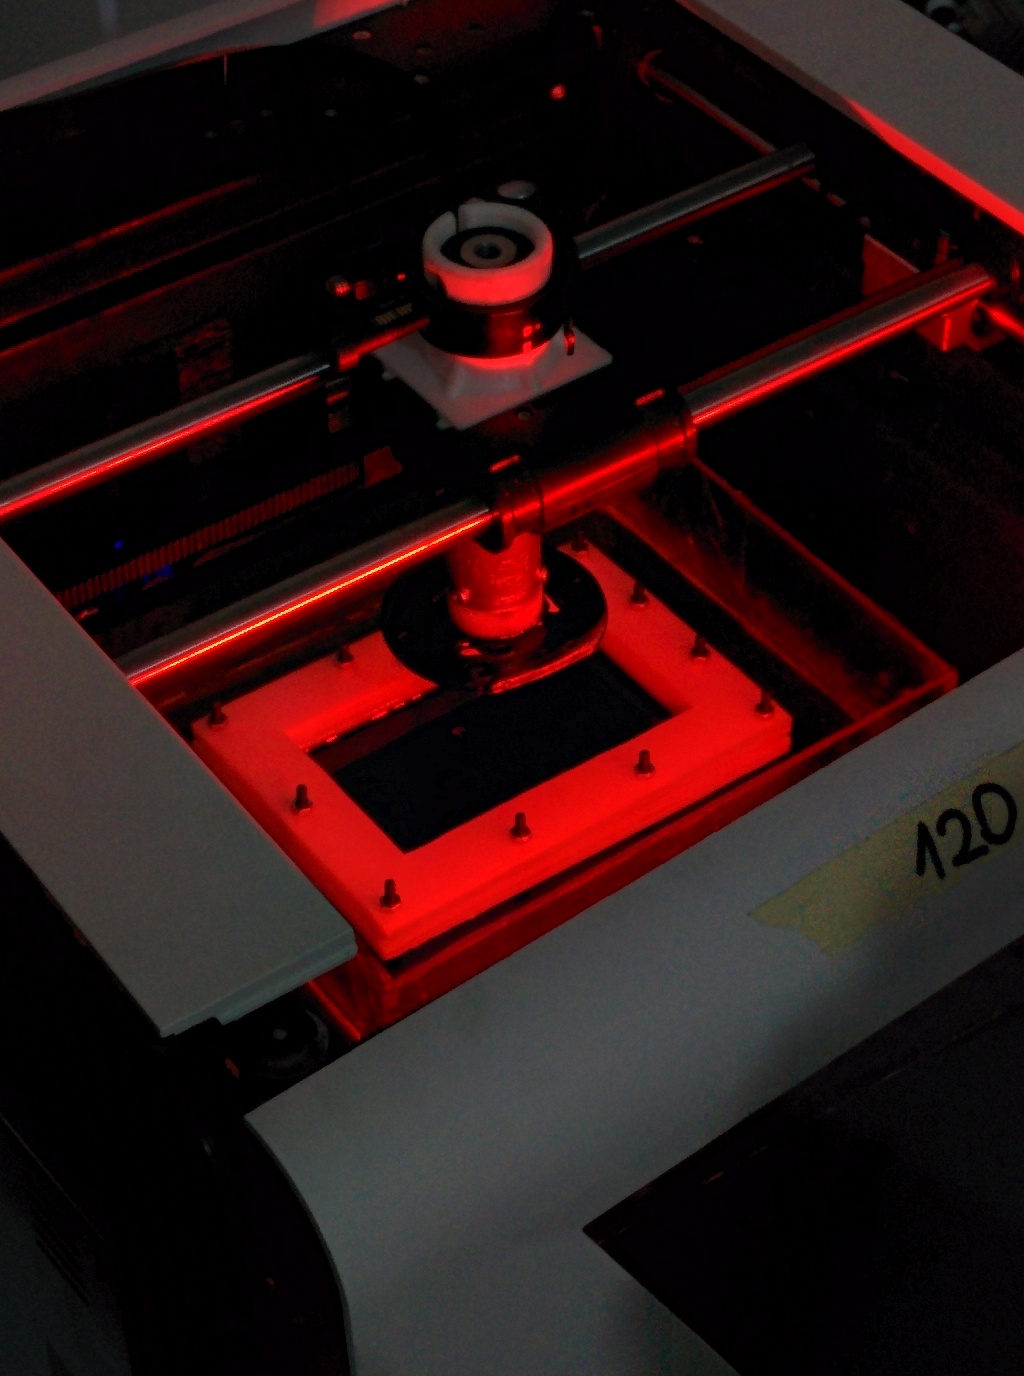
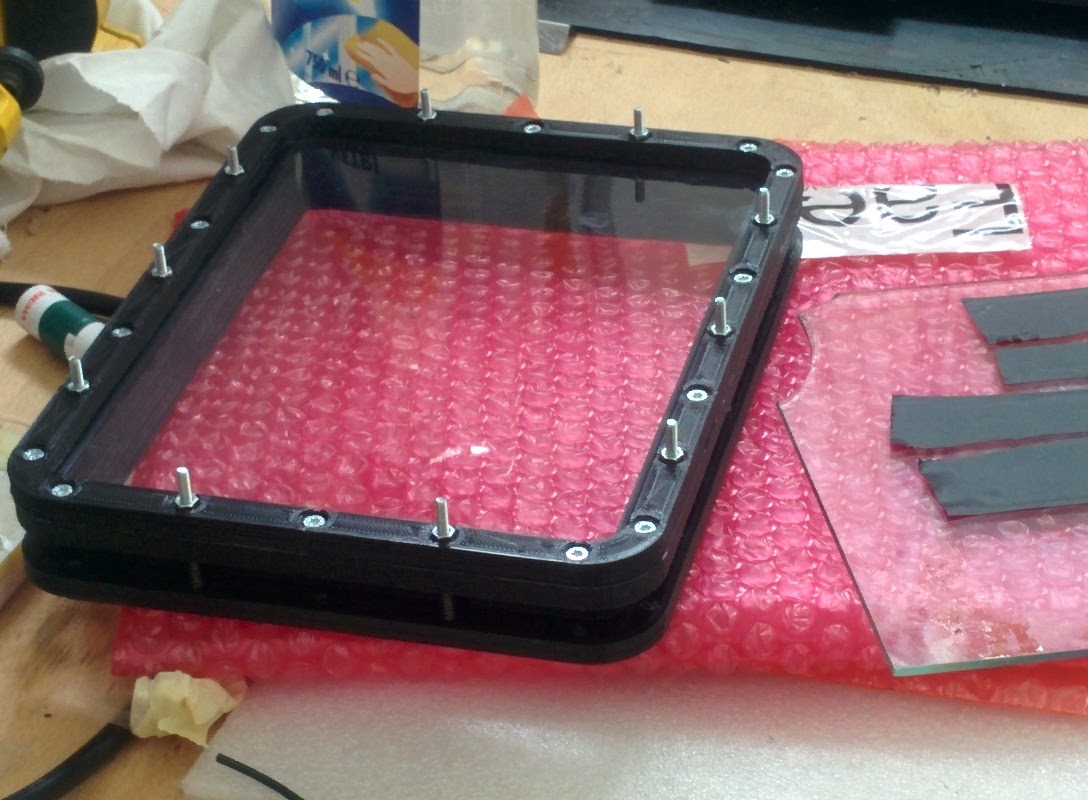
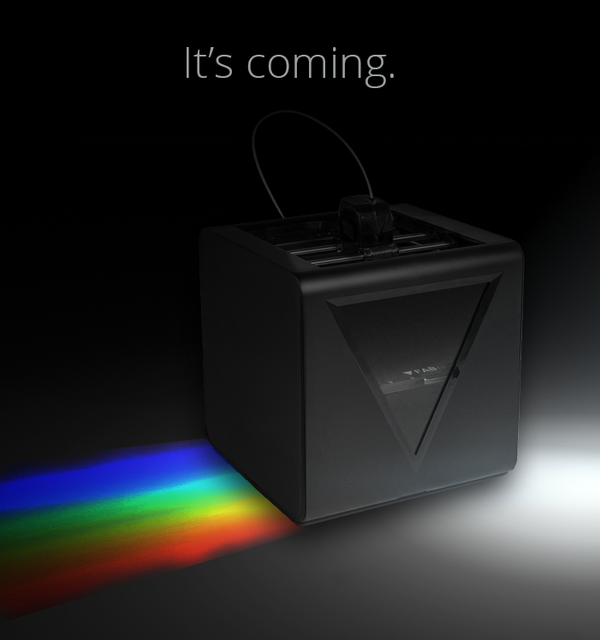
During the Milestone presentation we also talked about the PRISM stereolithography platform: the Team is working and investing on new materials and procedures with renowned University labs to bring this new technology to the market in the near future.

We as the FABteam would like to thank everyone who have been with us during these years.

Keep following us,
Marco & the Team

, ,

Here’s the New FABtotum CORE – now Upgraded and Shipping

FABtotum Personal Fabricator 3d multipurpose printer red, white and black

Surprise! We’ve upgraded the FABtotum Personal Fabricator CORE edition with new hardware. The FABtotum CORE Edition is the milestone version that combines the know-how and the research developed in over 3 years of improvements. Stepping up to the challenge of providing the best multipurpose personal fabrication tool ever, we’ve improved the onboard computer and, for […]

,

Knowledgebase : Learn More about the FABtotum

FABtotum knowledgebase: guidelines and tutorial

Recently we have been working on moving the old FABtotum Wiki to the new Website. The result is a ever-growing collection  of guides and tutorials on 3D printing, Milling, CNC machining and all the other things connected. there you will find tutorials on how to set up and run your favourite slicing software, as well […]

,

FABTOTUM becomes part of Zucchetti Group

We are finally ready to share with you the announcement we have been longing for. FABTOTUM starts a new adventure together with Zucchetti Group. An agreement has been in the works for a while but today we are happy to unveil this big news, as FABtotum has secured an investment round and will continue his jurney […]

Dev Blog Update : FABUI 0.95x, FABtotum Core & More

Cheap and professional 3D printing service

With the introduction of the Development Document, a precise development  path has been taken. After one year we have actually completed that journey, and we would like to share the results. The FABtotum CORE, the newest revision of the FABtotum Personal Fabricator platform is , simply put, the FABtotum Personal Fabricator in its most recent […]

Print Head V2 – Preview

Usa la FABtotum Laser Head per la prototipazione rapida e le piccole produzioni

PRISM development update

FABtotum PRISM module for stereolithography- development update

Hello everyone!
We’d like to update you on the development of the PRISM module.
Keep in mind that nothing is definitive or guaranteed to be part of the final version.

Content of this update:

  • Changes in vat & platform design
  • Changes in the emitter design
  • Electronics and screen design

Changes in vat & platform design

We have been updating the design of the vat to be more affordable to service and easy to print on.We started off with a simple drum-like vat design, where the bottom of the vat is a flexible PET film. This reduces the strenght needed to separate the layer from the vat bottom and subsequentially reduces the time to print.

The initial design wasn’t very friendly when it came to calibration and replacement.
Below you can see the first attemps.

IMG_20151109_170320

The red ambient light is actually used to see without introducing wavelengths close to the curing wavelenght of the resin.

Once the design change was giving promising results we  moved to a more elegant setup, where the vat is removeable but can retain the tension of the FEP sheet.
Removing the vat from the platform (e.g for cleaning it) is critical and very annoying if you are unable to do it without removing the entire platform.
the FEP drum sheet will need to be changed once in a while but it’s a more simple and effective solution than a rigit vat.
when tension is applied to the vat the sheet bends and the part is detached much more easily.

IMG_20151118_115052

To give you some perspective, during some tests we broke the fixed vat bottom, because the force applied to detach the cured layer from the bottom of the vat was exceeding the max shear force of the glass.

As for the platform, the solution below is giving good results.
Be aware that the locking mechanism is not the final one and it’s the result of a quick assembly to test the VAT and the platform itself.
Below you can see an adhesion test (and the feets of a Marvin Keychain print starting to grow).
The platform is brushed aluminum with an extra treatment to give it more adhesion.
It will require some light brushing once in a while to maintain the perfect adhesion.
we are also experimenting with different alloys to decrease the need of this treatment.

IMG_20151125_111114

Changes in the curing light design
We have been testing different hi-density power outputs (starting from  0.007 W/sqmm). There is an upper limit to the amount of radiation the current screens used can handle. When the threshold is surpassed you either get a permeable photomask (meaning you are curing everything and not just the current layer) or you are damaging the screen.

In order to print to the full extent of the screen, the emitters have to be perfectly perpendicular.
In the original design the light was pivoting and thus getting caught in the pixel matrix when the angle was too shallow. This is no more the case.

Also, originally the system was using 500mw lasers, which normal citizens can’t legally purchase and sell in the EU, except for special applications.
The laser was focused in a single line, but other than that the entire surface was not being cured. The result of this change is that we have a slightly lower energy density (e.g. 0.008w/sqmm) but can cure more area at the same time, taking advantage of the LCD photomask precision.

Electronics and the screen design
Electronics and the screen are a critical component. We are evalutating other resolutions that might be easier and faster to obtain. Compatibility with existing hardware is a key factor in this decision and admittedly a difficulty, as the Raspberry PI cannot output higher resolutions.

Fabtotum PRISM alpha prototype: #3dprinting a chess piece! #WIP #diy

A video posted by @fabtotum on

IMG_20151127_175824

The example above was produced with a unfocused array, and produced a less precise result, but has validated the changes outlined above.

We’ll keep updating you with meaningful updates as soon was we have more to share! Stay tuned.

FABteam

,

Phase 2: Rome wasn’t built in a day

Best CNC and rapid prototyping materials: wood

Dear all,

We are closing all the necessary steps to present a renewed and Upgraded FABtotum Personal Fabricator. We are ready for it! Constantly improving, expanding (and yes, fixing) what is still the first and only commercially available multipurpose Personal Fabricator ever.
This endeavour has been the toughest, and as pioneers we have to learn by doing.

The FABtotum is getting upgrade, you knew it already.
We did this because you asked it, we did this because it was due.
The upgraded FABtotum Personal Fabricator, it’s a direct consequence of the community feedback, as stated in our “FABtotum is getting upgraded” post and Development document thread.
This post is to share with you the changes that are being introduced.
All the units shipped from now on will feature all the changes outlined here.

Lets get started!

Note: All the pictures you will see in this post are created with the newer components.

IMG_20151008_121324

FABtotum Personal Fabricator:
The FABtotum itself has been reworked and a lot of small things have been changed to make it easier to service and assemble.
Changes on the platform:

  • Simplified Feeder Mechanism (no need to engage or disengage, no buttons on the back panel)
  • New Bowden tube. Better feeding and solved the “tube getting caught” issue.
  • Added the Flex Cable protection shield
  • Front door lock force increased & new safety switch
  • New Heated bed and connection plate (“V2 bed”)


Backward compatibility:
Just to reiterate, all the new modules and upgrades are retrocompatible with older units.
We recently introduced versioning inside the software and the firmware in order to allow users to upgrade and set the FABtotum accordingly.
Even custom configurations (AKA mods) are allowed and custom config files can be loaded in the FAB UI.
For all the Fixes we’ll be providing  DIY alternative tutorials as soon as possible.

Replacements and assistance for existing Hybrid Heads & Hybrid build plates will be granted and we’ll be upgrading defective parts to the latest iteration at no cost, upon retrieval and inspection of the part (refer to our Warranty policy).


Printing Head V2.

IMG_20151008_121437

The Standard duty printing head will be the Print Head V2 (while officially this is the first “print only”, it includes all the knowledge from V1.)

  • Totally serviceable with heating cartridge.
  • Print PLA, ABS, NYLON, HIPS, PC and PETG.
  • Additional cooling fan
  • will reach higher temperatures (250°-260°) in continuos operation with fan always on.
  • full metal body, can survive cartridge overheats.
  • inox steel melting chamber, with heatbreak to stop thermal flow to the head. This, again, will get you a more resistant head, which will endure longer and will stay clean and safe from damages.
  • Aluminium heat sink to cooldown the body and PTFE liner.
  • Brass nozzles will be interchangeables. standard nozzle: 0.4mm.
  • Due to the geoometry of the heating chamber, overhangs and bridges are less of a problem now: Less friction allow better retracts wich means better flux control and better prints.


Milling Head V2
The new milling head is lighter and has optional vacuum support attachment that you can replicate with the FABtotum as well.
The new shaft has been balanced and less noise is now produced (sensibly less, you can actually speak fine in proximity of the FABtotum milling).
Splitting the motor from the printing side makes both easier to keep clean and safe from damages. Hot temperatures won’t get you any trouble.
the milling head V2 can be paired with a vacuum clip (taht you can print as well) to suck dust away.


Laser Head V1
We’ve been working on our Laser Head for a while now.
I’ts a little cool 500mW (or possibly 1mW by the end of development) module.
There might be many uses in labs, PCB engraving and so on.
We’re looking at possible suggestions, so feel free to tell us what you would do with it.
In short, more than engraving we are looking at possible applications, we are running out of parent pictures and 80’s icons, you know.

IMG_20151008_121529
Some examples made with cura. other plotting methods are available.


Hybrid Plate V2

bed_preview_render

The Heated bed (as much as Hybrid head’s) design hasn’t changed much…apparently.
The design of the PCB has however moved to a more resilient solution that requires less “playing around” with the bed to get a stable electrical connection.
Heating is also much faster now, with around 1 minute less in heating time (around 1 minute to hit 50-60°C, good for PLA. You previously needed around 2 minutes with V1)
We added a new overlay for a better positioning of the parts. It’s a great help to know exactly where the print area is and where the milling area and the scanning area are.
The overlay grid in centimeters is a great help for quick measurements as well.
The Milling side hasn’t been changed as it has been proved effective.


The Hybrid Head is no more.
This has been a tough decision, but we are announcing the official death of the Hybrid Head.
The performances of the Print Head and the Milling Head are, compared to the Hybrid Head V1 and V2, on another level.
By separating the two functionalities we will be also able to provide tailored solutions where you can decide what head to purchase with the platform: new customers that are not into milling will be able to scrap an useless expense; people that do not fancy FDM 3D printing will be choosing milling and so on.
This concept will be further expanded with the introduction of the Laser Head and the PRISM platform…and what’s coming next!

This modular approach was always in the DNA of the FABtotum Personal Fabricator and will be pursued for the years to come. This is one of the keystones of this “PHASE 2”.
Providing a solid, high quality Printing Head and making it easy to service was the next logical step.

We’ll probably get some complaints for this unilateral decision, but we think this is for the best. As many suggested, there are technical and practical reasons to steer away from the Hybrid Head (which, by the way, was a great accomplishment technology-wise).

IMPORTANT! All existing Hybrid Head orders will be converted to Dedicated Print Heads and given either a free hi-quality spool or a partial or full refund for the order. The Hybrid Head is now officially discontinued. If you are in line for one of those you’ll receive an email notice in the next few days. All (and only) existing FABtotum orders will receive both a Printing Head and a Milling Head with no additional cost.

Switching to this new idea of a more personalized FABtotum will have its effects though: new parts are expected to be delivered us within November, which is slightly after our first estimate. We know these are bad news, but we’d rather delay than rush.
Keep an eye on further updates to make sure you are always aware of what we’re doing. We will of course alert all queued orders about the shipping times (of both heads and FABtotum).


We’re heading to Rome!

IMG_5296

“Rome wasn’t built in a day”: this turned out to be true for us as well. A year later we are back to our capital with an improved version of the product: we will be there to show you the progress made so far. We still have tons of things to do and to develop but as the ancients said: “All roads leads to Rome” so here we go!
If you get the chance to come, don’t miss our stand: as soon as we get to know our exact location in the faire we will inform you.

New filaments available

spool_PROMO

Following the high requests, we are glad to introduce our own line of filaments. These comes in convenient 750g spools that fits nicely in the FABtotum spool compartment. They are tested on our FABtotum of course, and are Made in Italy.
More colors and materials will be available in the future; right now you can already enjoy a color selection that ranges from “sun yellow” to “silver”.

Discover all the filaments here


New Support System in the works.
Assistance and Customer Care has been one of our weakness, we know it. Along with increasing our staff and have more people to assist you with any request (you are a growing community, we need to expand as well!), we are working on a different Ticket System which will get to a better assistance experience for both you and us. Also, we are about to add a range of FAQs which will be constantly updated in order to give you a first (and ready) answer. Our Wiki is always open to any review (we are thankful to all the users who help us!) so this is getting better as well. Along with all these updates to the FABtotum, we will rewrite the manual as well. This will be available online of course and we will update it when needed.

New Ticket System will be available for FABtotum owners only: a Product Code will be needed to access the system and get in touch with Support Team.
Tickets will only take care of Technical troubles while any other inquire will be addressed to an online form which will alert us via email and authomatically redirect it to the right person according to the selected subject.
Every customer will be followed by a single troubleshooting procedure from start to finish. We also streamlined replacement procedures. Communication between you and the Support Team will be easier, with a clear chronology.

IMG_20151009_145253


What’s next?
So far so good then, but we are not stopping yet. We are of course developing PRISM as well, and we wll update you all with a dedicated post as soon as possible.
Hoping to meet your expectations, we’ll be back soon with all the news we have!

Stay tuned
the FABteam

,

Sneak Preview: Hybrid Head V2, Laser Head and…

Best CNC and rapid prototyping materials: paper and cardboard

Hi everyone!

After a short break we are already back with some updates for you. Expect more in the near future, you’ll hear from us again really soon.
In the meantime we can tell you that, after two years from the start and one of production/deliveries, we have a bunch of new things that will be available in the upcoming days.

The Hybrid Head V2
We told you in the previous post that the Hybrid Head V2 is on its way: we’re not done yet with it though: we are still working on the last details; the final result will offer you the best performances ever and a better quality of prints.
While waiting for some smaller parts to be delivered and tested, we are already watching it printing fine objects.
In the picture below you can see some samples that show you the improvements: higher temperatures let us try different materials and we can proudly tell you we can print PLA, ABS and NYLON.

Samples of prints with the Hybrid Head V2

Samples of prints with the Hybrid Head V2

The specs are the ones previously released but we take the chance to sum them up:

  • full metal body hotend;
  • improved fans system;
  • completely interchangeable nozzle (which means easier maintenance/replacing);
  • completely interchangeable cartridge;
  • different nozzle sizes available (we will tell you more later on);
  • 260° max working temperature.
First pictures of the Hybrid Head V2: final look may still change

First pictures of the Hybrid Head V2: final look may still change


A new Feeder
The feeder mechanism has now become simpler and does not require any action to switch between additive and subtractive mode.
No more buttons to be pushed: new FABtotums will have a slightly different feeder and won’t have any hole on the back inner panel.

What if you already have a FABtotum and want this to be available on yours as well?
We will add a dedicated note on our wiki as you need to manually change it before switching to the new version from the settings of the FabUI.
This is something we decided to change as a consequence of the community’s experience. That’s why, once again, we are always looking for your feedback.

Scanning update
Out of the three first capabilities of the FABtotum, scanning option has always been difficult to be used. Results were not always reliable and satisfying. We worked hard on this as we wanted to offer you a better product. In the upcoming months we will focus even more to have you less stressed when postprocessing. Shapes will be less deformed, the camera is going to add colours and details to the final result. We will tell you more as soon as we have news and we will always update our development log on the forum as well.

Developing the scanner results

Developing the scanner results


A more complete Wiki
First year of FABtotum’s life also gave us a better idea of which were the main obstacles between a bad print and a good one: 3d printing can require a bit of knowledge first and our machine as well need to be “discovered”.

To help you (and to help us as well) we are little by little completing the wiki: a lot of new contents have been added every now and then and still are. Our Team together with the community increased the literature available online so that troubleshooting and first steps became easier.
You can give it a look and find out yourself here


An idea of all the components of the FABtotum

An idea of all the components of the FABtotum

All the documents are now on GitHub
We have gone even further than that: loyal to our Open Source identity, on Git Hub we added every missing specification. From hardware (already available on GrabCAD) to software, everyone can see what the FABtotum is made of and how it works. Suggestions are appreciated, simple curiosity is also welcome.
Here is where you can find everything

Laser Head
It has been in our projects since the beginning and it is now pretty much ready. We are still testing it, but the first results have seen our smiles rising and shining on our faces. It is not mentioned to cut hard and thick materials: we still prefer to leave this kind of job to the milling motor. Now you can throw away that smelly mutated seabass of yours.
With the laser head of the FABtotum you can:

  • engrave woods, plastics etc;
  • cut thin sheets of paper, cardboard and plastic.

You cannot:

  • cut thick plastics or other thick materials (>0.2mm)
  • pretend to be an evil scientist.
Testing the laser precision and quality

Testing the laser precision and quality

The new head won’t replicate the capability of the milling head. However, as you may know, laser engraving has a much more higher precision. You will be able to write or draw lines on the mentioned materials, as well as cut what would be too soft of thin for a drill bit.
The power of the laser we will use is 500 mW: nothing too powerful, just enough to do what’s needed.
This means that it won’t be too dangerous or require special equipments, but it will still be better to use a bit of extra care when turned on.
This is how it will look like, more or less:

First pictures of the Laser Head - final look may be slightly different

First pictures of the Laser Head – final look may be slightly different


It will be easy to be mounted on the FABtotum and won’t require extra calibrations in addition to the ones you would normally do.

Coming soon…
Today, then, we can say we already pushed the envelope a bit further than the first idea of FABtotum, born two years ago on Indiegogo.

The three Heads: the V1, the V2 and the Laser Head

The three Heads: the V1, the V2 and the Laser Head

But, as said at the very beginning of this post, we still have other great news coming soon…

teaser

Keep following us!


*Available from next release, due on 20th August.

Replicable Parts & Slicing Profiles

survival_kit

Hi Guys!
Today we release a first batch of printable designs that are very usefull to all FABtotum users.
These replicable parts will soon be pre-loaded on all units and licensed as CC-BY-SA.
Along with those a new open source repository has been created to keep the slicing configuration binaries (and possibly other applications ) up to date.
Slicer and Cura profiles
You can find all configurations avaiable for the Slic3r and Cura Softwares on our FAB_configs Github repository.
Instructions on how to use them and what they do are available on our wiki
These profiles (Cura Profiles in particular) have been updated and upgraded to introduce retracts, jumps and other tricks to increase quality of the prints.
Feel free to send a merge request for new or improved profiles as well!
On the Cura page of the Wiki you’ll find how to set up the FABtotum to print multiple models at once in sequential order.

batchsample


Additional Replicable Components
Replicable componenents are meant to expand and increase usability of the FABtotum.
We start off with a 4th Axis mendrel that can be mounted on top of the existing flat disc.
The 4th axis mendrel can accomodate different material stocks of different sizes and shapes for machining parts
on the 4th axis or hold rigid, heavy objects during the scan.

PIMP MY FAB Assembly Instructions

PIMP MY FAB Assembly Instructions
The second part is a Camera Dust cover, that can be mounted to keep the camera away from machining dust.
The Dust cover works with a snug snap-on fit, so it’s easy to manually remove when necessary.While a clean cloth can pretty much clean the camera (or canned air works fine) a dust cover is always useful.


PIMP MY FAB Assembly Instructions


As some of the user reported smal particles of dust getting in to the left side panel from the endstop holes, we created a pair of clips that covers the area and limit the dust entrance.


PIMP MY FAB Assembly Instructions

PIMP MY FAB Assembly Instructions


Finally, an easy Spool lock-in place lever that is made to hold all spools close to 200x55mm in size inside the spool vane without the need of extended rollers (i.e. most of the suppliers today).
just tilt the lever up and the spool will come off. gravity will hold the lever down and the spool in place during normal operations.
spool_holder
There are more parts available,like the spool rollers made by the community.
Others will be added soon and be available for the community.
You can find all FABtotum-related parts by surfing the FABtotum Replicable Addons collection on Thingiverse.