Posts

,

Colibri Effect Contest’s winners and other stories

3D Printer Software Online and Open Source: FABUI COLIBRI

Time’s up!
Fairs are all gone (for the moment), Easter Egg has expired, the Printing Head PRO awaiting time is matter of days, Colibri Effect Contest is over. It’s definitely time to sum everything up!
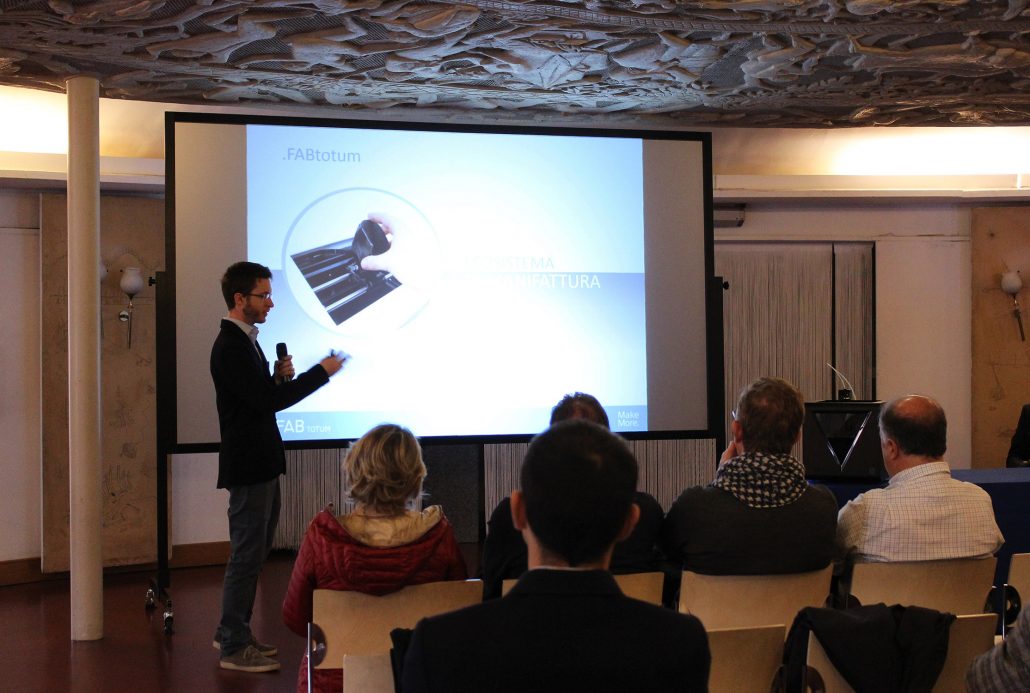
 

1. Fairs and Shows
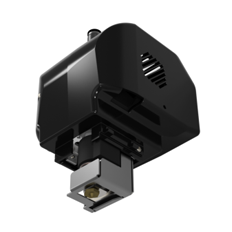
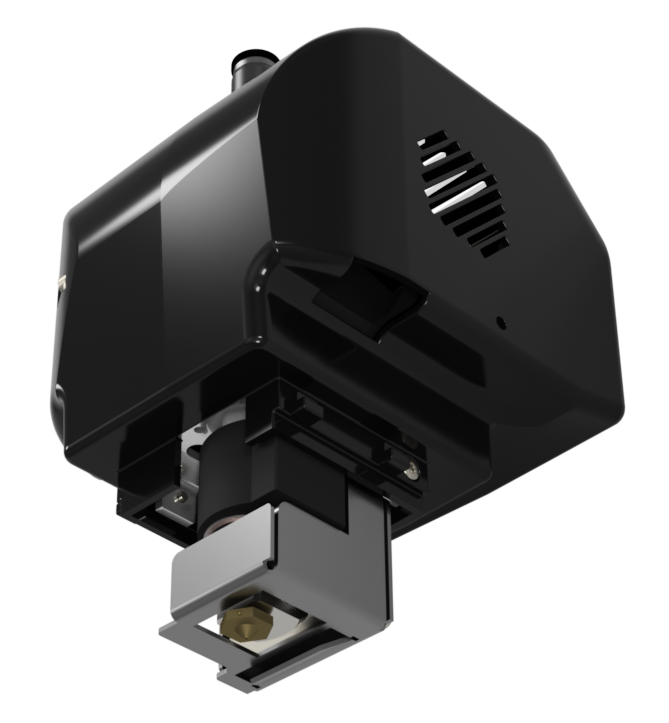
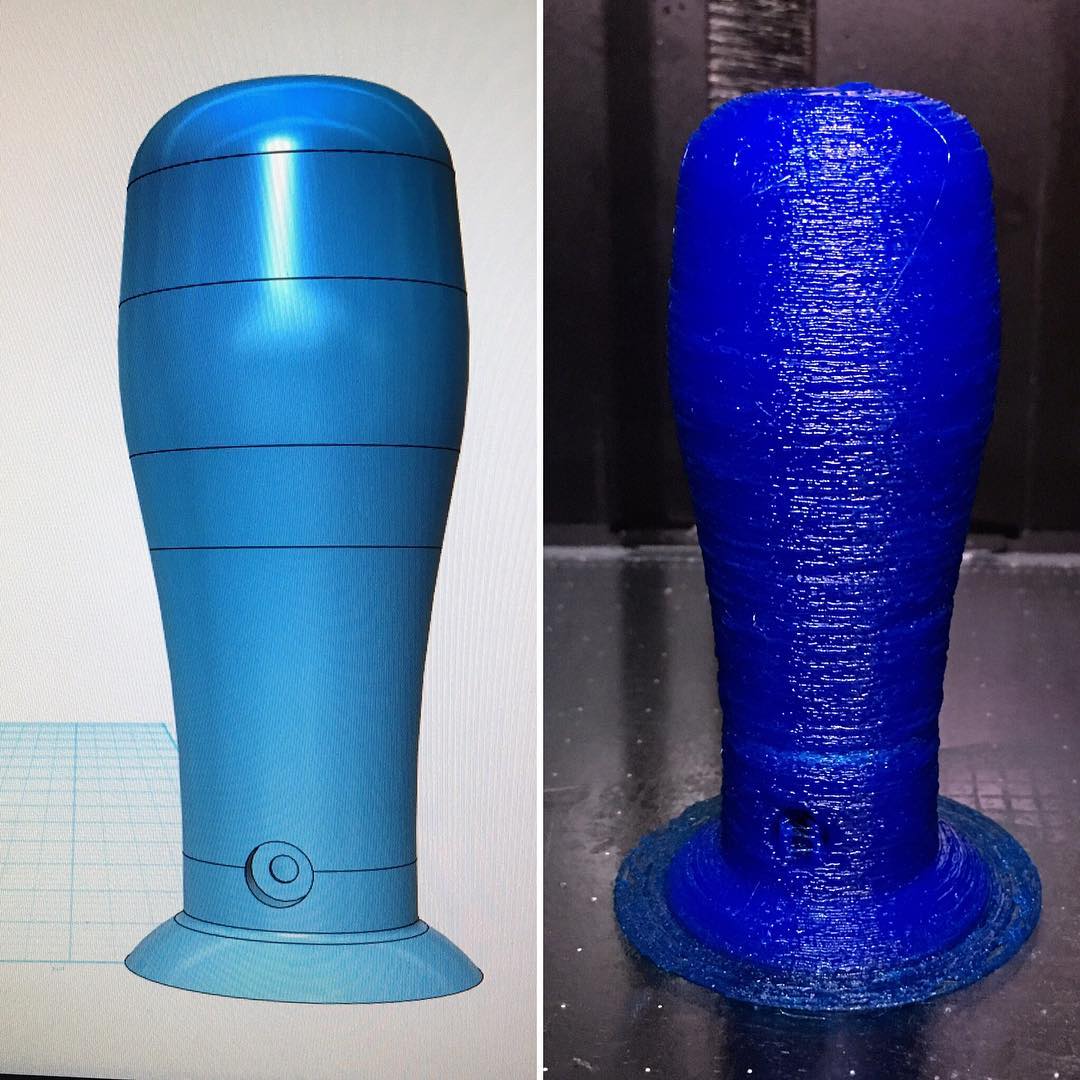
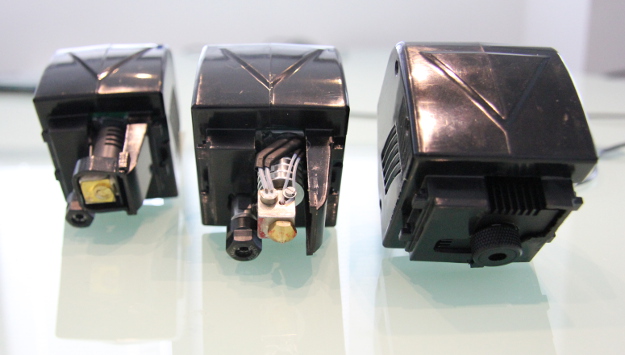
We have been roaming a bit around Italy and Europe: did you have the chance to meet us? We introduced our Printing Head PRO and Hydra. Have you read about them already? Have a first glimpse on our website!
People during the shows have always welcomed us and found our projects great. Some of you also joined us and discovered what we are working on, as well as the mentioned new products.
In the upcoming months we’ll try to be at other fairs: if we’re missing an important date let us know and if it is not 2017 maybe 2018 we’ll see us partecipating.

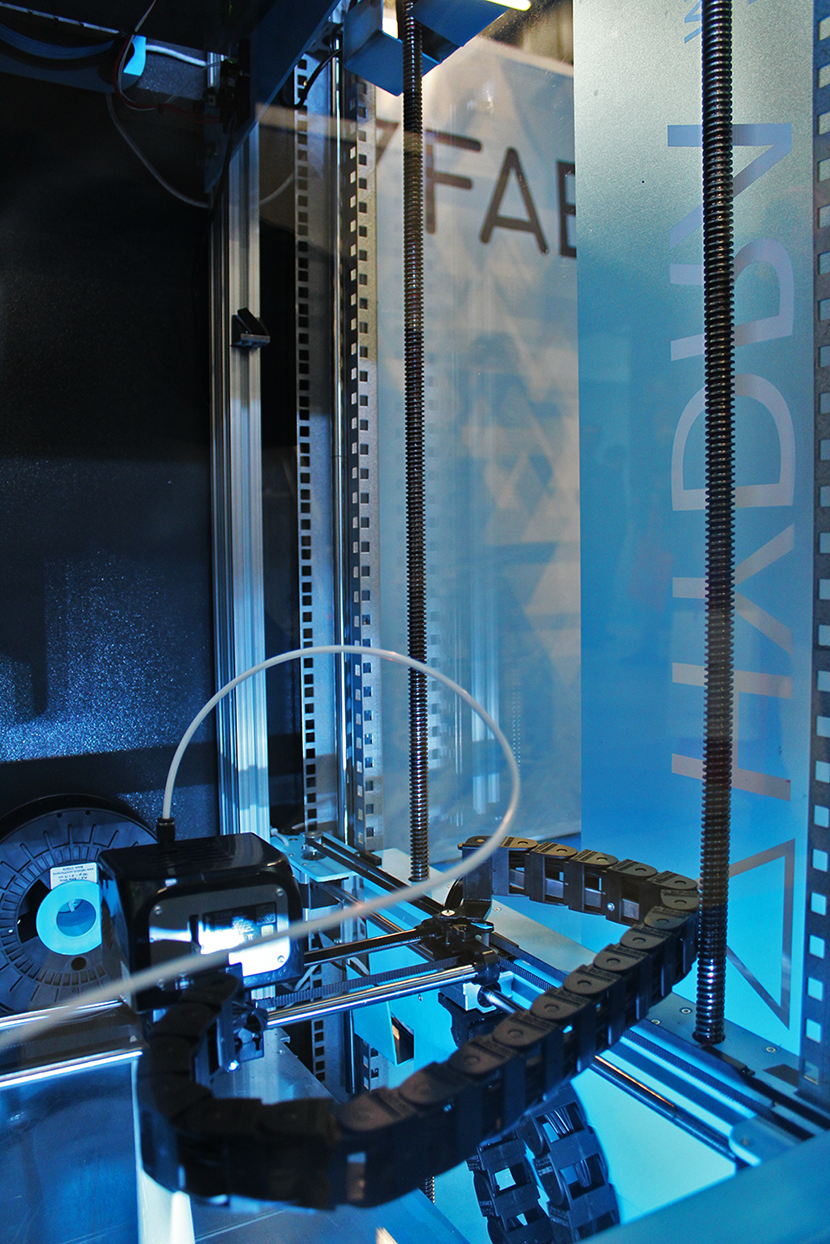
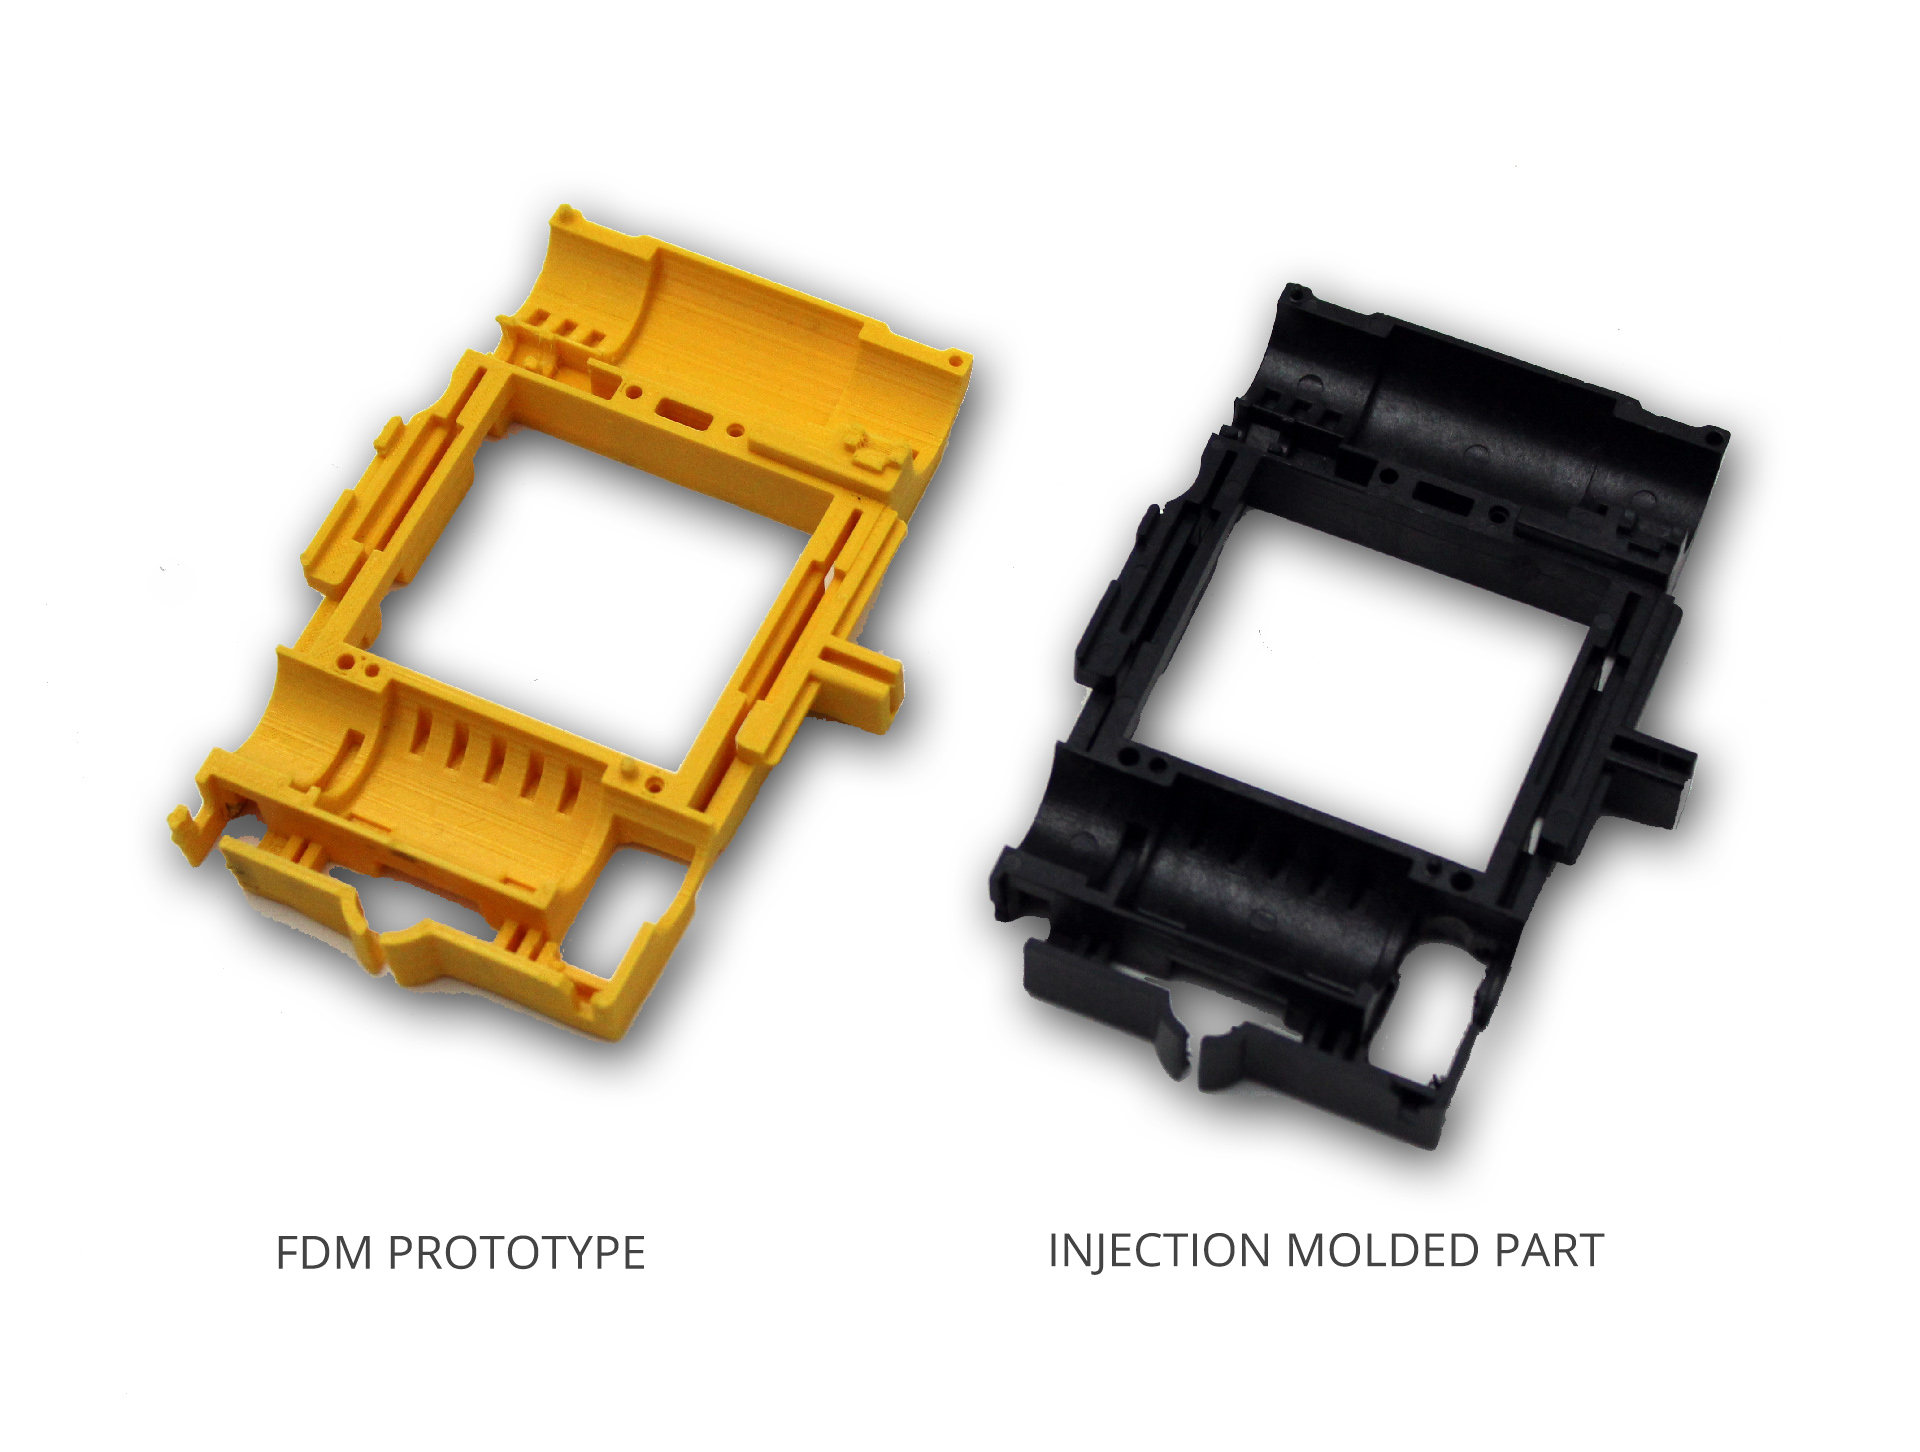
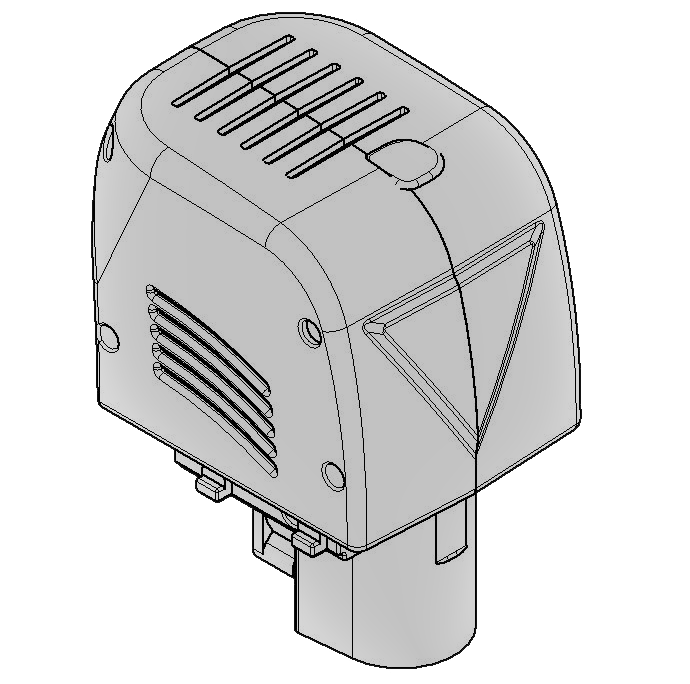
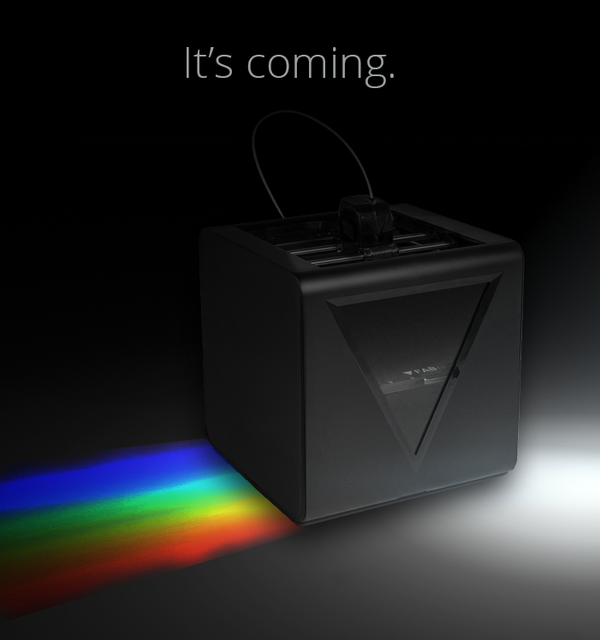
2. Printing Head PRO availability
Introduced a while ago, now it’s at the final tests stage. In a few days it will be added on the store: a newsletter will follow soon after. We’re proud of the results, as quality of the prints is higher than ever and range of filaments is widening up constantly.

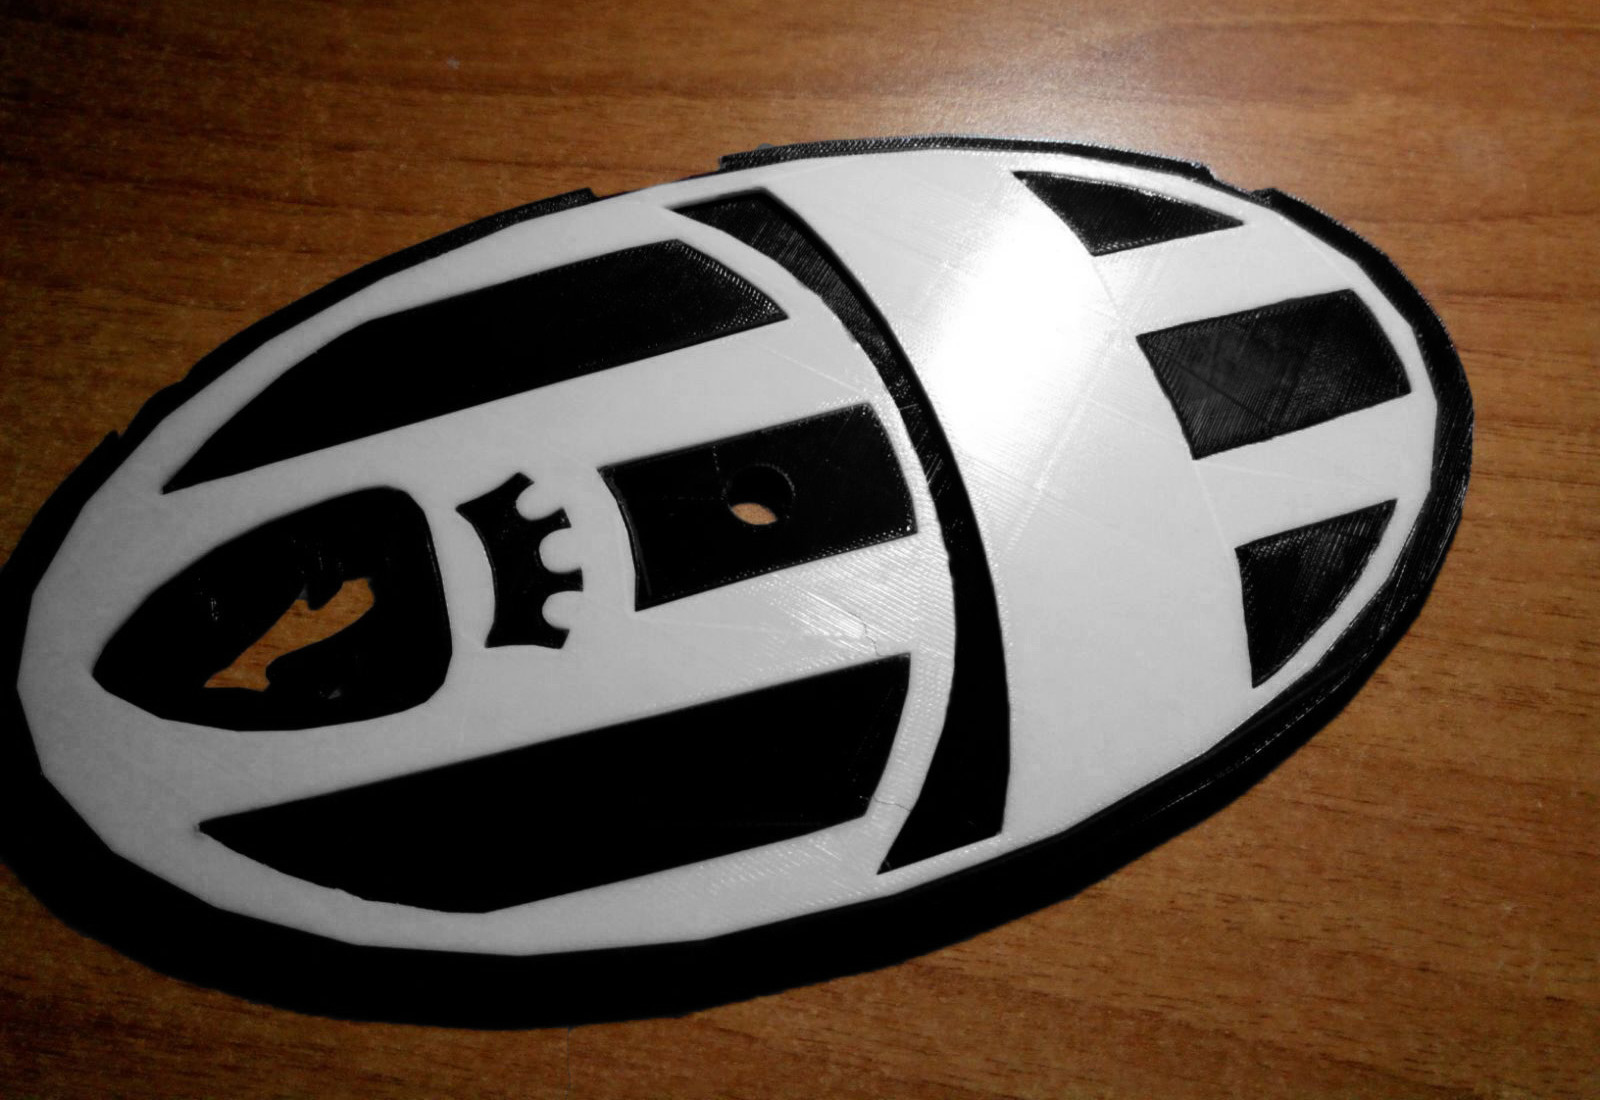
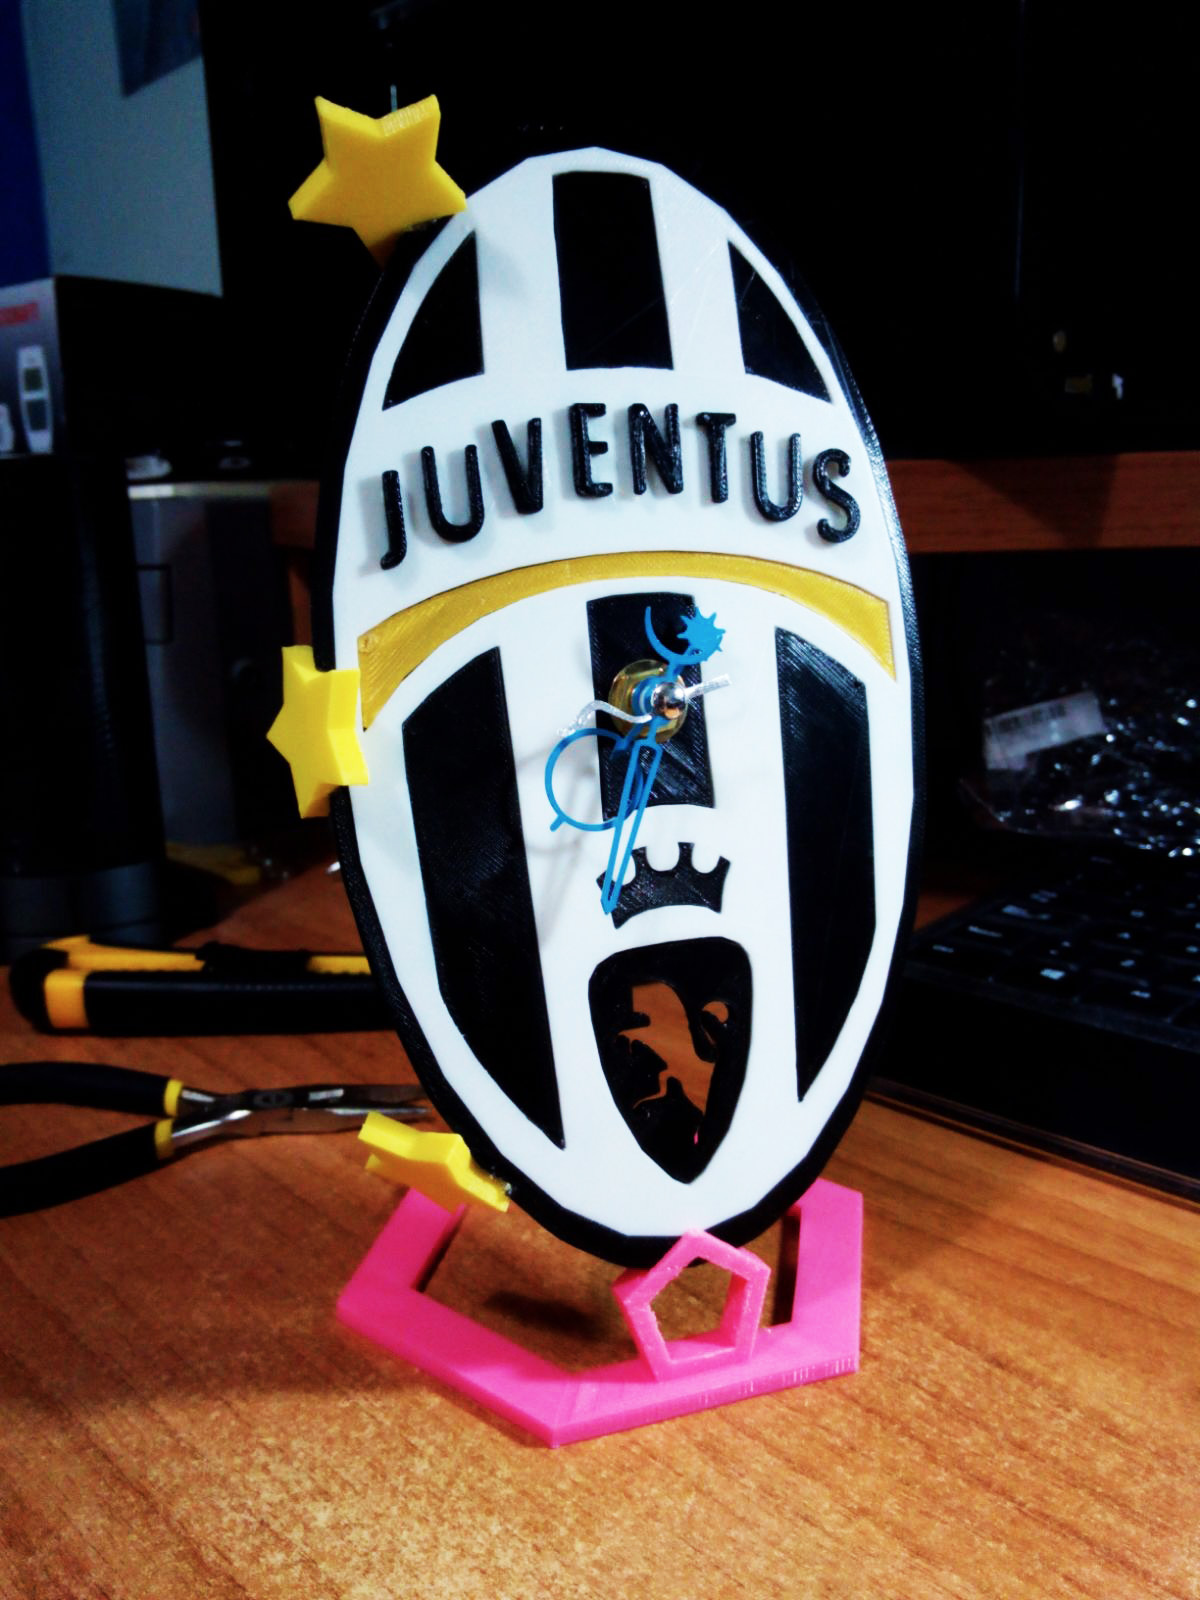
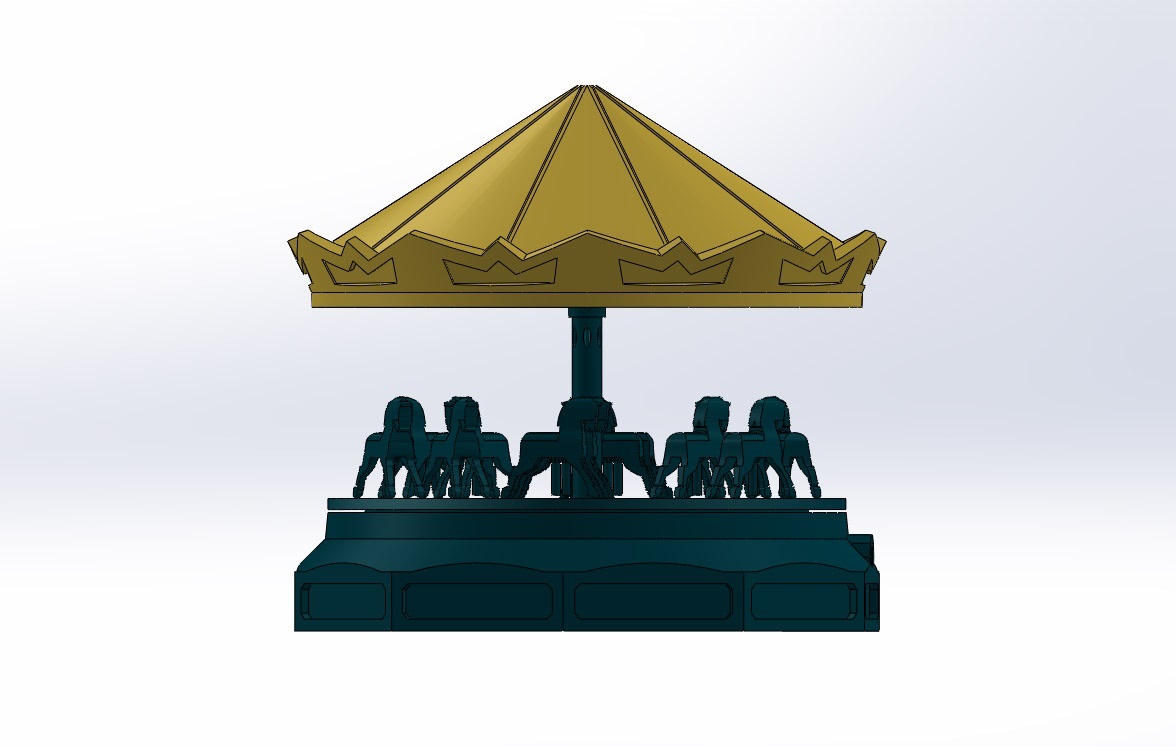
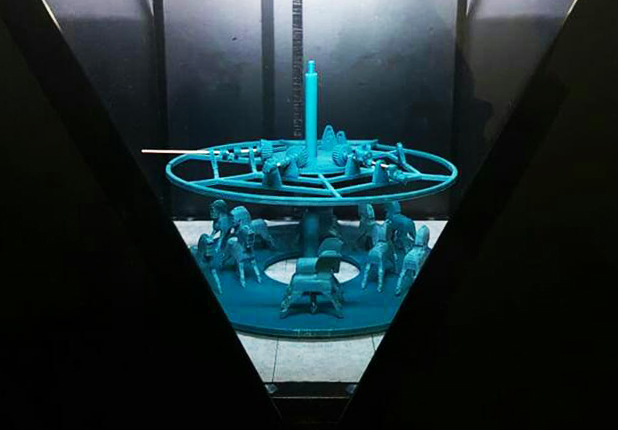
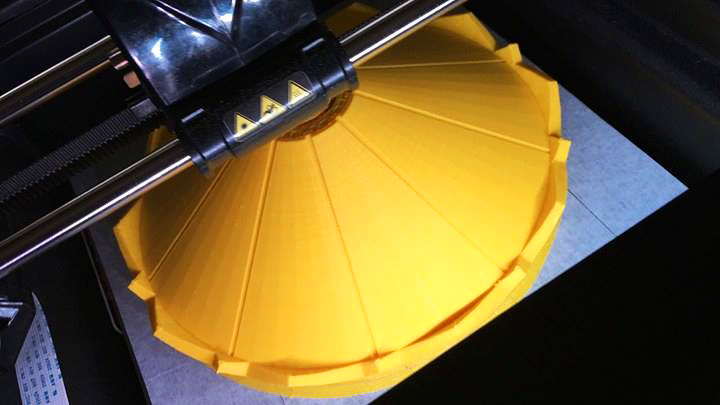
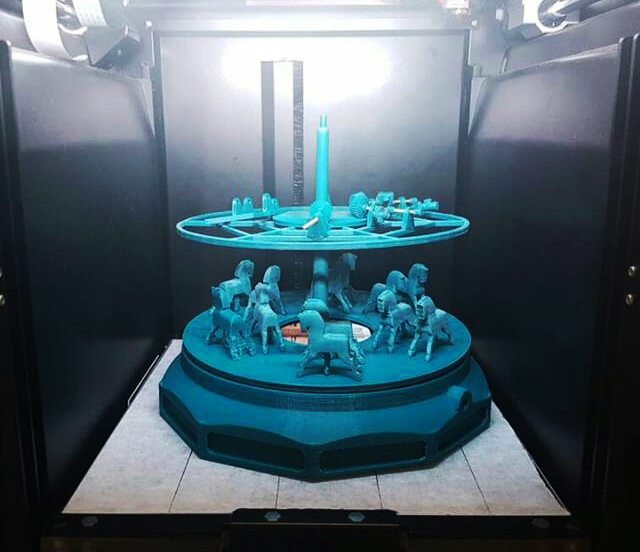
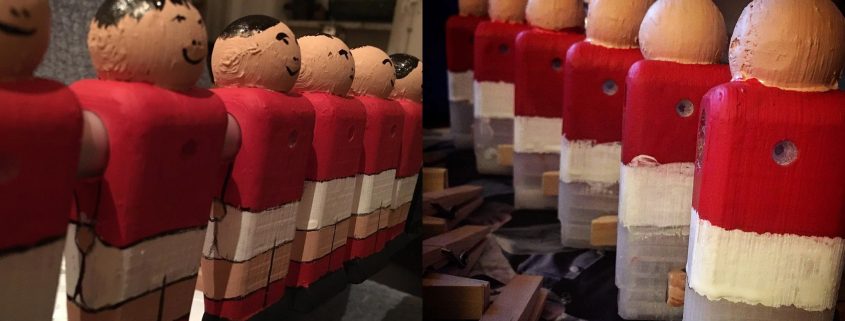
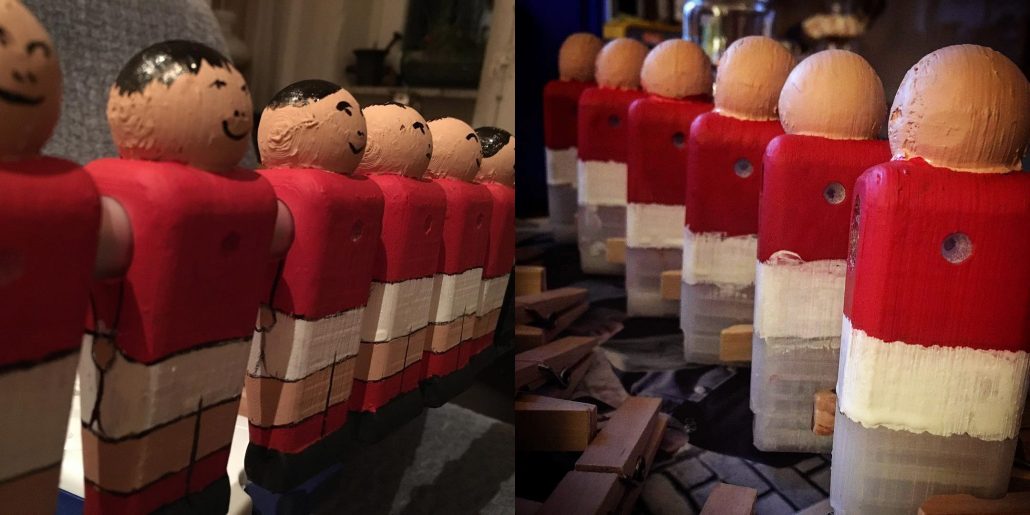
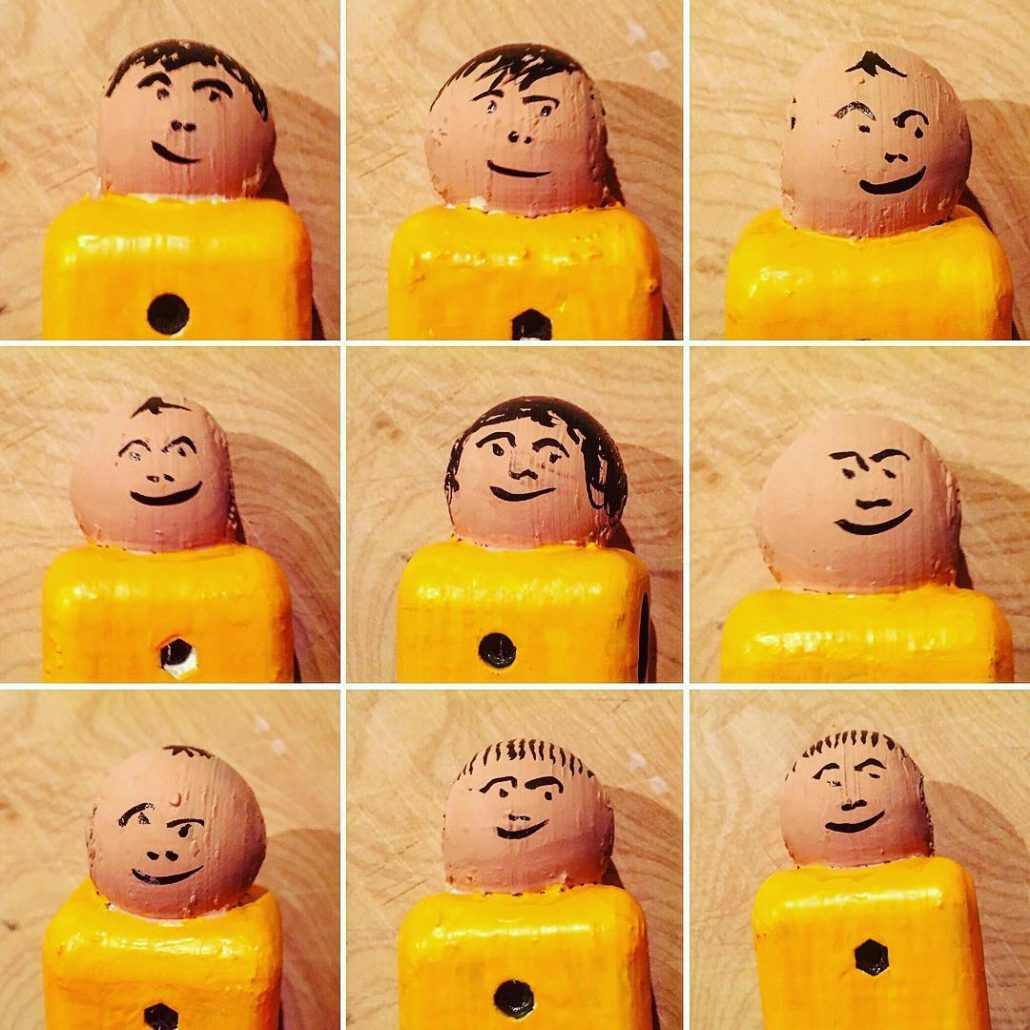
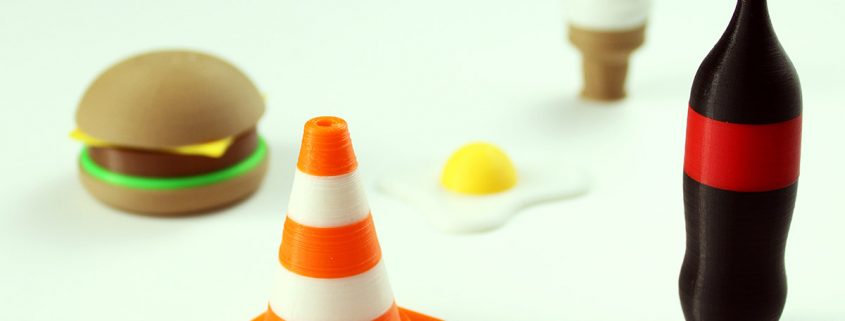
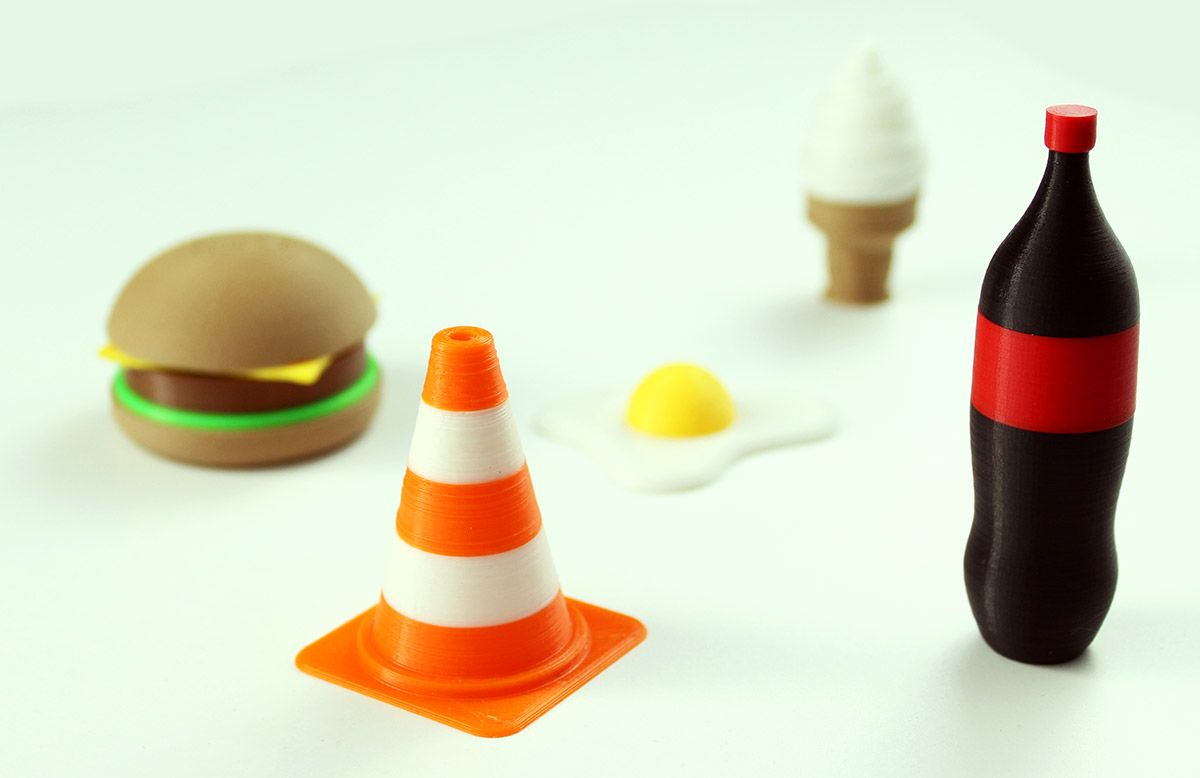
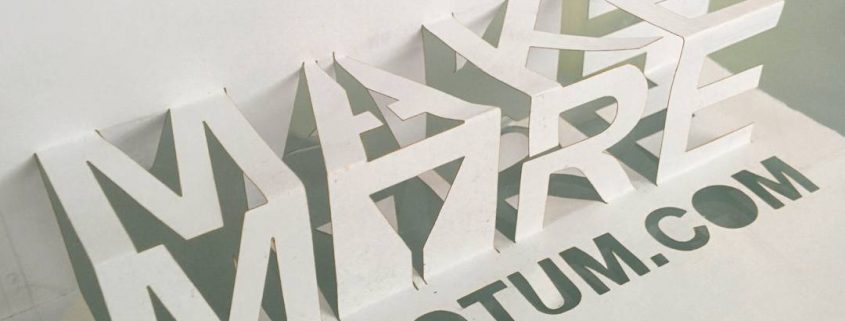
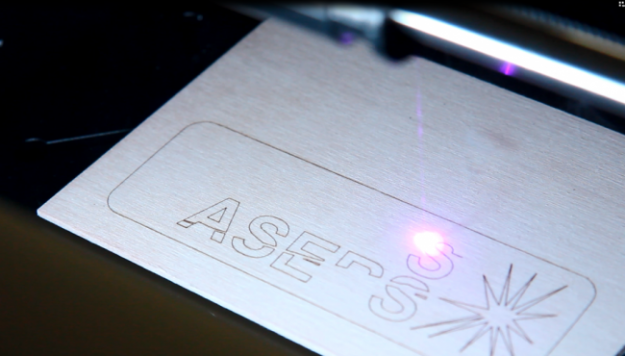
3. Colibri Effect Contest is over
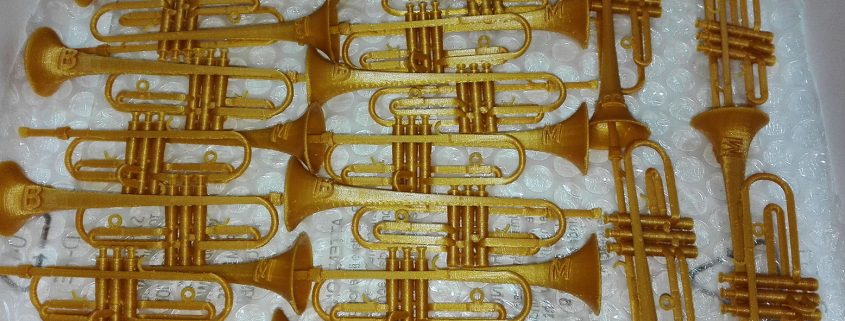
After a beta testing period where many of our friends and users have been helping us troubleshooting, the very first FABtotum Colibri 1.0 version is ready to be used by everyone. Many features have been added, checked, tested.
This means the contest we lauched on the same time has come to an end, we have the five winners’ names! Congratulations to:

@christopherwit
@florentmaye
@homahe
@AndrewKillian
@dr4Ke

We really want to thank them as they really helped the Dev Team. A constant flow of reports, feedbacks and advices have overwhelmed them: that’s the purpose of having an Open Source project. This is a benefit both for you and us: we can have a better result, you have a better product. Easy.
The winners will be contacted via email within 8th of May in order to organize the withdrawal of the prize.

Again, thanks for being such a great community: a particular mention goes to the member of the Forums as well. Keep up the good work! It is a true inspiration for us to see that many “old fellows” are still with us and use their FABtotums for completely different projects. Their help to others, also, is a helping hand for Support Team.
Summing up, this period has seen us busy: all the Team members had a full agenda. We still have a lot to tell though. We’ll be back in May with our Community Highlights (if you want to be featured write us), we’ll get you precise dates for the release of the Printing Head PRO and more is just yet to come. Meanwhile, stay tuned.


Cheers and congrats to the Colibri Effect Contest winners!
FABteam

FABtotum’s Printing Head PRO: a new professional approach

Testina per stampante 3D professionale con direct drive extruder Printing Head PRO

FABTOTUM is yet ready to take its FABtotum Personal Fabricator to professionals with its upcoming hi-performance Printing Head PRO.


Serial production of prototypes with the 3D printing head PRO


The FABtotum goes PRO
With the capability of switching heads, the FABtotum Personal Fabricator is an evolved 3D printer that can 3D print, mill, engrave, laser cut and more.
The Printing Head PRO is the first head module of the FABtotum PRO line: a full new set of Heads will be announced during the 2017 and 3D printing is the first function to take advantage of this (r)evolution.
What’s new with that? What’s the difference with the previous Printing Head V2? There’s more than one.
The new concept, of course, will still benefit of the main idea of the project: retrocompatible with all the FABtotum models, both the first Personal Fabricator and the CORE edition, the Printing Head PRO brings top tier 3D printing to the FABtotum Personal Fabricator.
Directly thought to be the solution
The Printing Head PRO is a direct-drive system.
Thanks to its fast and precise filament control, objects are sharper and more detailed than ever, even with complex structures that require loads of retractions.
Oozing, Stringing and other filament related issues are a thing of the past.
PRO stands for professional
Precise, long lasting, reliable: all these qualities describe the Head as much as the final objects. The Printing Head PRO is the definitive solution for all 3D printing manufacturing needs on the FABtotum Personal Fabricator platform. It aims to serve a businness when a pre-production phase is required or prototyping is one of the most important steps before the final product is designed.

The Printing Head PRO can support continuos production batches and effectively run for days at a time. The Printing Head PRO is also a big step forward the expanding market of materials. Flexible filaments, special and exotic mixtures are all easy to be printed thanks to the Direct-drive system and to a renewed cooling solution.


3D printer heads and supplies: The first Printing Head of the FABtotum PRO line


A closer look to the Head
Unlike other printers, the FABtotum can take advantage of its unique hi-torque gantry, originally thought to sustain Milling Head’s subtractive motor. Speeds are not compromised, quality is higher.
Based on the FABtotum Print Head V2 Nozzle design, the Printing Head PRO features exchangeable nozzles, serviceable hotend, a filament fast-release lever and a full metal hot end.
A dedicated power circuit grants low heating / cooling times: the circuit will work both during the pre-print phase and during the final task.
Cooling is granted by a triple fan system that ensures manufacturability even in the hardest spots on big and small objects with few or lots of separated parts.
Bridges, overhangs, holes, steep angles: everything is doable with a Printing Head PRO.


The essential solution
Thanks to a new active retention mechanism, the Printing Head PRO will be very permissive of filament density and physical proprieties. But the biggest advantage of the Printing Head Pro is its efficiency for long tasks and pre-production runs: batch printing, serial production of prototypes are now easy achievements for every businness.


A quick overview of the specifications:

  • Autonomous Direct Drive System;
  • Filament quick release lever;
  • Stainless steel protection shield;
  • Exchangeable brass nozzle (one is 0.4, optional 0.6 mm, more coming);
  • Thermistor, heating cartridge for cleaning and servicing;
  • Extruder is made from a Full metal Body with 6mm PTFE Liner;
  • Inox steel melting chamber, with heatbreak to stop thermal flow to the head;
  • Aluminium heat sink to cooldown the body and PTFE liner;
  • Max temp: 240°-250°;
  • Materials: PLA, PETG, ABS, NYLON (to be tested HIPS, PC).

FABtotum’s Community Highlights: time to play!

Best 3D Makers Projects: 3D trumphets toy

Hi all,
we’re ready to share another story with you.
In these days many things are coming up, from events (have a look at our agenda!) to national holidays. But Giovanni Mancino, the protagonist of this Community Highlight, has so many projects alive he barely manage to get everything done right on time.

He has a small business starting up and here are a few ideas that came out of his FABtotum that will get him right where the people need him.
He has been using the FABtotum Personal Fabricator with an Hybrid Head and he got skilled little by little. Today he is pro user!


The Juventus Clock
Hard task for a guy who is an Inter FC supporter. You know italians are crazy for football. It was not too hard for the FABtotum though! This was one of his first tasks and was a gift for a friend.


Here is what it took:

  • 12 hours of modeling;
  • 14 hours of printing;
  • 0.5 hours to get everything together and sand off where he got too far with tolerances (we all know how disturbing tolerances can be, right?)

He used the colors of the team (black and white) and then designed a pink stand composed by two polygons forming the ball (the hexagon and the pentagon). The color represents the very first uniform, which had a pink t-shirt. As you can see from the pictures, he then needed to mount the motor and make the clock functioning. We’ll show you the picture of another clock he made just to get you an idea on how he could do this. So yes, he can 3D print clocks. Amazing right? But that’s not all!


And here you have the final look, of course it is completely functioning!


The Trumphets set
Here in Italy we normally give a small item as gift/souvenir for the special events. Everything is a good reason: from births to anniversaries, weddings, graduations, licences… just everything.
Giovanni made these cute trumphets for a guy who got his conservatory graduation in…well, that’s obvious, right?
Here is what it took:

  • 1.30 hours of modeling;
  • 3 hours of printing;
  • 7.50 hours of post processing.

Reading the numbers it is easy to understand that the hardest part was the latest. Easy to shape, easy to print…with lots of supports. As you may know, supports are the materials printed to preserve quality when angles and curves can be too difficult. The extras will sustain the final object so that nothing gets damaged or of poor quality. Supports then need to be scratched off gently. Depending on the used slicing software, they can be different in thickness, shape, and distance from the object. They need to be carefully set, otherwise they can be useless or, in the worst scenario, they can even damage the print.
Giovanni used a scalpel to make sure that all the small 3D printed trumpeths were nice in their gold PLA structure.
We really love the final result (and we can barely think of him trying not to get crazy while removing all the supports, considering it took a whole night until 6am)! Detailed, shiny, cute: they’re perfect to celebrate a graduation!


So, congratulation to the trumphet player but to Giovanni as well! He will soon have a Facebook page, we’ll share the link as soon as available.

If you want to contact him, tell us, we’ll do the trick for you.


That’s all for today,
keep following us!

FABtotum’s community highlights: 3Dprinting a moving carousel

desgn project for a 3d printed carousel

Dear all,

these days have seen the Laser Head coming out on the store and quickly disappear again as you got them all in an hour or so. While we thank you once again for your overwhelming welcome, we still love the idea that with the FABtotum you can Make More.
Today with a new Community post, we’d love to introduce you Sinan, aka kralmarks on Instagram. He knows how small things can become great ones. He lives in Istanbul, Turkey, and he is quite new among us: his one is a FABtotum CORE and he’s been using it quite intensively. The project we’ll write you about is the first one he shares with us: we are sure we’ll read from him again anyway!


Sinan needed a great gift idea: 3D printing helped him and got him a solution: he therefore started designing a fully working carousel. It spins! It took a while to get the whole thing done but surely it will be appreciated. So, let’s see what he did.


3d-design-toy


From nothing to digital
Sinan designed himself all the parts with the help of one of the most common 3D designing software. It took over a week to have all the components ready and as far as we know he could even add more timing to the final count as he still thought something was missing. The number of parts is about 50: many of them are unique pieces while smaller ones might be reprinted more than once.

He then had to make all the gcodes done. Until here, we’re still digital. Let’s see how he got his idea to real.

3dprinting toy - fabtotum

From digital to real
Once all the gcodes were correctly uploaded on the FABUI, the FABtotum User Interface you all should know quite good, he could start the 3D printing process. He used a light blue PLA filament for everything except the top. Could he change the colour at a random point to get a multicolor 3D printing? Maybe, ask him! He did not tell us why he picked this colour but we find the project itself is still so goodlooking that we did not even think of asking more. Also, the yellow top adds the missing contrast so we still love how it looks.

The total timing for 3D printing all of the small parts? 75 hours. Yep, the FABtotum has been printing for around three days. Stressing but nothing went wrong!


3d printed carousel


From pieces to final goal
The final step has been the toughest one: assembling all the small parts. Once he had everything on the table he then got the help of toothpicks and glue. He of course had a very clear view of the final look as he had to stick them so that they could still be free to move and spin.
You may want to know how long it took to have everything done: 20 hours. To be added to the previous ones of course.


3dprinted toy

So, it took a while but the gift is ready: surely the person who this project is for will appreciate both the idea and the efforts behind it. And you? Did you like it? Want to get one as well? Contact Sinan to know more!
Got a design you want us to write about? Contact us.


That’s all for this Community Highlight, thanks to Sinan, keep sharing!


Keep following us,

FABteam

FABtotum’s community highlights: 3Dprinting a table football team

3D maker projects: printed table football. Toy 3D printing

Dear all,
today it’s finally time for a third Community Highlight post. Christmas holidays have got us resting for some days but now we are back with a new protagonist.

Today we would love to introduce you Carsten: he lives in Germany, where many FABtotums have been delivered during our lifetime. He has been using his FABtotum quite a lot and he always shares with us what he creates. He gets some help from his little Team of kids: isn’t it nice to join hobbies with the family?
We loved many of his projects. Want to follow them all? Look for @CaSu0815 on Twitter and for elradko on Instagram!

While we already know we’re going to share more about what he does, this time we picked the complete set of table football players. Actually, the whole project will be finished soon, as it is intended to include a whole structure. Nets, handles and other parts are going to be created with special filaments. But let’s see what he did until here and leave the rest for a future post.

3d printing useful projects


Printing the Teams…
…including bench-warmers
Before getting here he needed to get the design done. He therefore used 123d and made a simple player that could be reproduced endless times with a 3D printer. That’s what we like about the FABtotum, right? Being able to make your design and 3D print it.
In two hours the final figurine was ready to get in the real world.
So, with just one file, Carsten has reproduced two whole teams: the Red and the Yellow, for a total of 25 players, two batches (normally 11 figurines per team would be enough).
A good tip for 3D printing with better results: don’t forger to place supports when needed (as he did)!
How long for the prints? That’s a good question. As he did it in his spare time, he had the FABtotum running daily, so that with the help of his kids he could spend at least an hour a day for the project.
Want to reproduce your Team? Contact him!


Getting the work finished
colouring a 3D printed object
Actually, it is quite simple. Carsten used normal model paint from a famous brand specialized in modeling. As the players are printed in PLA, there is no particular problem in getting the work done. Paint will just make your 3D printed models multicolor. His kid, the football lover, picked the shades. Red and Yellow.
Once the paint had cooled down, he could then use a japanese brush pen for the fine lines. He got them hair and smiles.


3d printed table football


Ongoing project: handles, frame and missing parts
how to get a whole table football set 3D printed (well, almost…).
Time is never enough, so our fellow Carsten is still working on the other components.
Anyway, he already tried to create the handles. He already made the design and is currently testing materials. You know what? He will make all the handles with flexible materials and save the settings. Here at FABtotum we test everyday but it’s hard to cope with the market.
Carsten has been testing hard and will go on with other ones: contact him to see how he managed to print glowing, conductive and more special 3D filaments!


table football handle


Here are his first tips when it comes to a special filament:
– start from the middle of the temperature range suggested;
– read the suggested parameters ( speed, feed, heated bed, temperature);
– don’t leave the FABtotum unattended;
– make small corrections while printing to adjust (Feed, Temp, speed etc.) and take a note;
– set the notes in Cura or other slicing software, and print again
– feed and speed: these are the ones you’ll likely need to adjust;
– play with the nozzles (0.4 or 0.6 mm): with flex, bigger is better
– try more than once!

He will also need to cut a frame, but that’s another story…
So, we hope you like what Carsten does with his FABtotum. He is now approaching milling as well.§
We will hear from him again very soon, granted! If you wish to know more about his tests, you know where to find him.


That’s all for this Community Highlight: thanks to Carsten (aka elradko aka CaSu0815 once again, keep up the good job!

Keep following us,
FABteam

,

FABtotum’s community highlights: multicolor 3D printing

Multicolor 3D printing: high quality 3d printed miniature

Hi all!
As we truly believe in it, we thought that our community deserved to be highlighted. Many of our customers have been sharing with us their jobs: it is a source of pride for us to show you all of them and surely a source of inspiration for all of you.

So: from today on we will dedicate a post to our best users on a weekly basis.
Want to be one of them? Share with us your results, we’ll do our best to get them all published!
And don’t forget our social accounts: using them will get your objects straight onto the FABUI dashboard.
Today’s protagonist is: Angelo D’Angelo, aka @Johnnytrapano!
Our fellow has been using his FABtotum for a while now and many things have been created with it. Lately he stepped even further and developed a script than enables multicolor 3D printing on the FABtotum. Yes, really! He named it CFOG (Change Filament On the Go).


3dprinting-fabtotum-multicolor


How is it possible? Here is what he did, briefly.
He developed a gcode which has to be added where needed between the lines. It allows to pause the task, quickly change the filament and start again. It is possible to just switch the color or even choose a different material.
The CFOG gets your print layered in as many different kind of shades as you want: of course the layers only allow the texture to be horizontal, but it is a great starting point.

How to use it?
That’s pretty simple actually. Just fit the portion of code where you want to change the color: the print will automatically pause, unload filament and wait you for load the new one

Here below you’ll find some detailed instructions to use the CFOG script. If you need more information, you can write him anytime. Meanwhile, download it here.

  1. Open your stl file in your preferred slicing software, Cura will do.
  2. Set the print as usual, using our settings and tuning them according to your FABtotum.
  3. Save the gcode as usual.
  4. Open the gcode file and decide where you want to switch the filament. Every layer is well mentioned in the file, so you just have to get there and paste the CFOG code.
    Notice: Cura starts from layer “0” in the file but starts from layer “1” when visualizing the same one into the software. This means you’ll have to count down a layer to get the right one.
  5. If something is required to be set or done during the whole job, you’ll find it in the code, highlighted with three “!” symbols.

Additional settings:

  • Look for the last line starting with the command “G1” and copy it in the CFOG, just where needed (see below). Also: decrease the “E” value by 7: this will unload 7mm of filament from the hotend.multicolor-3d-printing-fabtotum
  • Make always sure to set a Z value higher than the Z layer height where you use the CFOG.
    This is where you need to do this:
    cfog-multicolor-3d-prints
  • Look up for the code below in the script: at this same line you need to change the “E” value with the first one you can find after the CFOG one. This will make sure that anything we changed turns back at the original gcode settings. Here is where to proceed:

gcode-multicolor-fabtotum

Once you get here, you are ready to save the file, get it on the FABtotum and print.
Of course, you’ll need to stand next to your 3D printer to be ready and switch color/material. Beeps from the FABtotum will alert you when it’s time to hurry up and operate. Make always sure to get rid of excess filament.
One last thing, as Johnnytrapano says on his blog post: if you need to change the printing temperatures, remember to do so by removing the “;” symbol from the right line and set the new value.

how-to-multicolor-3d-printing

Here are a couple of examples, you can find more on his website.

multicolor-3d-printed-object

3D printed cone: a standard icon

3d-printing-food-fabtotum-multicolor

A 3D printed multicolor hotdog


Download the full CFOG here!
This is the first post regarding users’ experiences and developments. The FABtotum is an open source project that aims to grow together with the people who use it. Once you get your FABtotum, you automatically become part of the team.

Have ideas? Know how to get this CFOG better? Maybe you know how to turn it into a self-guided script using some Python Code? Maybe you will just try as it is? Whatever you do, share with us your results!


Keep following us,
Alessia

,

Milestone 2016 Recap

Milestone 2016: official presentation of FABtotum Core

Last Saturday at the National museum of Science and Technology Leonardo Da Vinci in the heart of Milan, FABtotum has officially presented the new FABtotum CORE: the all-in-one 3D printer, can incorporate 3D Printing, CNC Milling, Scanning and now Laser engraving.

“The FABtotum personal Fabricator CORE is the result of more than 2 years of development and improvements of the first product. It’s a milestone for us and source of pride” said Marco.
“With CORE we are refining the user experience and giving customers the best possible tool for multipurpose rapid prototyping and manufacturing” continues.
The FABtotum CORE is available for purchase on the FABtotum store: each customer can pick the add-ons to include and customize the platform to suit his/her needs.

fabtotums-milestone-2016-rizzuto_rid


Present vs Past: functionalities and modularity
The FABtotum CORE keeps the basic functionalities (3D printing, Milling, Scanning) and the modular concept of the previous model, which is made possible by swapping the addon heads. It as well retains backward compatibility with all units. If an upgrade is needed/wanted, the Team will assist all requests.
It improves efficiency and speed by all-new electronics, newer printing heads and build surfaces, as well as new built-in software.

Higher performance, higher speeds
The FABtotum CORE is several times faster than the precedessor owing to the introduction of the onboard Quad Core RPI computer board, namely the RaspberryPi3.
Printing times and speeds have also been increased thanks to newer electronics: our Totumduino is now at its V2.

Colibri: more than just a new Software, it’s an OS
The FABUI, the web based interface, can be accessed via LAN, Wifi and remotely on a browser. But the big news is that every FABtotum (not only COREs, just every unit) will soon also be equipped with the new FABUI Colibri, the brand new Operating System internally developed as the first operating system built from the ground up for 3D printing.
FABUI Colibri will dramatically improve the speed of the system even further and add full filestystem recovery and networking improvements.


laser-head-wireframe


Laser Head, PRISM & More: other products announcements
FABtotum has also presented the Laser Head Module, available from early 2017: the new add on is capable of precise PCB engraving, paper and stencils cutting as well as engraving images on wood or some alloys. The Laser Head will be available in January 2017 on the Fabtotum online Store.
A separate blog update will be dedicated to this module soon.

During the Milestone presentation we also talked about the PRISM stereolithography platform: the Team is working and investing on new materials and procedures with renowned University labs to bring this new technology to the market in the near future.

We as the FABteam would like to thank everyone who have been with us during these years.

Keep following us,
Marco & the Team

,

Sneak Preview: Hybrid Head V2, Laser Head and…

Best CNC and rapid prototyping materials: paper and cardboard

Hi everyone!

After a short break we are already back with some updates for you. Expect more in the near future, you’ll hear from us again really soon.
In the meantime we can tell you that, after two years from the start and one of production/deliveries, we have a bunch of new things that will be available in the upcoming days.

The Hybrid Head V2
We told you in the previous post that the Hybrid Head V2 is on its way: we’re not done yet with it though: we are still working on the last details; the final result will offer you the best performances ever and a better quality of prints.
While waiting for some smaller parts to be delivered and tested, we are already watching it printing fine objects.
In the picture below you can see some samples that show you the improvements: higher temperatures let us try different materials and we can proudly tell you we can print PLA, ABS and NYLON.

Samples of prints with the Hybrid Head V2

Samples of prints with the Hybrid Head V2

The specs are the ones previously released but we take the chance to sum them up:

  • full metal body hotend;
  • improved fans system;
  • completely interchangeable nozzle (which means easier maintenance/replacing);
  • completely interchangeable cartridge;
  • different nozzle sizes available (we will tell you more later on);
  • 260° max working temperature.
First pictures of the Hybrid Head V2: final look may still change

First pictures of the Hybrid Head V2: final look may still change


A new Feeder
The feeder mechanism has now become simpler and does not require any action to switch between additive and subtractive mode.
No more buttons to be pushed: new FABtotums will have a slightly different feeder and won’t have any hole on the back inner panel.

What if you already have a FABtotum and want this to be available on yours as well?
We will add a dedicated note on our wiki as you need to manually change it before switching to the new version from the settings of the FabUI.
This is something we decided to change as a consequence of the community’s experience. That’s why, once again, we are always looking for your feedback.

Scanning update
Out of the three first capabilities of the FABtotum, scanning option has always been difficult to be used. Results were not always reliable and satisfying. We worked hard on this as we wanted to offer you a better product. In the upcoming months we will focus even more to have you less stressed when postprocessing. Shapes will be less deformed, the camera is going to add colours and details to the final result. We will tell you more as soon as we have news and we will always update our development log on the forum as well.

Developing the scanner results

Developing the scanner results


A more complete Wiki
First year of FABtotum’s life also gave us a better idea of which were the main obstacles between a bad print and a good one: 3d printing can require a bit of knowledge first and our machine as well need to be “discovered”.

To help you (and to help us as well) we are little by little completing the wiki: a lot of new contents have been added every now and then and still are. Our Team together with the community increased the literature available online so that troubleshooting and first steps became easier.
You can give it a look and find out yourself here


An idea of all the components of the FABtotum

An idea of all the components of the FABtotum

All the documents are now on GitHub
We have gone even further than that: loyal to our Open Source identity, on Git Hub we added every missing specification. From hardware (already available on GrabCAD) to software, everyone can see what the FABtotum is made of and how it works. Suggestions are appreciated, simple curiosity is also welcome.
Here is where you can find everything

Laser Head
It has been in our projects since the beginning and it is now pretty much ready. We are still testing it, but the first results have seen our smiles rising and shining on our faces. It is not mentioned to cut hard and thick materials: we still prefer to leave this kind of job to the milling motor. Now you can throw away that smelly mutated seabass of yours.
With the laser head of the FABtotum you can:

  • engrave woods, plastics etc;
  • cut thin sheets of paper, cardboard and plastic.

You cannot:

  • cut thick plastics or other thick materials (>0.2mm)
  • pretend to be an evil scientist.
Testing the laser precision and quality

Testing the laser precision and quality

The new head won’t replicate the capability of the milling head. However, as you may know, laser engraving has a much more higher precision. You will be able to write or draw lines on the mentioned materials, as well as cut what would be too soft of thin for a drill bit.
The power of the laser we will use is 500 mW: nothing too powerful, just enough to do what’s needed.
This means that it won’t be too dangerous or require special equipments, but it will still be better to use a bit of extra care when turned on.
This is how it will look like, more or less:

First pictures of the Laser Head - final look may be slightly different

First pictures of the Laser Head – final look may be slightly different


It will be easy to be mounted on the FABtotum and won’t require extra calibrations in addition to the ones you would normally do.

Coming soon…
Today, then, we can say we already pushed the envelope a bit further than the first idea of FABtotum, born two years ago on Indiegogo.

The three Heads: the V1, the V2 and the Laser Head

The three Heads: the V1, the V2 and the Laser Head

But, as said at the very beginning of this post, we still have other great news coming soon…

teaser

Keep following us!


*Available from next release, due on 20th August.