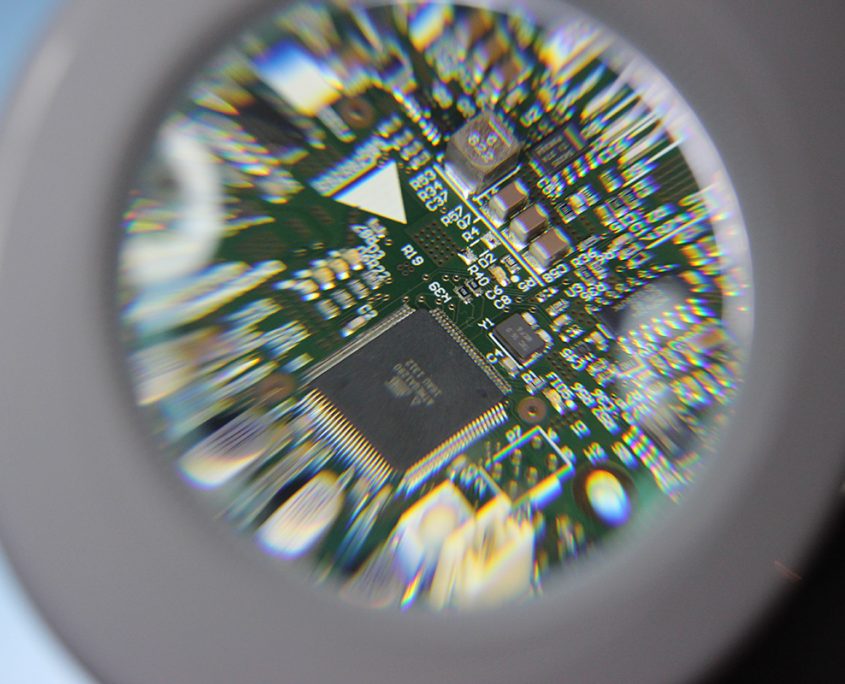
The Totumduino board
Totumduino is the name of the FABtotum controller board based on Arduino. Its architecture is based on that of RAMPS 1.4 boards.
Features
- 4th axis connector
- 5th axis on a pole JST connector PH series 2mm connector
- Endstop n1
- Raspi GPIO header connector
- Hotbed connection
- Emergency switch
- Front-door safety switch
- YZ endstops
- 24v power supply
- Interior light output
- Second Extruder temp
- Head connector (this includes: milling motor control, extruder 1 heat control, servo control, servo powering, laser control & power, head light power, probe input, fan control and an I2C bus, X endstops, led controls).
- Board fan power

Firmware Development
The Totumduino firmware is based on the Marlin by Erik Zalm.
Its source code (called FABlin) can be found on GitHub at https://github.com/FABtotum/FABlin.
Communications from the Raspberry Pi to the Totumduino use a custom set of G-codes. Please refer to the Raspberry Pi section for details on how it is done.
The G-code interpreter on the Totumduino translates the commands into appropriate motion control actions.
Firmware development: getting started
FABlin is available at Github, in: https://github.com/FABtotum/FABlin
If you have GitHub installed, you can get the source directly by cloning it: https://github.com/FABtotum/FABlin.git//
This generates a directory with the entire code of the master branch of the repository.
You can also download the source by going to the FABlin GitHub page and using the “Download ZIP” button on the bottom right.
Developing FABlin: version control
If you intend to develop the FABlin or bug fixes, then it is best that you create a GitHub account and use the “Fork” option in the FABlin GitHub page. This creates a copy of the repository under your username. There you can develop anything using the flexibility that GitHub provides and when you have something to share, you can ask for a pull request of your branch.
Developing FABlin: The IDE
A convenient way of developing and compiling the source is to install the Arduino IDE from http://www.arduino.cc/.
It is not the only one, but certainly the most convenient (NB: version 1.06 seems to work, but 1.6.x does not).
Once you have the Arduino IDE installed, you can open the “.ino” file in FABlin to load the source code of the project. Then you can do your edits and compile the code using the “checked” icon on the top left of the Arduino IDE window.
One thing to take into account when using the Arduino IDE is that compiling is detached from saving, you can compile a modified file without saving it. However we prefer using an external editor (Kate, a linux UI editor), while we still use Arduino IDE for compiling.
Before compiling, make sure you have selected the right target chip in the menu. The Totumduino has an ATMEGA 1280. If you compile for another chip it won’t work.
The Arduino IDE generates a file with the same name as the project and extension “.cpp.hex” in the temporary directory. In Linux is in /tmp/buildNNNNNNN/, in windows it is usually in “Windows/Users/me/Appdata/Local/Temp”.
The Arduino IDE generates one of this “build” folders for every execution and does not always clean up afterwards, so always check the date and time of the generated firmware before uploading it or you may be uploading the wrong one (or an old version).
Flashing the firmware
The easiest way to flash a new firmware is to upload it to /var/www/build/Marlin.cpp.hex and use the built-in flasher.
In Linux the procedure is as follows:
scp Marlin.cpp.hex root@fabtotum:/var/www/build
In Windows you should be able to use WinSCP to copy the file Marlin.cpp.hex to the directory /var/www/build/
Make sure the file name is “Marlin.cpp.hex”. Remember that Linux is case sensitive.
After having copied the firmware to the FABtotum, go to: http://[YOUR FABTOTUM IP]/recovery/flash.php and click on Flash Local.
Wait until the web interface completes the operation successfully (it beeps a couple of times in between).
Flashing Firmware from the Raspberry Pi
Upload your firmware to /var/www/build/ and connect to your FABtotum with a ssh terminal (search Putty for Windows or just open the Terminal on Linux/MacOS)
ssh: root@fabtotum
password: fabtotum
cd /var/www/build
/usr/bin/avrdude -D -q -V -p atmega1280 -C /etc/avrdude.conf -c arduino -b 57600 -P /dev/ttyAMA0 -U flash:w:Marlin.cpp.hex:i
Resources
We want to involve people in the design process as much as possible, and allow them to modify and improve the machine to fit their own needs without needless restrictions.Use of full documentation,drawings and the reproduction of the FABtotum is allowed and encouraged under the Creative Commons Attribution-Noncommercial-Sharealike 3.0 Unported License (CC BY-NC 3.0)
CC BY-NC 3.0 License
https://creativecommons.org/licenses/by-nc/3.0/
Mechanical Drawings
FABtotum @ Grabcad (mechanical)
https://grabcad.com/library/fabtotum-2
Electronics
Electronics of the FABtotum personal Fabricator have been released on Github as well, along with the software needed for each microcontroller.
Totumduino v10.4 schematics, draft
http://download.fabtotum.com/TOTUMduino schematics.PDF
Gerbers & BOM of all parts
https://github.com/FABtotum/FAB_Electronics
Firmware & software
The GitHub repository contains both the FAB UI software and the FABlin (a Marlin derivate firmware for multipurpose personal fabrication), as well as ongoing projects like the Colibri-FAB UI. Feel free to get involved in the development: send a pull request for your code.
https://github.com/FABtotum


