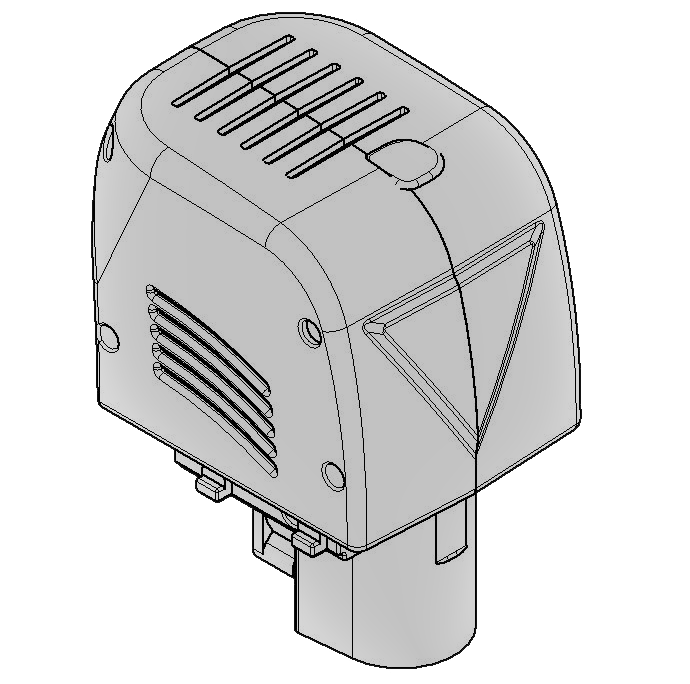
FABtotum releases the Laser Head

PCB Prototyping, Design and Engraving with Laser Head for FABtotum 3D Printer

We have come to a final version of the much-awaited Laser Head, the addon which will make the world’s first Personal Fabricator even more multifunctional. The new module will add laser engraving and laser cutting on top of the 3D printing, 3D scanning and 3D milling functions.


Easy, fast, useful
The FABtotum Laser Head just needs to be plugged onto the 3D printer’s carriage: that’s how anyone will get a laser engraver and cutter on his/her desktop. With a power of (almost) 500mW, it can engrave many materials such cardboard, wood, balsa and many more. It can even cut thin layers, mainly paper. And it can make PCBs. Oh yes.

The Laser Head will be available for purchase from today directly on FABtotum’s store and it will work on every unit ever delivered. As always, the aim is to have a machine which can constantly be updated, enlarging its potential and/or making the main hardware performing better than ever.
The software included will just make things easier: having a draw transported on the choosen material will be possible in a few clicks.


Precision is the word
A laser beam can draw with incredibly high precision. The cartesian axis of the FABtotum Personal Fabricator are perfect to drive the Head on the surface: the FABtotum’s software will automatically move the tool on the X and Y. This new technology will exponentially open up to different works ideas and projects. Even a simple jpeg photo can become real and reproduced on a real surface. The result will just surprise.


What will be the main uses of the new FABtotum addon?
The Laser Head in conjunction with the Milling Head will expand the possibilities as they’re meant to cooperate: their potentials are completely different. While the second can cut off and carve deeply any material, included woods and thin metals, the Laser Head will work better for different tasks. Here are a few examples:
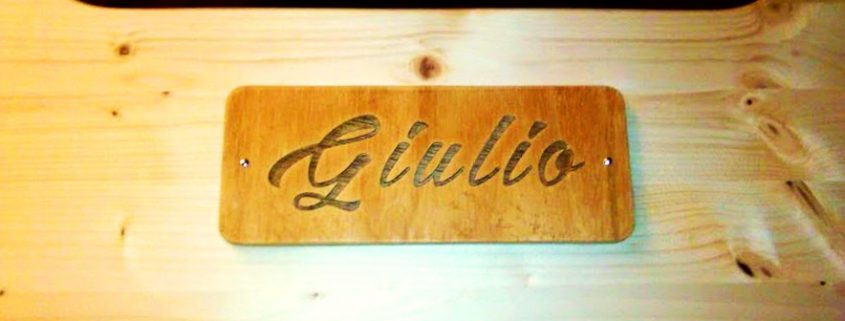
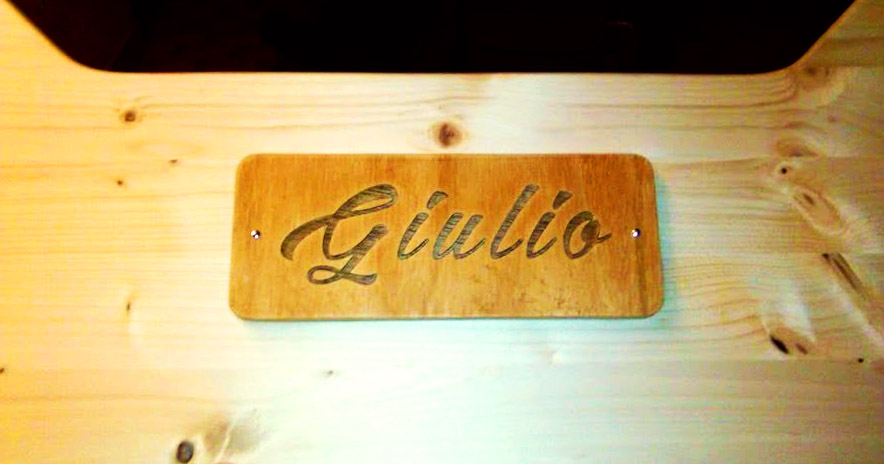
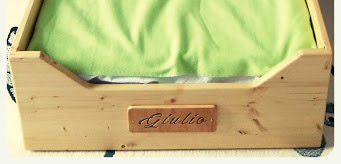
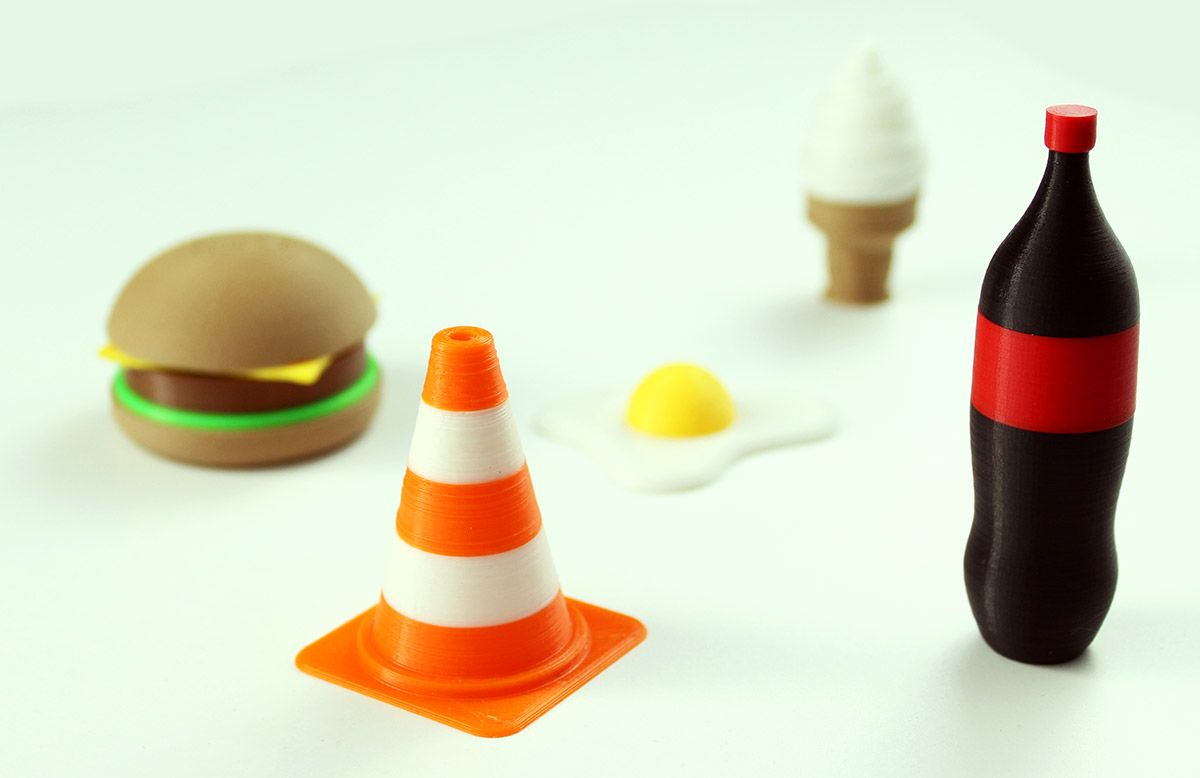
1. Wood/balsa engraving: the 500mW beam is enough to mark those surfaces and with the possibilities to choose between none and 255 (but, honestly 10 are more than enough!) shades of greys it will be possible to reproduce with precision all the pictures and photos. Also, it’ll be possible to choose from different profiles to decide which final look is preferred. Of course, FABtotum’s Software will be needed in this case.
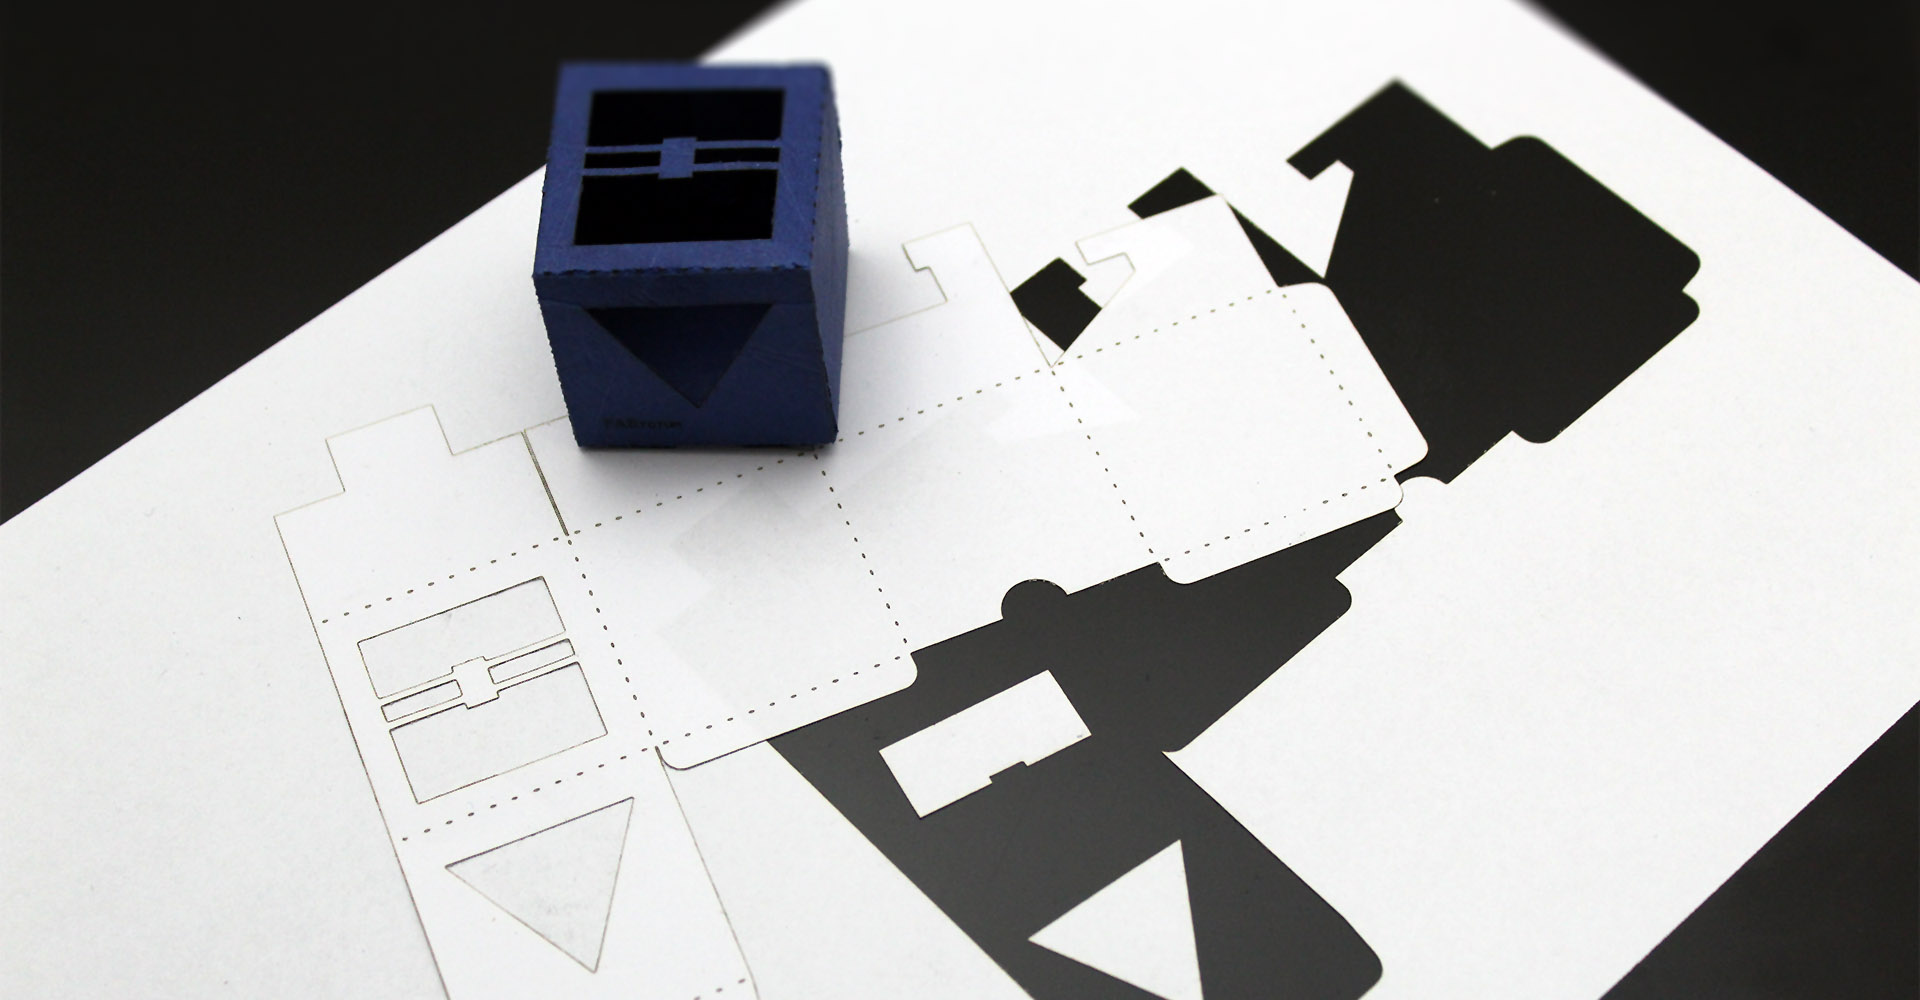
2. Paper/cardboard cutting: with the FABtotum Personal Fabricator and the Laser Head addon is easy to create many artcrafts such as foldable or pop-ups models, origamis and so on. The light beam is strong enough to both make the surface easier to be bent or to cut it in one step. With the help of FABtotum’s dedicated sofware, also, everything will be even easier thanks to the preset profiles.
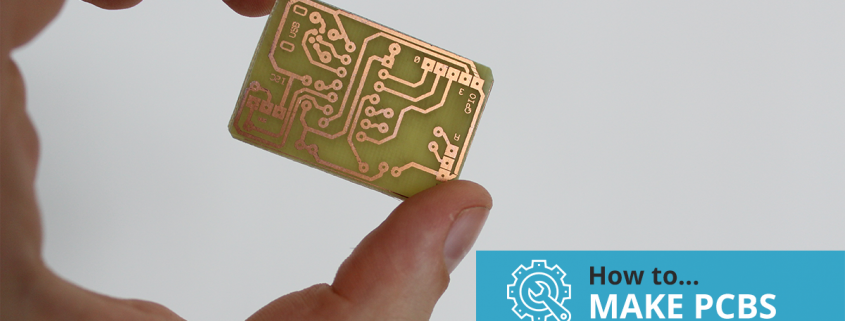
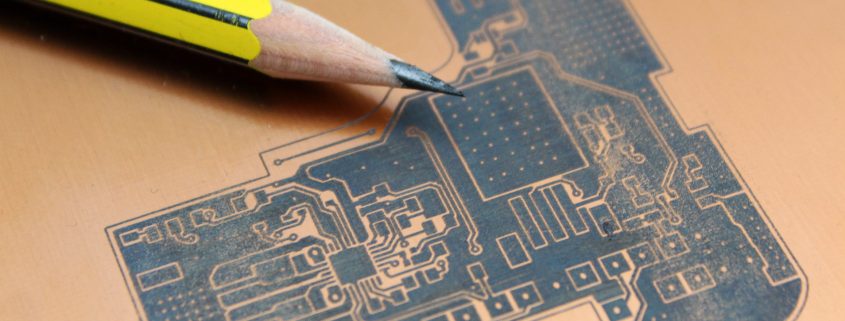
3. PCBs: that’s the big deal. While the Milling Head could be used as well, there’s nothing as precise as a laser. The strong brushless motor, anyway, will still be a valid alternative and will also help to cut out the board in the desidered dimension. The Laser Head will work for both positive and negative photosensitive PCBs. In the positive ones the beam will polimerize the layer that should not be eroded by the acid. When a negative board is chosen, the beam wil then be directed on the parts taht should be eroded by acid.
This method of creating PCBs is costs and time saving. Easy, cheap and fast, is the best solution for both makers and any business that needs many prototypes.

laser_paper_cut


A dedicated software

The Laser Head will benefit of a user friendly software* completely developed by the FABteam: the pre-set profiles, the ease to upload a picture and get a GCODE done will make the user able to create in a few minutes. Whether the project is a PCB or a kirigami, the FABtotum’s software will set everything up. Of course, skilled makers will still have the chance of changing some settings or even use a different method to generate the GCODE.
The Laser Head is the perfect tool for anyone: from makers to artists, from small business to schools and education centres. The classB laser has enough power to make a lot but it can still be considered safe when properly used. Available as an addon to be purchased alone and/or bundled with the FABtotum CORE.
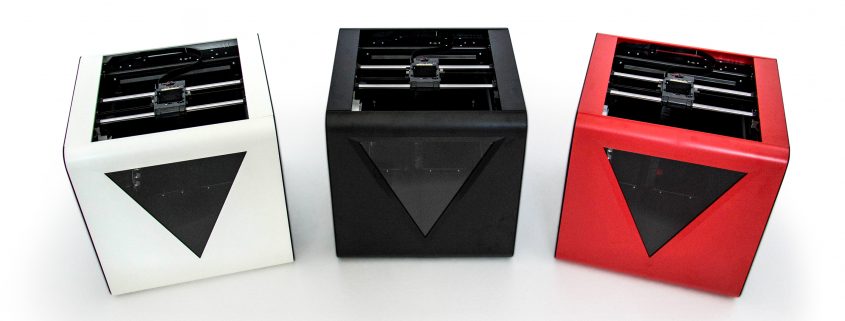
Get today’s limited offer!


The FABtotum CORE

FABTOTUM srl has been funded by Marco Rizzuto and Giovanni Grieco in late 2012 in Milan, Italy, where it is still based today. A year later the first model of the FABtotum Personal Fabricator has been described like the most innovative machine on the market; at the same time it become the most successfull crowdfunded product of all Europe.
The first FABtotum has been delivered in 65 countries and it counts more than a thousand units delivered.
The FABtotum has been the first to offer a multipurpose machine and to understand the important of having a device that could update itself endless times and get a mini laboratory on a desktop.
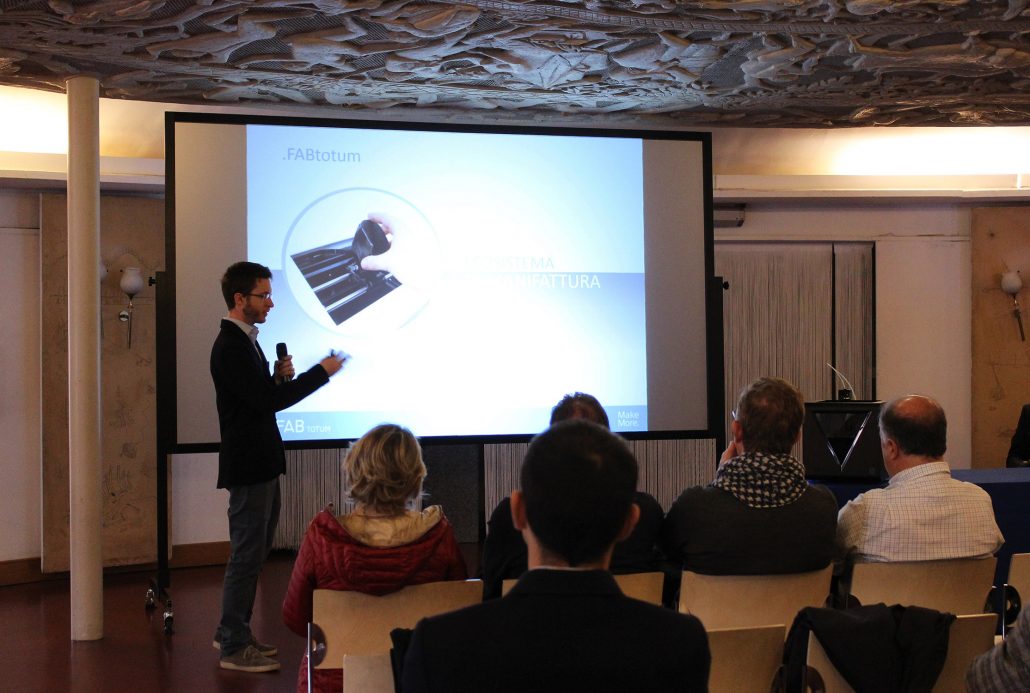
In the 2016’s Q4 the FABtotum CORE edition was officially presented during the company’s first Milestone. Between the advantages of this new model, there are a renewed Printing Head and Milling Head, a Hybrid Bed V2 and a complete new set of electronic boards. While the outside might look similar, the inside is completely revisited.
What else apart from Heads and Bed? We now have a Totumduino V2, a Raspi3 set and a Flex V2.
Want to upgrade? Contact us.

Once again, we’re happy to share with you what we’ve done so far, surely you’ll love it!


*The software will be free until June 2017.

,

FABtotum’s community highlights: CNC milling a wood plate

3D Maker Project: Engraved Name Plate using the FABtotum Milling Head: detail

Hi all,

here we are again!
Time for a second Community Highlight has come.
As said in the previous post, we are willing to let everyone see what a FABtotum lover can do!

Today we would like to introduce you our friend Alessio Cavalieri: he is well known on the forums already, and he likes to get his name clearly written where and when he makes something new. This is why his nickname is simply alessio.cavalieri, easy right?
He did many things along the time he has been a FABtotum owner. Today we’ll see how he created an Engraved Name Plate using the Milling Head (actually he used an old Hybrid one).

cnc_milling_fabtotum_wooden_name_plate

How is it possible? Here is what he did, briefly.
The plate he used perfectly fitted in the FABtotum working area: a woodplate 200mm x 80mm. He started with some tests and tries on the designing side and finally got to the perfect version, which was then finally used as a gift. What a nice idea!
Good tip: he used a plywood that gets a nice finishing thanks to the natural texture of the different layers. Wood’s grain of the various layers will contrast between them, with a nice optical effect. Compared to a standard wood block, you’ll get a better look with no additional stress.


How to get a proper file? Inkscape example
Well, there are many software you can use to create a project for your FABtotum. Alessio decided for Inkscape, a free one that can be used with any OS. Just use it to write or draw.
Step by step, to get a doable object and a working file, he proceeded with writing the name, placed it on the surface and created the path. Here is how:
1. Designed the plate and placed near the origins (lower left corner): this is important if the final part is not as big as the block you start from.
2. Selected the text of the inscription and from menu: Path → Object to Path. The “Path” is what the CAM software will use as directions to move around and create.
3. Saved the design using: Save as → Plain SVG

How to create a GCODE with Makercam?
Alessio opted for Makercam, a free online tool (http://www.makercam.com/).
Before you upload your svg file, check these settings:
1. Set centimeters instead inches as default unit (if you’re fine with inches make sure to convert all the suggested values);
2. Select Edit → Edit preferences Set → DPI to 90 (suggested to import a drawing from Inkscape, set 75 for Illustrator)
Now upload your SVG and turn into a GCODE:
1. Open the plain SVG saved with Inkscape, make sure to delete any unwanted object;
2. Select the inscription/draw you want to be engrave, it must be red;
3. Select CAM → pocket operation, and add some settings:
name: writehereyourfilename
tool (mm): write here the diameter of your bit (Alessio set 1mm)
target depth (mm): set how deep you want to mill (Alessio set 2 mm)
safety height (mm): write here how much the Head should rise before spinning (Alessio set 10)
step down (mm): how deep the mill should go at each pass (Alessio set 0.25)
feedrate (mm/minute): movements speed (Alessio set 400)
plunge rate (mm/minute): (Alessio set 100).

You’ll need to set the above settings for each part of the design: to do so, simply select the part (n°2) and start again with n°3. In Alessio’s one, for example, he then needed to set screw holes and outside shape. Read the whole article he published on his blog or contact him if you want to know more!

Last part: get the GCODE saved properly:
1. Select CAM → calculate all
2. Select CAM → export gcode
3. Select all calculated toolpaths, export and save the GCODE file on PC.

As a safer procedure, check if the FABtotum will be able to get your project done. Check the outer path: is it going to fit? If yes, go for it!

Post processing the GCODE
Ok, one last step: as you will use the FABtotum, you’ll need the GCODE that Alessio set up for us (thanks!). It’s called MakerCAM2FABtotum, it’s on GitHub. It is essential to make sure that your 3D printer knows you’re going to get her something different to bite than some good PLA. It’s a Linux bash script but you can run it also in Windows. Ask him if needed!
Here is an example of what you can do:
fabtotum-cam-gcode
This will set the FABtotum’s Milling Head to spin at 12000RPM.
Ok you’re done! Now get on the FABUI, open the Object manager and proceed just as you are used to.

Final tip: add an extra layer underneath your starting block if you have cutout parts so that neither the Hybrid Bed neither your milling bit will get damaged.

milling_with_fabtotum_wood_plate


So, it looks like a long process and it might not be as easy as a sandcastle, but it looks great, right? Will you try yours? Do you have tips to get things done faster? We’d love to hear from you!

That’s all for this Community Highlight: thanks to Alessio.cavalieri once again, keep up the good job!


Keep following us,
FABteam

,

FABtotum’s community highlights: multicolor 3D printing

Multicolor 3D printing: high quality 3d printed miniature

Hi all!
As we truly believe in it, we thought that our community deserved to be highlighted. Many of our customers have been sharing with us their jobs: it is a source of pride for us to show you all of them and surely a source of inspiration for all of you.

So: from today on we will dedicate a post to our best users on a weekly basis.
Want to be one of them? Share with us your results, we’ll do our best to get them all published!
And don’t forget our social accounts: using them will get your objects straight onto the FABUI dashboard.
Today’s protagonist is: Angelo D’Angelo, aka @Johnnytrapano!
Our fellow has been using his FABtotum for a while now and many things have been created with it. Lately he stepped even further and developed a script than enables multicolor 3D printing on the FABtotum. Yes, really! He named it CFOG (Change Filament On the Go).


3dprinting-fabtotum-multicolor


How is it possible? Here is what he did, briefly.
He developed a gcode which has to be added where needed between the lines. It allows to pause the task, quickly change the filament and start again. It is possible to just switch the color or even choose a different material.
The CFOG gets your print layered in as many different kind of shades as you want: of course the layers only allow the texture to be horizontal, but it is a great starting point.

How to use it?
That’s pretty simple actually. Just fit the portion of code where you want to change the color: the print will automatically pause, unload filament and wait you for load the new one

Here below you’ll find some detailed instructions to use the CFOG script. If you need more information, you can write him anytime. Meanwhile, download it here.

  1. Open your stl file in your preferred slicing software, Cura will do.
  2. Set the print as usual, using our settings and tuning them according to your FABtotum.
  3. Save the gcode as usual.
  4. Open the gcode file and decide where you want to switch the filament. Every layer is well mentioned in the file, so you just have to get there and paste the CFOG code.
    Notice: Cura starts from layer “0” in the file but starts from layer “1” when visualizing the same one into the software. This means you’ll have to count down a layer to get the right one.
  5. If something is required to be set or done during the whole job, you’ll find it in the code, highlighted with three “!” symbols.

Additional settings:

  • Look for the last line starting with the command “G1” and copy it in the CFOG, just where needed (see below). Also: decrease the “E” value by 7: this will unload 7mm of filament from the hotend.multicolor-3d-printing-fabtotum
  • Make always sure to set a Z value higher than the Z layer height where you use the CFOG.
    This is where you need to do this:
    cfog-multicolor-3d-prints
  • Look up for the code below in the script: at this same line you need to change the “E” value with the first one you can find after the CFOG one. This will make sure that anything we changed turns back at the original gcode settings. Here is where to proceed:

gcode-multicolor-fabtotum

Once you get here, you are ready to save the file, get it on the FABtotum and print.
Of course, you’ll need to stand next to your 3D printer to be ready and switch color/material. Beeps from the FABtotum will alert you when it’s time to hurry up and operate. Make always sure to get rid of excess filament.
One last thing, as Johnnytrapano says on his blog post: if you need to change the printing temperatures, remember to do so by removing the “;” symbol from the right line and set the new value.

how-to-multicolor-3d-printing

Here are a couple of examples, you can find more on his website.

multicolor-3d-printed-object

3D printed cone: a standard icon

3d-printing-food-fabtotum-multicolor

A 3D printed multicolor hotdog


Download the full CFOG here!
This is the first post regarding users’ experiences and developments. The FABtotum is an open source project that aims to grow together with the people who use it. Once you get your FABtotum, you automatically become part of the team.

Have ideas? Know how to get this CFOG better? Maybe you know how to turn it into a self-guided script using some Python Code? Maybe you will just try as it is? Whatever you do, share with us your results!


Keep following us,
Alessia

,

Milestone 2016 Recap

Milestone 2016: official presentation of FABtotum Core

Last Saturday at the National museum of Science and Technology Leonardo Da Vinci in the heart of Milan, FABtotum has officially presented the new FABtotum CORE: the all-in-one 3D printer, can incorporate 3D Printing, CNC Milling, Scanning and now Laser engraving.

“The FABtotum personal Fabricator CORE is the result of more than 2 years of development and improvements of the first product. It’s a milestone for us and source of pride” said Marco.
“With CORE we are refining the user experience and giving customers the best possible tool for multipurpose rapid prototyping and manufacturing” continues.
The FABtotum CORE is available for purchase on the FABtotum store: each customer can pick the add-ons to include and customize the platform to suit his/her needs.

fabtotums-milestone-2016-rizzuto_rid


Present vs Past: functionalities and modularity
The FABtotum CORE keeps the basic functionalities (3D printing, Milling, Scanning) and the modular concept of the previous model, which is made possible by swapping the addon heads. It as well retains backward compatibility with all units. If an upgrade is needed/wanted, the Team will assist all requests.
It improves efficiency and speed by all-new electronics, newer printing heads and build surfaces, as well as new built-in software.

Higher performance, higher speeds
The FABtotum CORE is several times faster than the precedessor owing to the introduction of the onboard Quad Core RPI computer board, namely the RaspberryPi3.
Printing times and speeds have also been increased thanks to newer electronics: our Totumduino is now at its V2.

Colibri: more than just a new Software, it’s an OS
The FABUI, the web based interface, can be accessed via LAN, Wifi and remotely on a browser. But the big news is that every FABtotum (not only COREs, just every unit) will soon also be equipped with the new FABUI Colibri, the brand new Operating System internally developed as the first operating system built from the ground up for 3D printing.
FABUI Colibri will dramatically improve the speed of the system even further and add full filestystem recovery and networking improvements.


laser-head-wireframe


Laser Head, PRISM & More: other products announcements
FABtotum has also presented the Laser Head Module, available from early 2017: the new add on is capable of precise PCB engraving, paper and stencils cutting as well as engraving images on wood or some alloys. The Laser Head will be available in January 2017 on the Fabtotum online Store.
A separate blog update will be dedicated to this module soon.

During the Milestone presentation we also talked about the PRISM stereolithography platform: the Team is working and investing on new materials and procedures with renowned University labs to bring this new technology to the market in the near future.

We as the FABteam would like to thank everyone who have been with us during these years.

Keep following us,
Marco & the Team

FABUI 0.97 & FIRMWARE 96 are ready

new release of the FABUI FABtotum user Interface

Today a new release of the FABUI FABtotum user Interface has been released, head over to “Updates” page to get it on your FABtotum. While there is no big changes on the surface, the FABteam worked on bugs and minor improvements that all together get you a better experience.
Surely you’ll love it.

NOTICE ON TEMPERATURES: be sure to update the slicing profiles to account for a 10°C difference. The new firmware introduces a +10°C offset to improve measurement precision at higher temperatures. So instead of 180°C (previous profile) you’ll be now need to  set temperatures at 190°C on PLA, for example. This will result in the nozzle heating at the same temperature as before.
keeping the profiles as before will result in a real temperature too low for extrusion.

Here is a highlight on the most important changes:

  • The Auto Bed Leveling works just better. This means that the z axis will be dynamically changed to compensate for uneven printing surface.
  • Assisted Bed level icons have been changed: the ones regarding the bed leveling should now be easier to get you going in the right direction. Tell us how you go with them, suggestions are always welcome of course!
  • We changed Photogrammetry preparation behavior.
  • Check the menu: we moved some stuff to get you a clearer view.
  • We added some alerts and made some behavior react differently: hopefully you won’t even notice them anyway.

While changes in the FABUI are easier to be spotted, Firmware’s aren’t: those are the most important ones so make sure you have them both updated. “System Info” page will tell you more about what you’ve got installed.

Today’s versions are:
FABUI: 0.971
Firmware: 1.0.0096.1


fabui097_fabtotum

Once you see this you’re all ok to go!


Changelog:
FABUI
Fixed Photogrammetry scan starting macro
Settings > General > Print : added “Calibration Preference”
Menu: “Feeder Calibration” moved under “Feeder > Step Calibration”
Menu: “Engage Feeder” moved under “Feeder > Engage”
Added endstop hit alert notification
Recovery: improved firmware flash procedure
General improvemets
General bugfixes

Firmware
Fixed G27/G28 behaviour near axis limits and silenced verbose error messages
Fixed G29 hitting Y endstop
Auto Bed Leveling procedure fixed and improved
Changed M503 and other diagnostic outputs
That’s all for today,
FABteam

, ,

Here’s the New FABtotum CORE – now Upgraded and Shipping

FABtotum Personal Fabricator 3d multipurpose printer red, white and black

Surprise! We’ve upgraded the FABtotum Personal Fabricator CORE edition with new hardware. The FABtotum CORE Edition is the milestone version that combines the know-how and the research developed in over 3 years of improvements. Stepping up to the challenge of providing the best multipurpose personal fabrication tool ever, we’ve improved the onboard computer and, for […]

,

Knowledgebase : Learn More about the FABtotum

FABtotum knowledgebase: guidelines and tutorial

Recently we have been working on moving the old FABtotum Wiki to the new Website. The result is a ever-growing collection  of guides and tutorials on 3D printing, Milling, CNC machining and all the other things connected. there you will find tutorials on how to set up and run your favourite slicing software, as well […]

,

FABTOTUM becomes part of Zucchetti Group

We are finally ready to share with you the announcement we have been longing for. FABTOTUM starts a new adventure together with Zucchetti Group. An agreement has been in the works for a while but today we are happy to unveil this big news, as FABtotum has secured an investment round and will continue his jurney […]